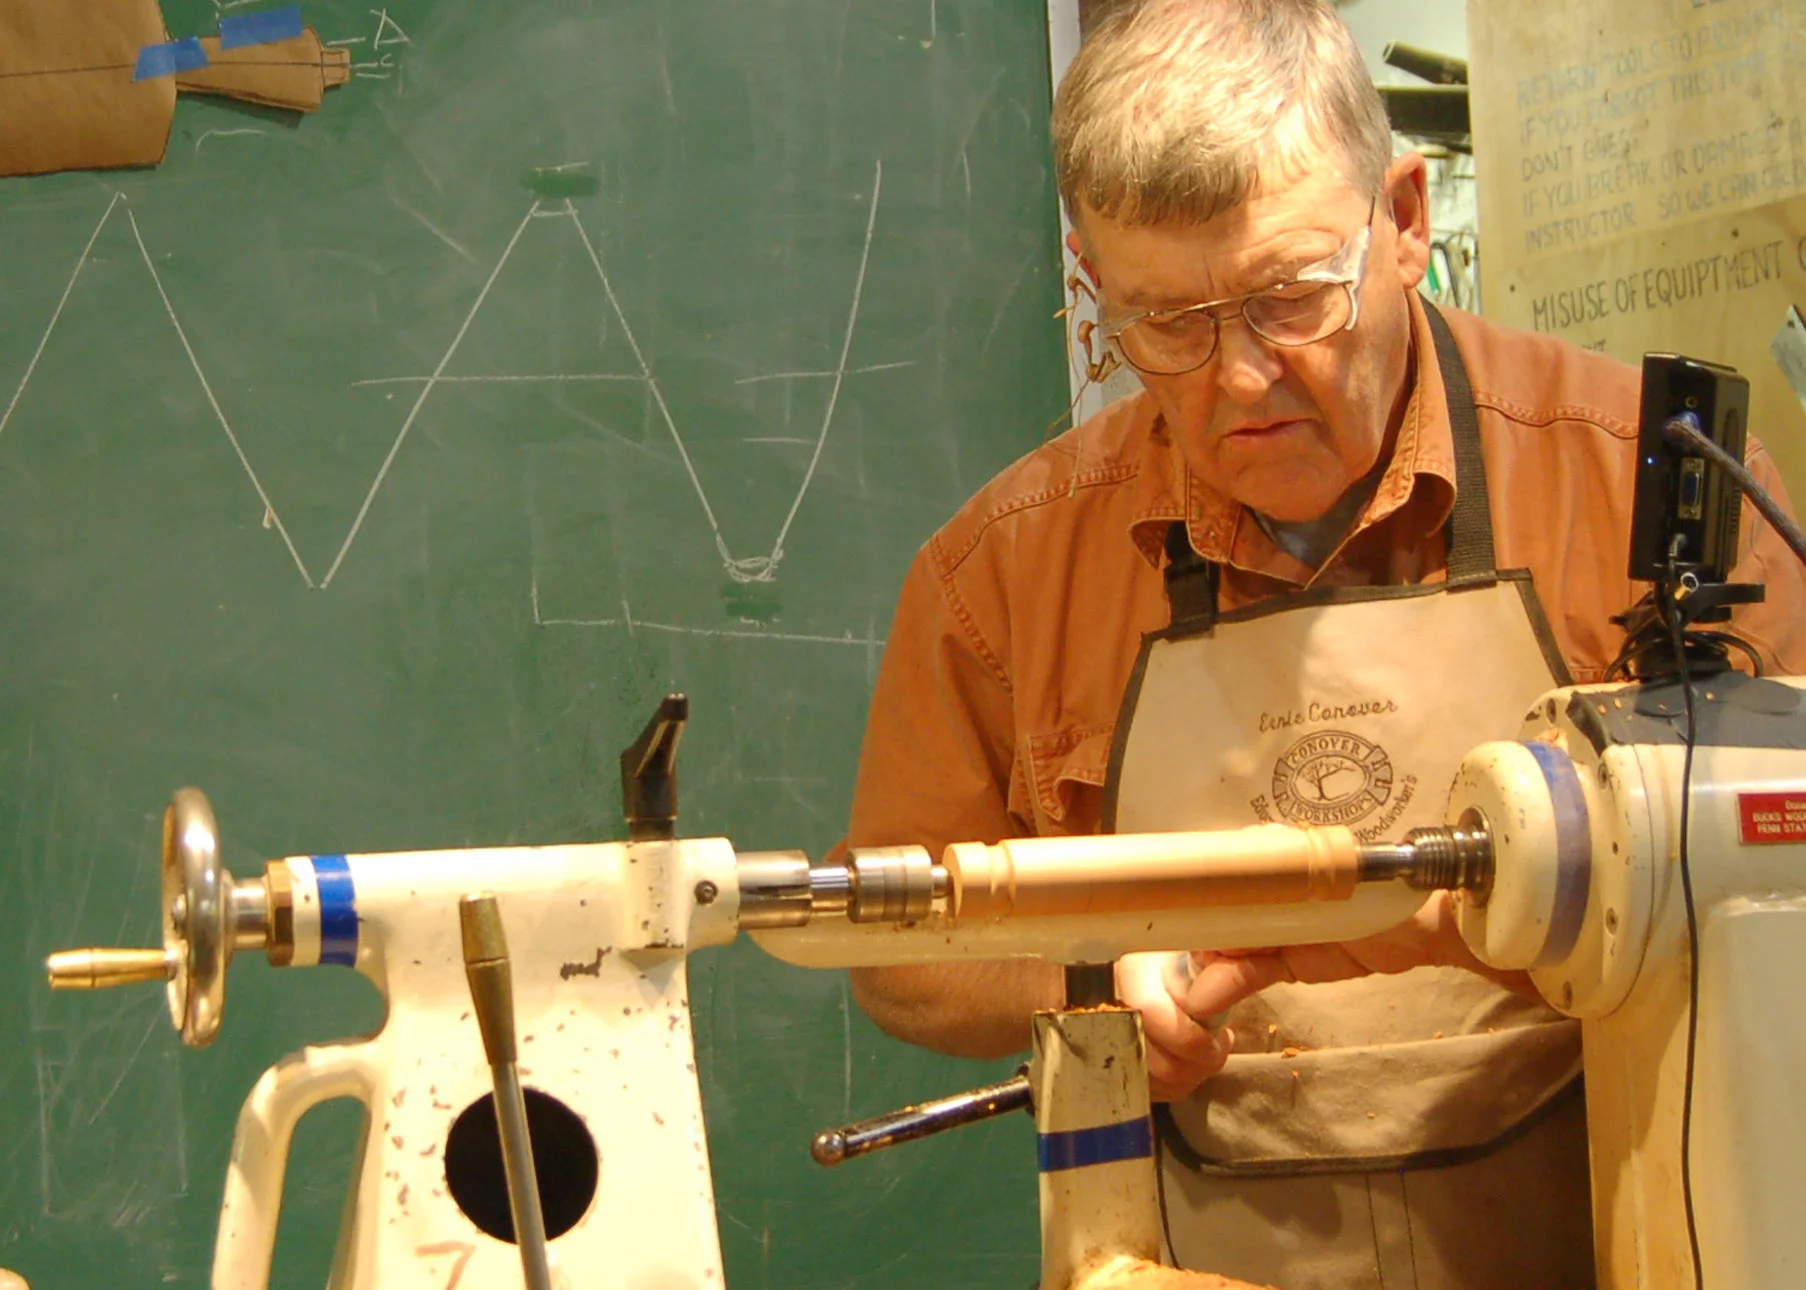
Famed turner, teacher, author and lathe maker, Ernie Conover, came to our November meeting and demonstrated his Barley Twist Candlesticks. The demonstration was made 100% better thanks to Rick Baker and his articulated camera and video projector. What an amazing up-grade!
A great conversation piece (gee, how'd you make that?) or gift, the candlesticks are a great project for new and experienced turners alike. If, after looking at the photos and overview from our demonstration you decide to get serious, you can find a video and article on the Fine Woodworking website for a more detailed description. You'll need to be a Fine Woodworking member to view the article (complete with drawings and dimensions), or ask a friend who happens to have a copy of the February 2007 magazine.


Ernie started with an 8 inch long square piece of mahogany from which he turned a 1 1/2 inch diameter blank. Ernie uses a steb center to grips the blank when carving on the lathe, and makes certain he imprints the center's teeth into both ends so he can center the blank from either end when carving. Ernie then drilled out the center of the blank with a 3/8ths inch bit, drilling from both ends.




to set up the barley carving, Ernie used the lathe's indexing pins to draw 4 lines, dividing the blank into 4 quadrants. he then drew two circumferential lines 1 inch from each end. Finally, he used dividers to mark out 3/4 inch divisions between those two lines. this grid of intersecting lines define the spiral twists. Using a piece of painters tape, he defines a first twist, marks it with a pencil, then starts another twist, 180 degrees from the first, and again marks it with a pencil. This is where you can add some coves and beads at the top and bottom of the main shaft that you can see in the finished candlestick.


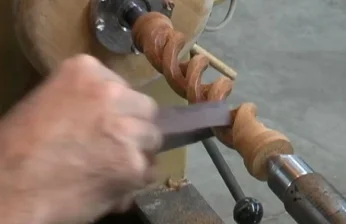
To give himself a guiding line to cut without tear-out, Ernie cuts a 1/4 inch deep kerf with a backsaw following both spirals he has just drawn. Using a #9/7 millimeter gouge, makes his cut to the right side of the kerf so that he is cutting downhill with the grain- the gouge rests on the tool rest as Ernie turns the hand wheel, just like a sheer cut. By reversing the blank on the lathe, you can carve to the other side of the kerf. As the two cuts are blended with the #9/15 gouge, it will be necessary to use the backsaw once again to guide the cuts. Ernie waits as long as possible to cut through as the piece becomes more fragile, as we saw. No matter, that's what CA glue is for! Once he cuts through to the center, he uses an in-cannel gouge, making it easier to follow the bevel. When he is satisfied with the shape of the two twists, he uses a strip of sandpaper to create the round cross-sections, and a round file for the base of each spiral.
For the wax cup/candle holder, Ernie starts with a block that is about 2 1/4 inches square and about 2 3/4 inches long. Into one end he drills an 11/32 inch hole that he slightly tapers with a scraper to hold a standard candle. In order to turn the outside of the wax cup. Ernie uses a scrap piece of wood to form a jamb chuck tenon to fit the candle holder socket.


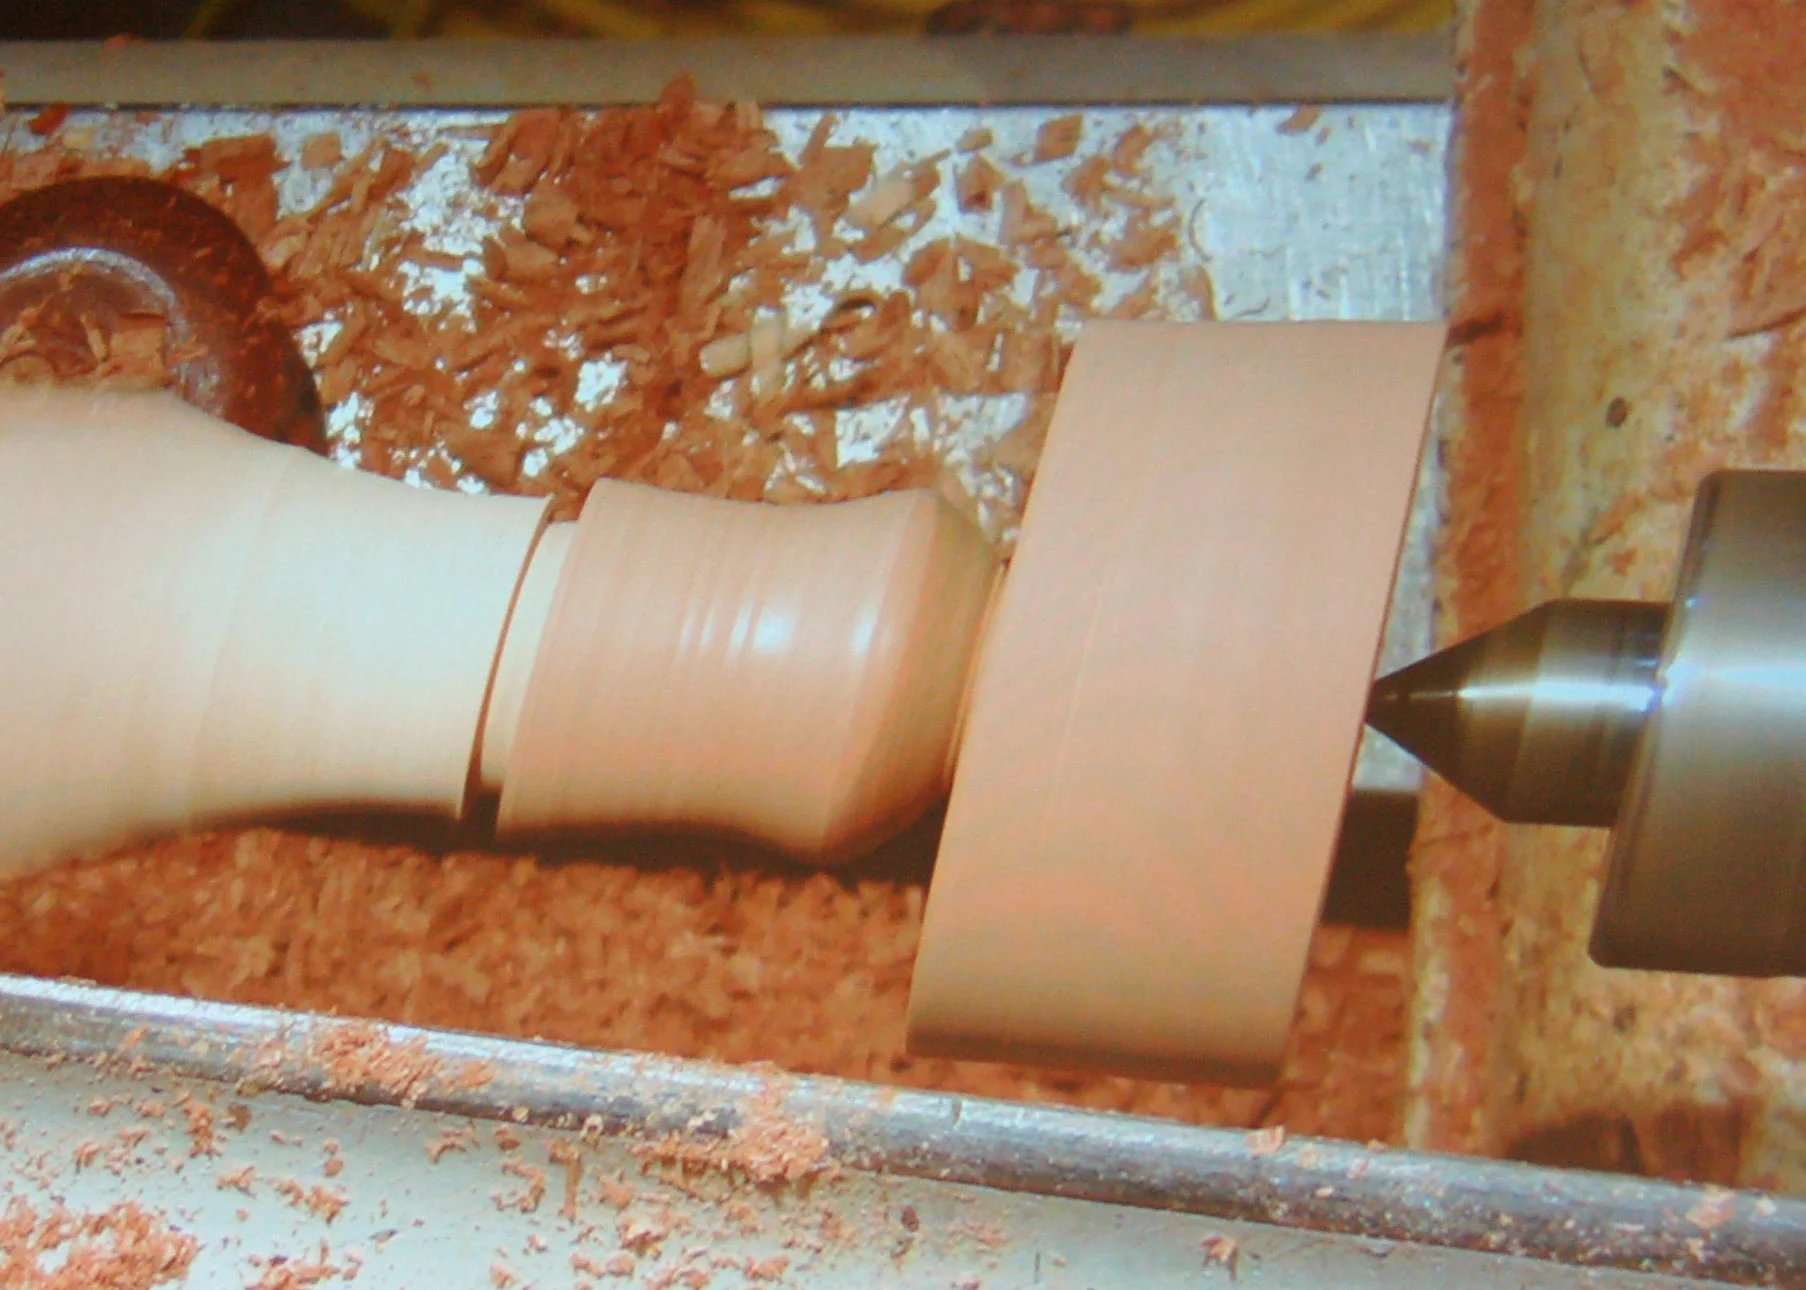
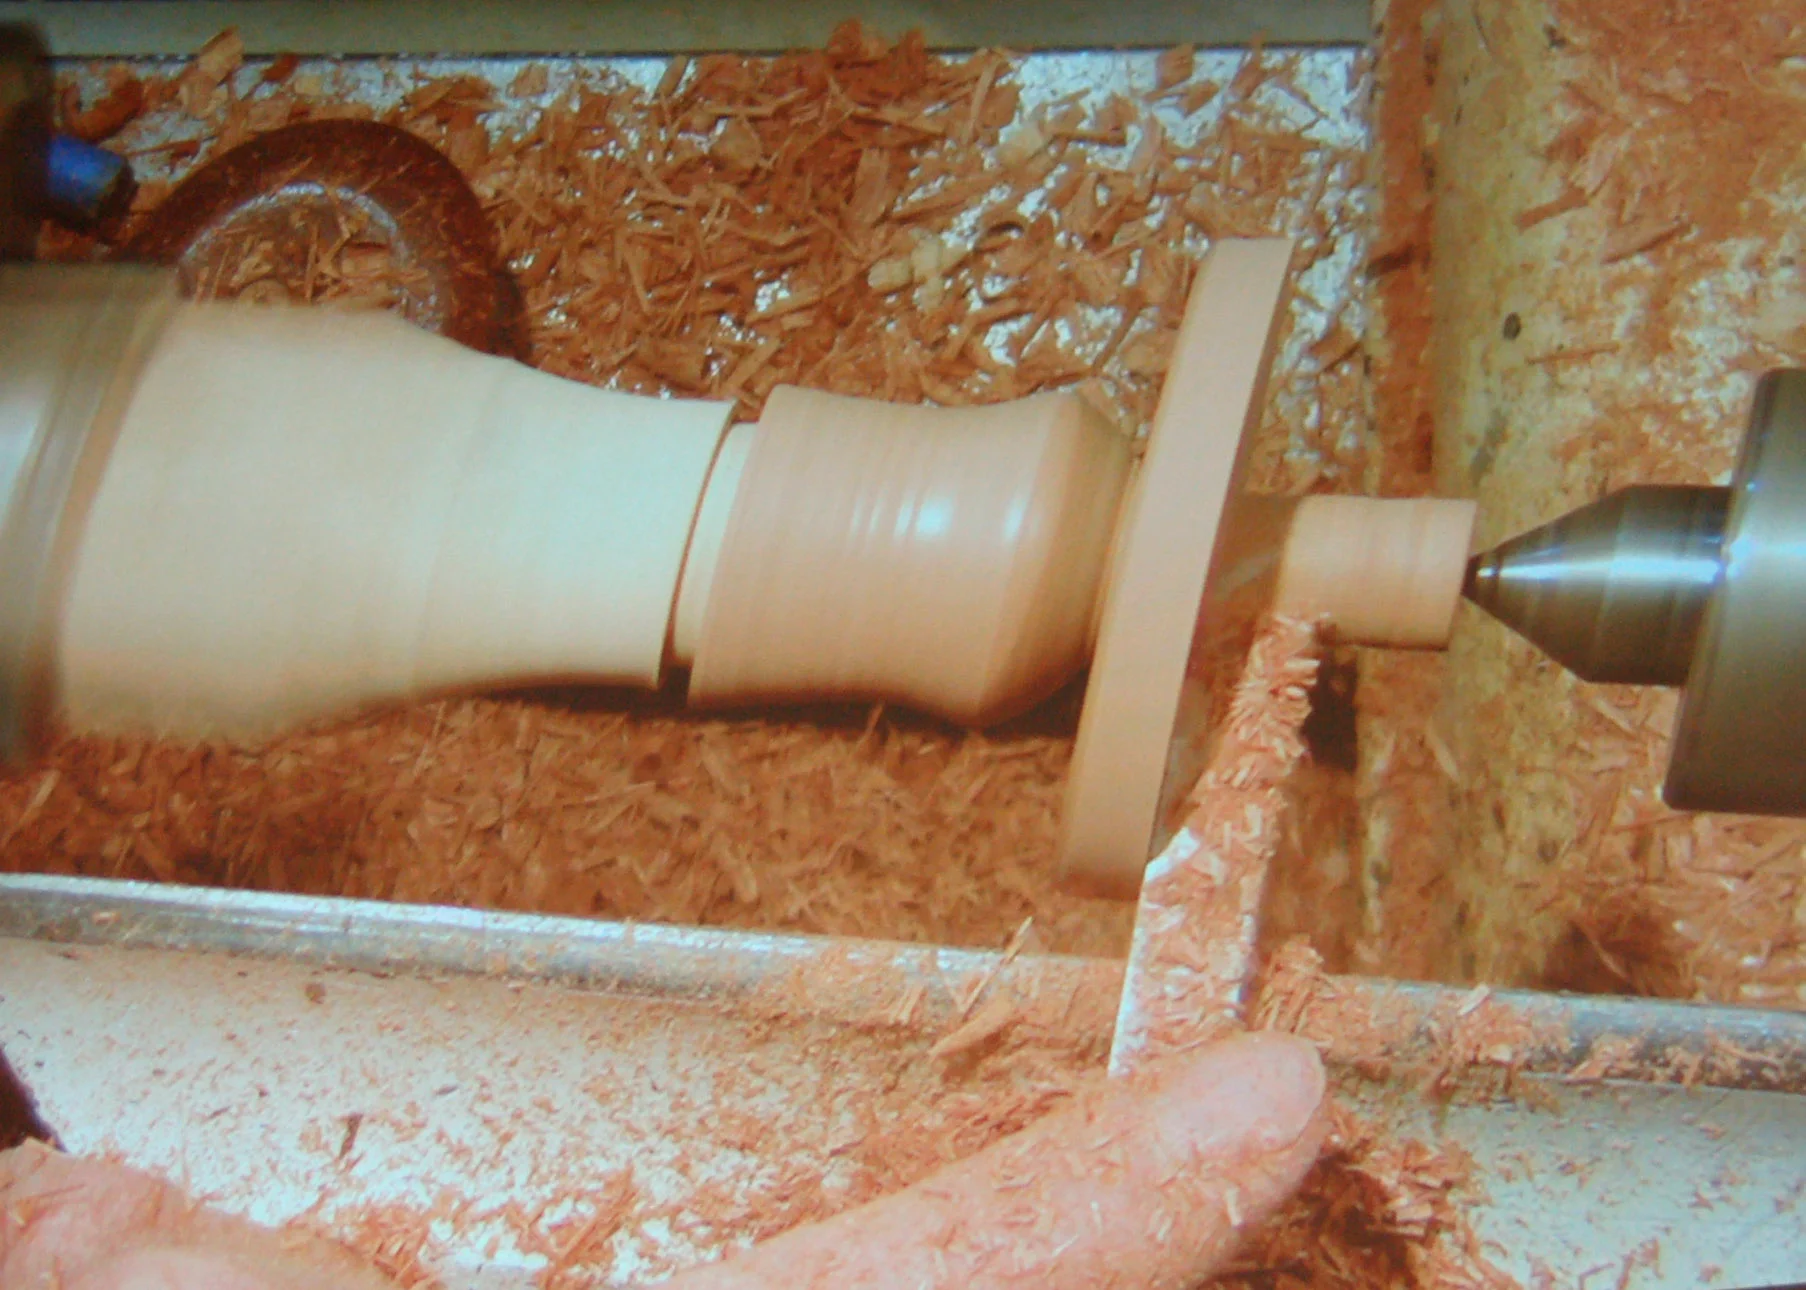
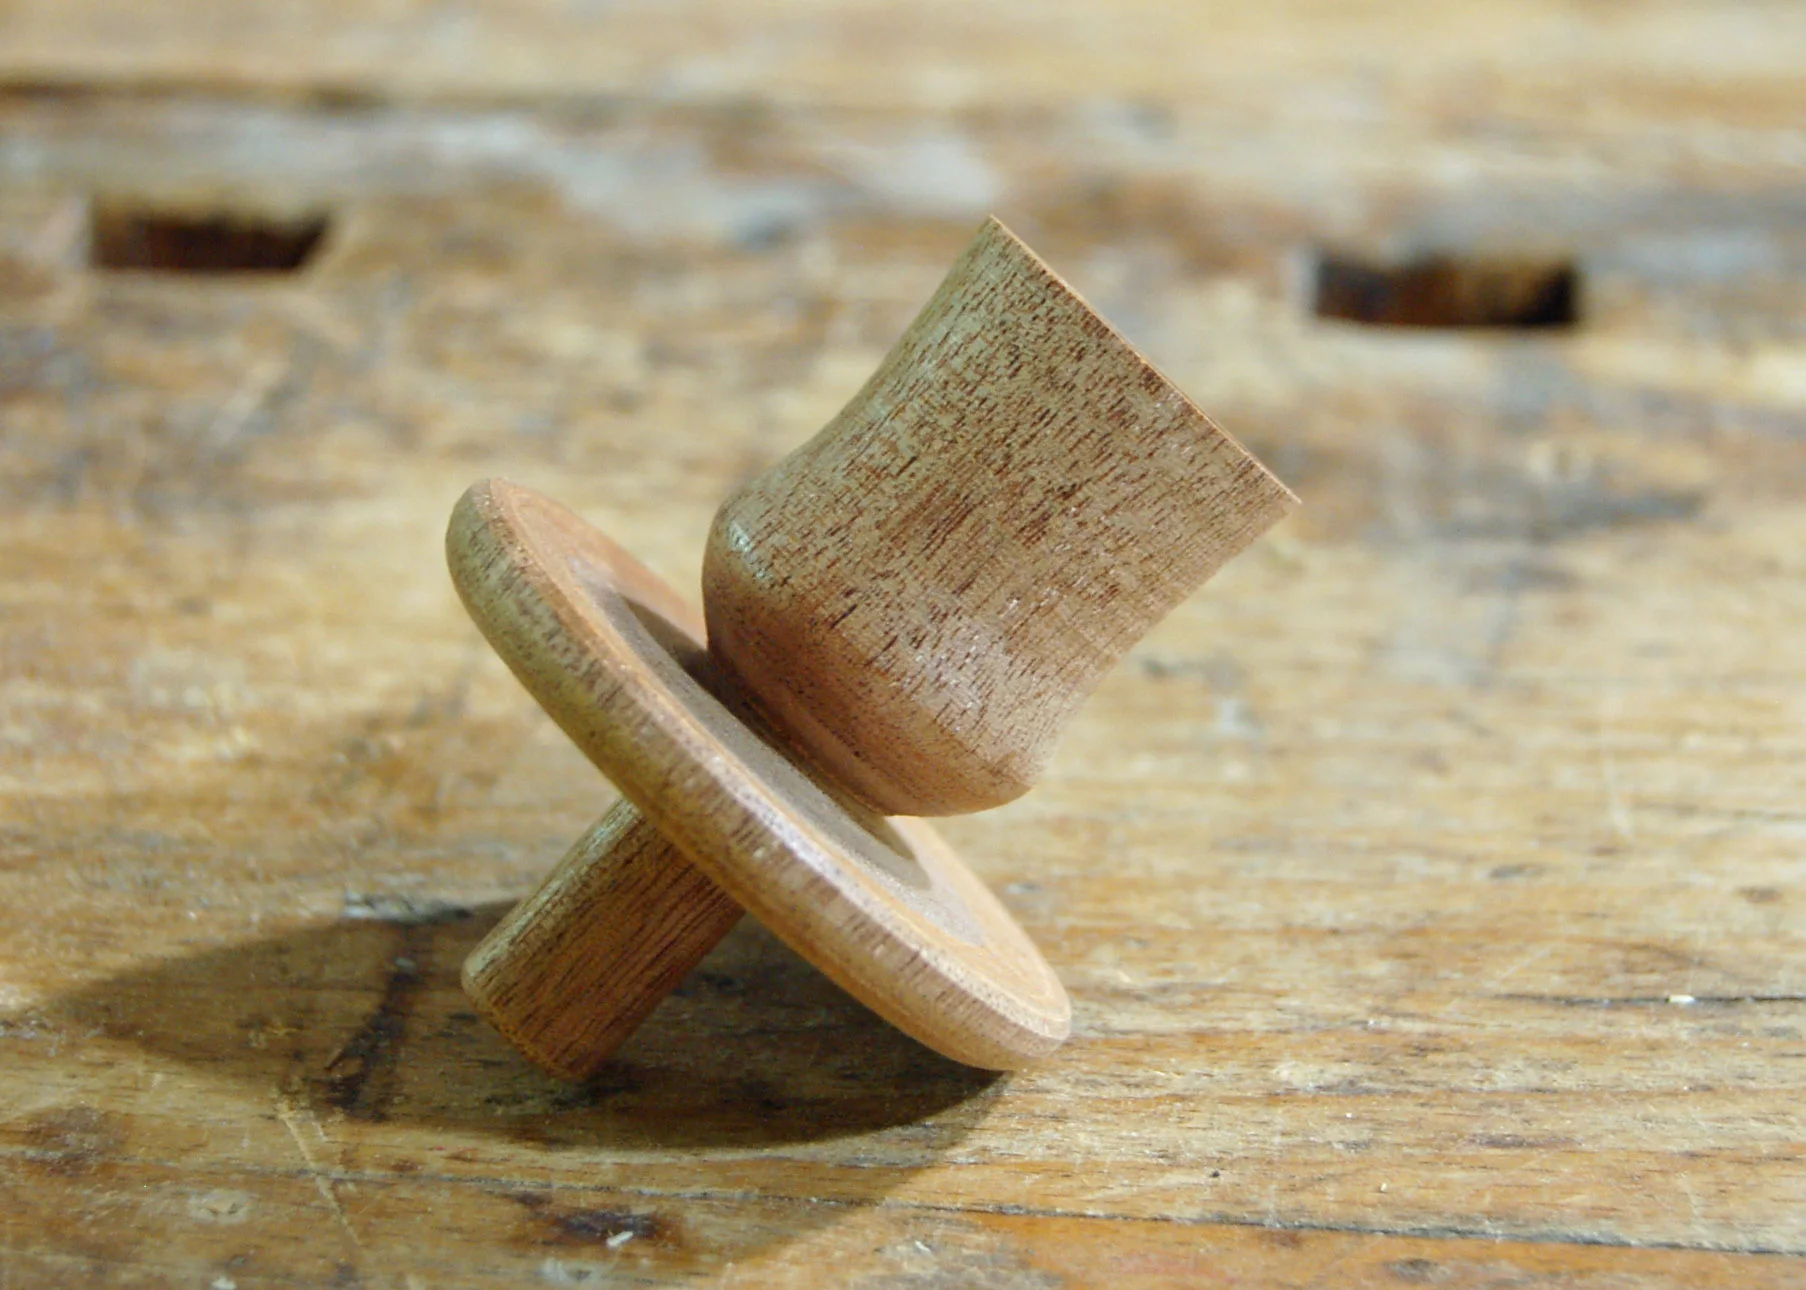
Taking measurements from an existing candle holder, or a drawing, with calipers allows him to make identical cups. After shaping the cup, he turns a 3/8 inch tenon for connection to the main shaft. That leaves the the wax cup; it's shaped using a spindle gouge to create a slightly concave surface where it meets the candle holder.
The base is turned using a faceplate and a predrilled piece bandsawn from a board. Ernie's sanding routine is to use 60, 80, 120, 150, 180 and 220 grit papers. He then uses 1-2 coats of Waterlox with a top coat of French Polish that really brings out the figure in the mahogany.
