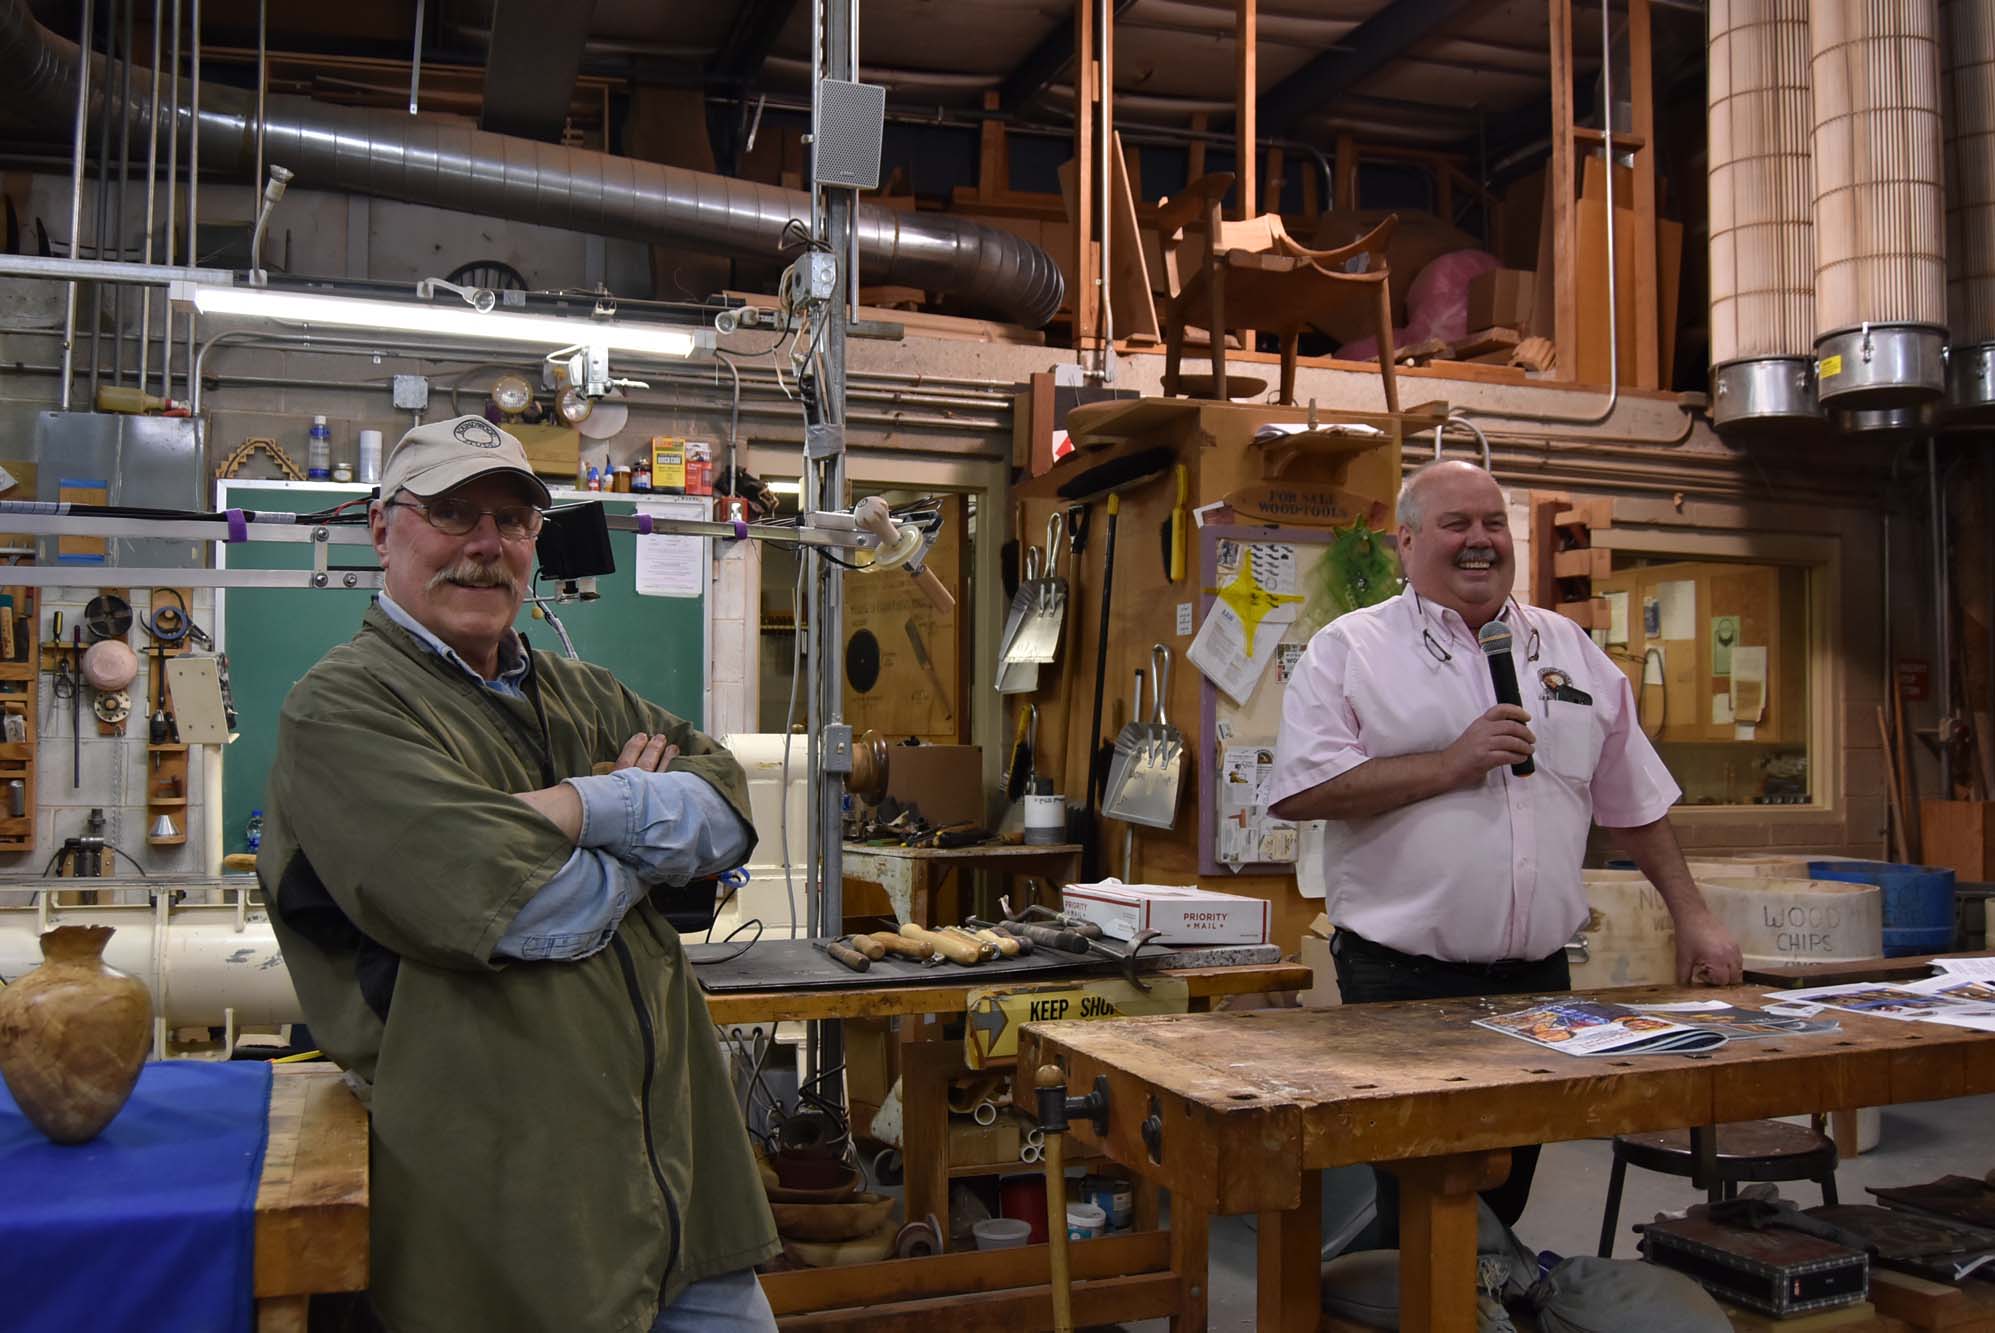
Bud Hohlfeld of Roundwood Studio shared some of his design ideas and techniques for pleasing hollow forms at February’s meeting. Long time member of the club, Bud has been well known for the innovations he’s brought to the craft and his excellent workmanship. Here are just a few examples of the wonderful art he has created.
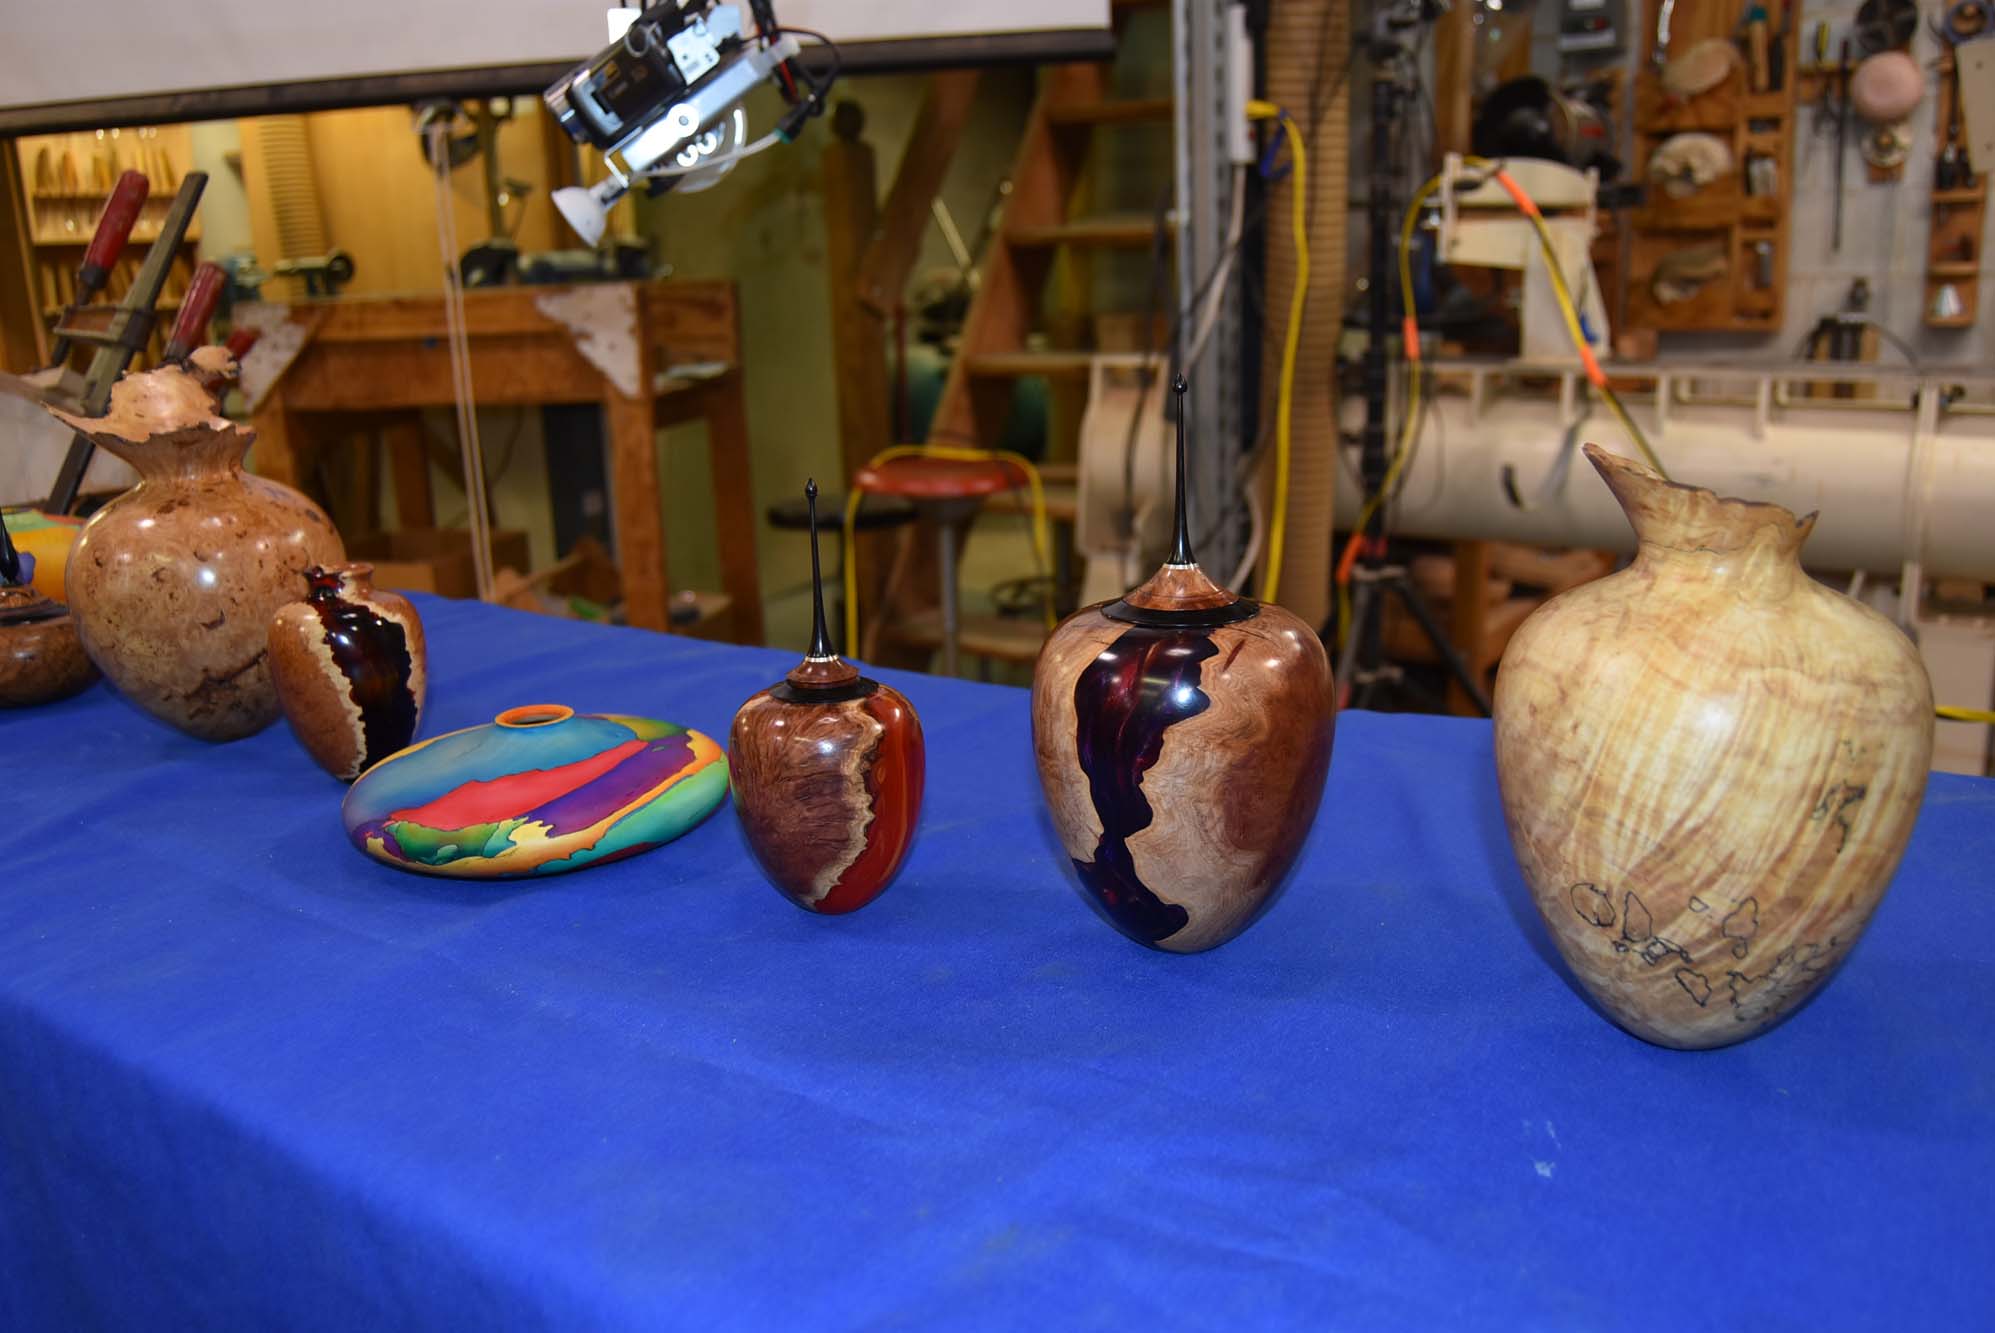
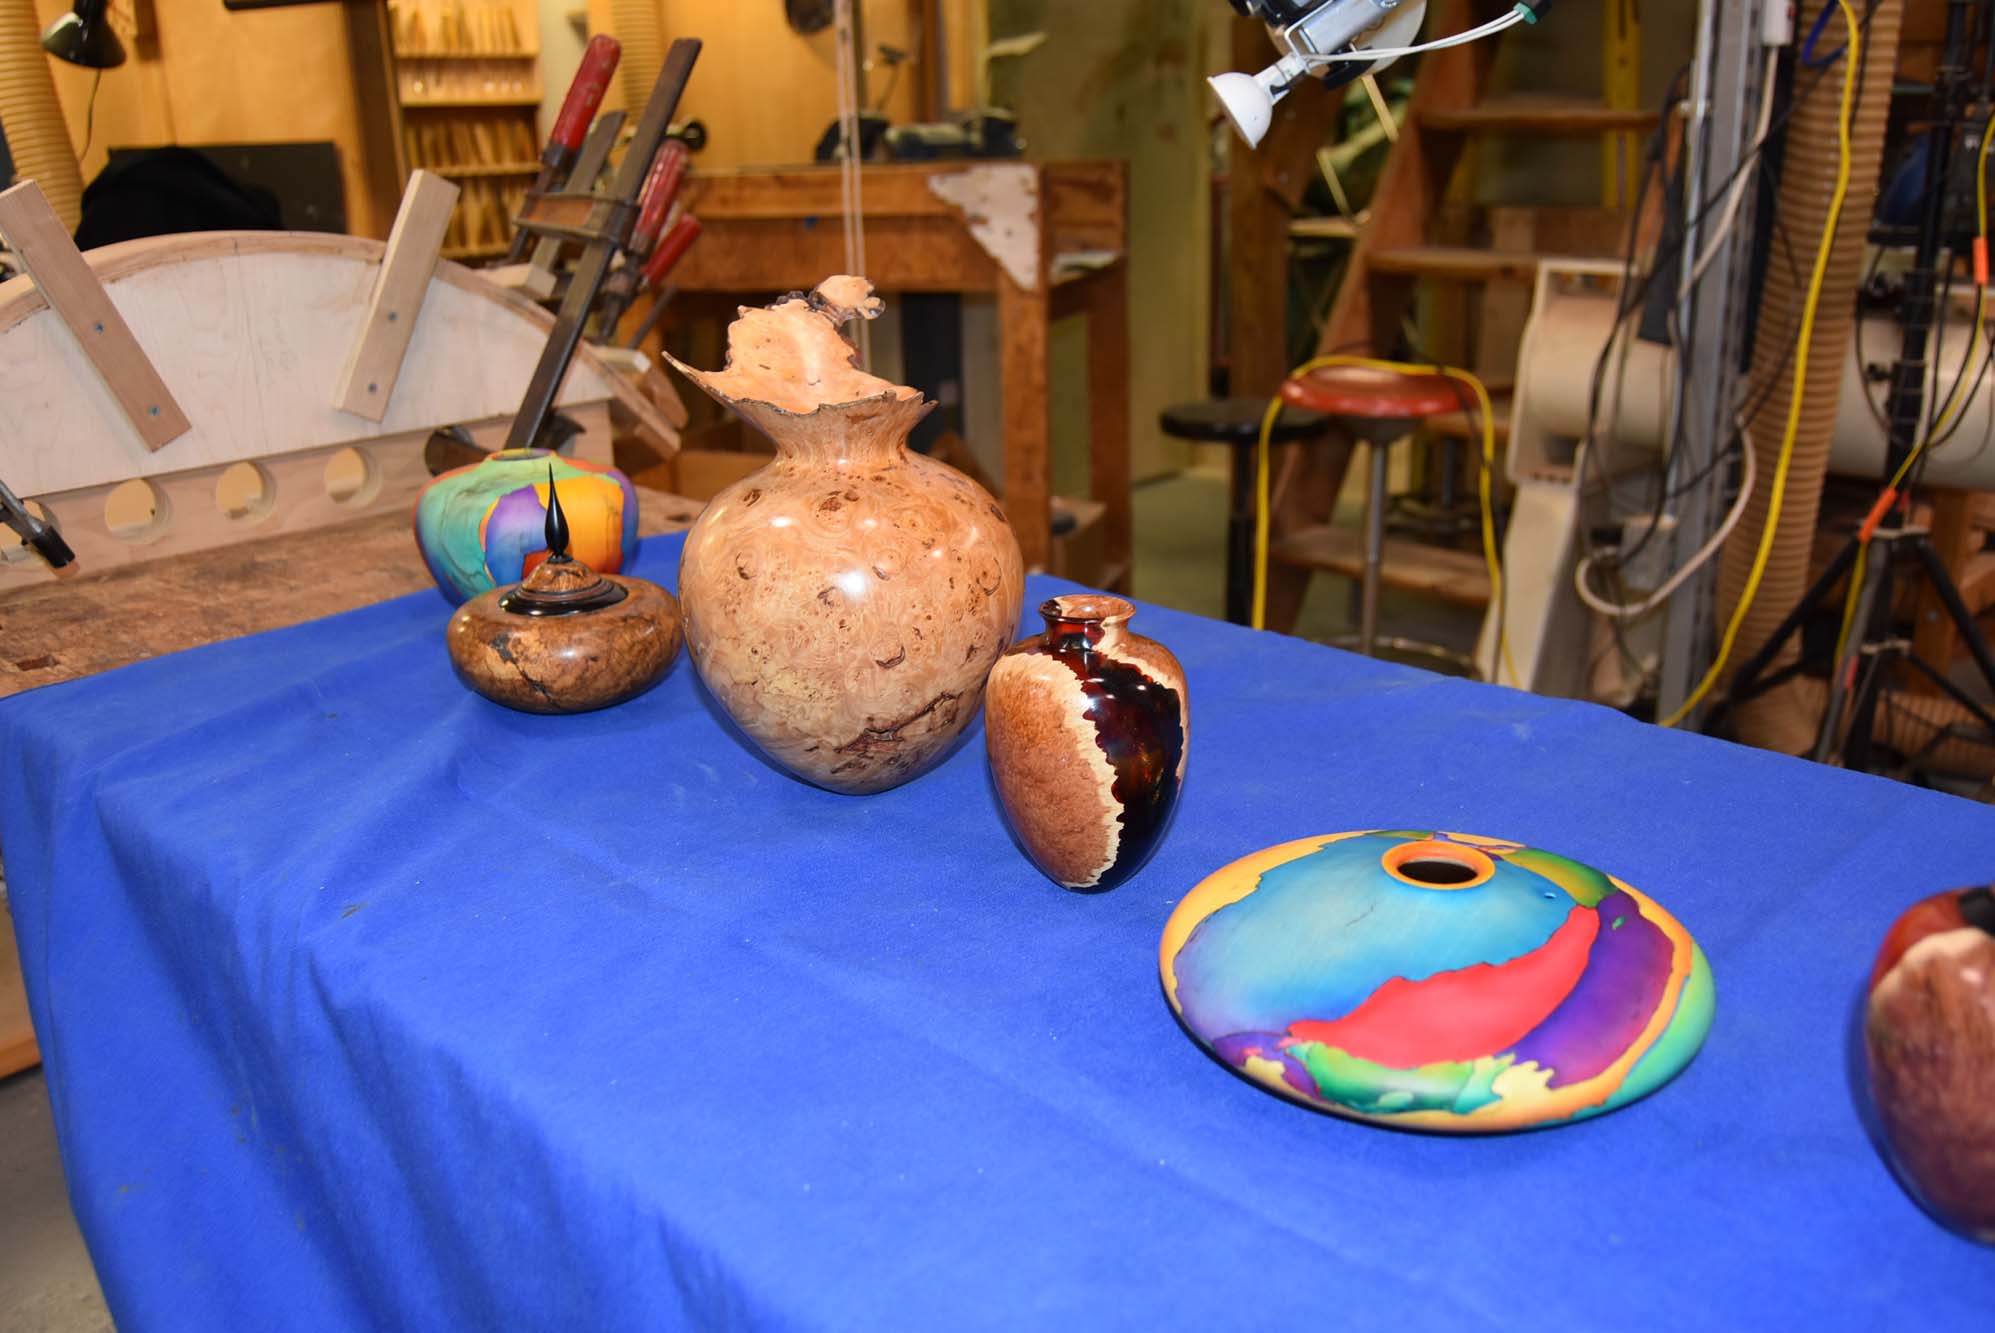
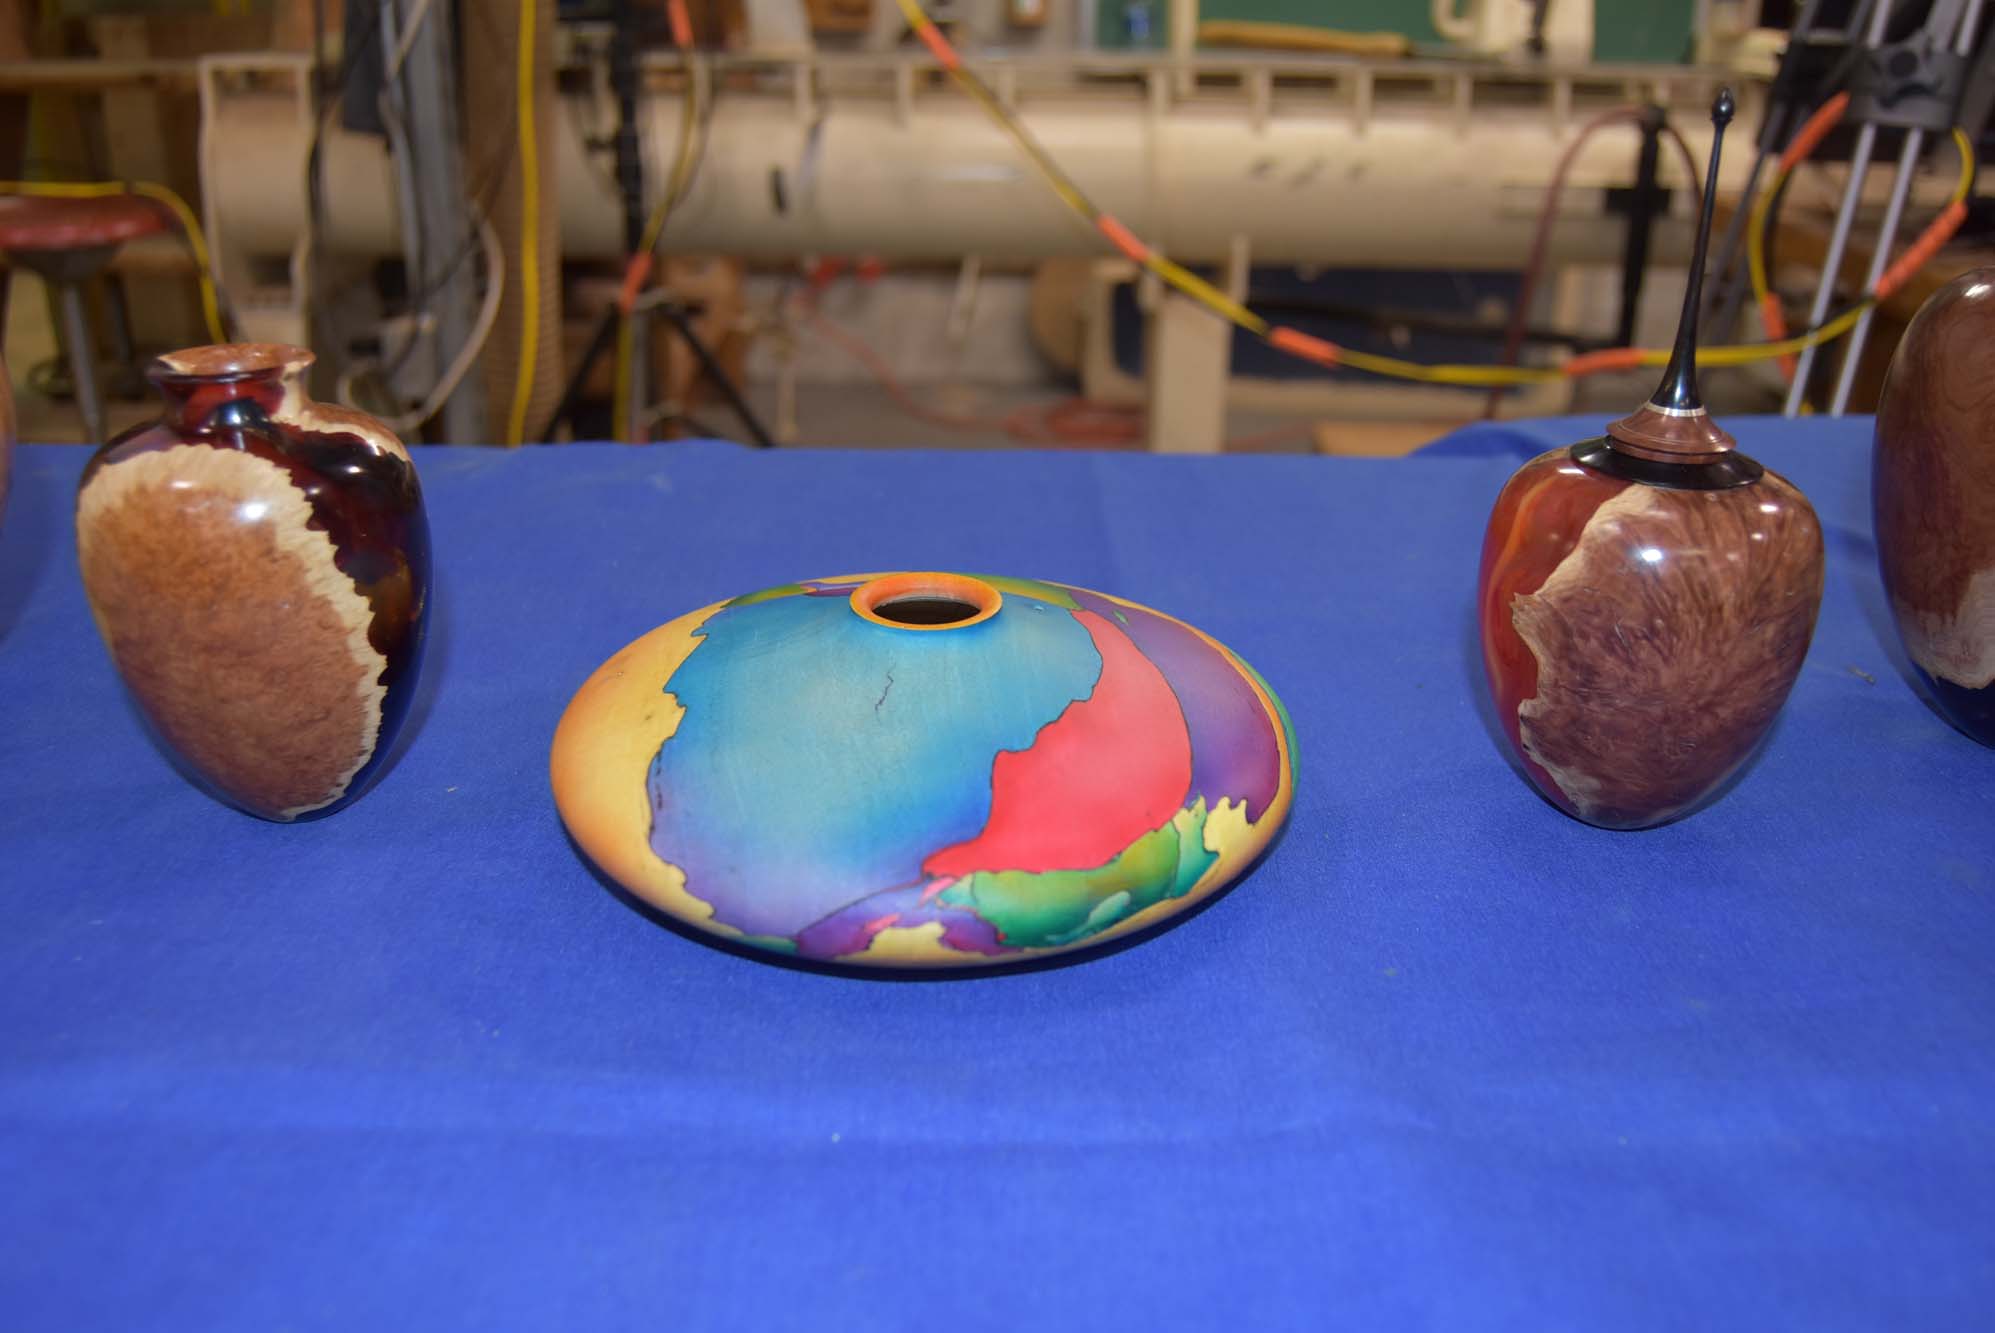
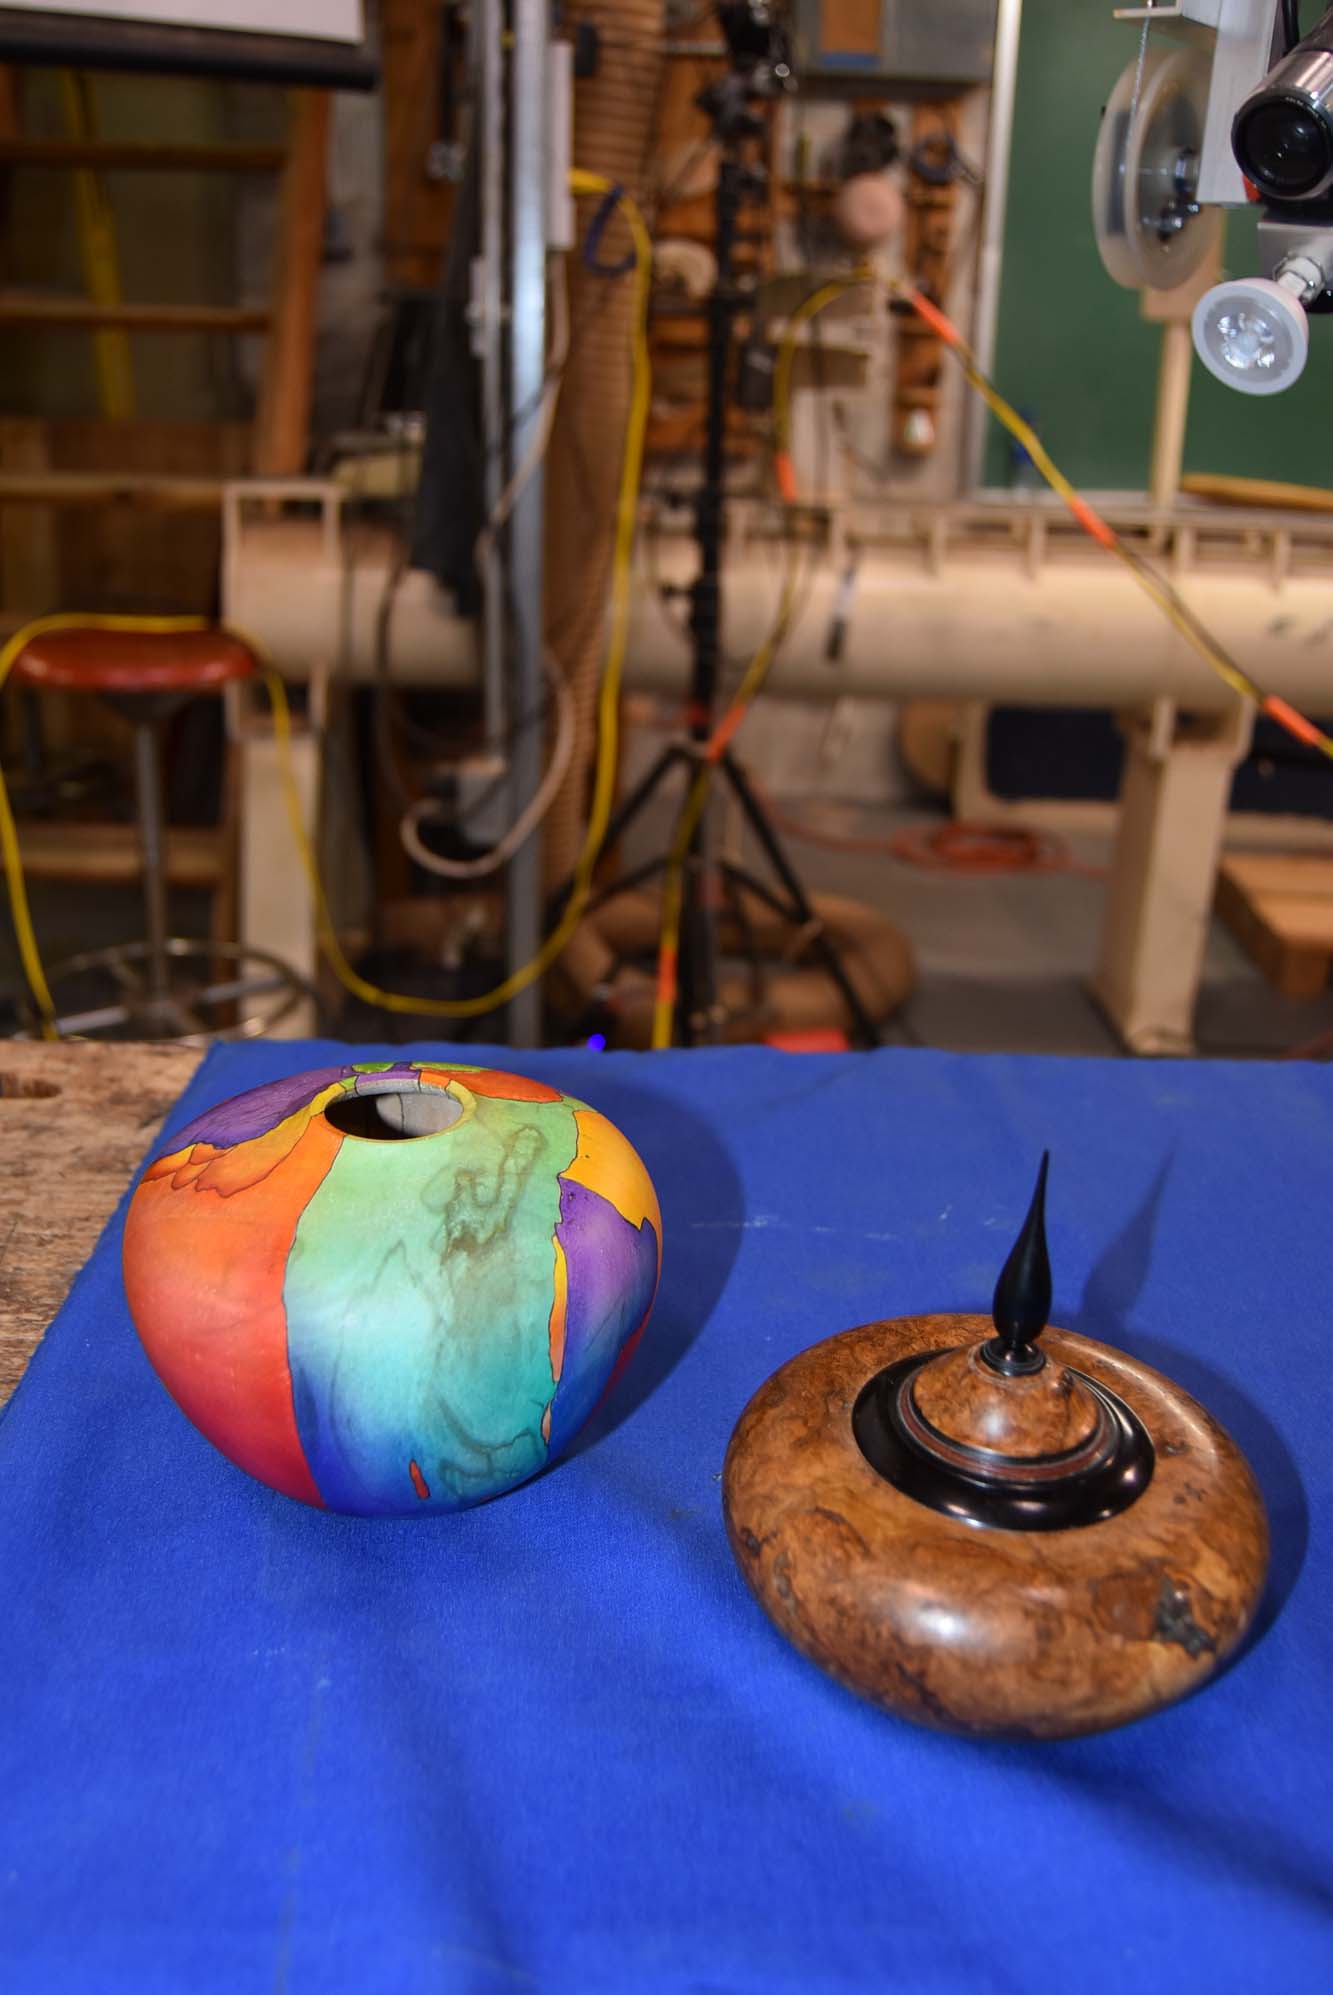
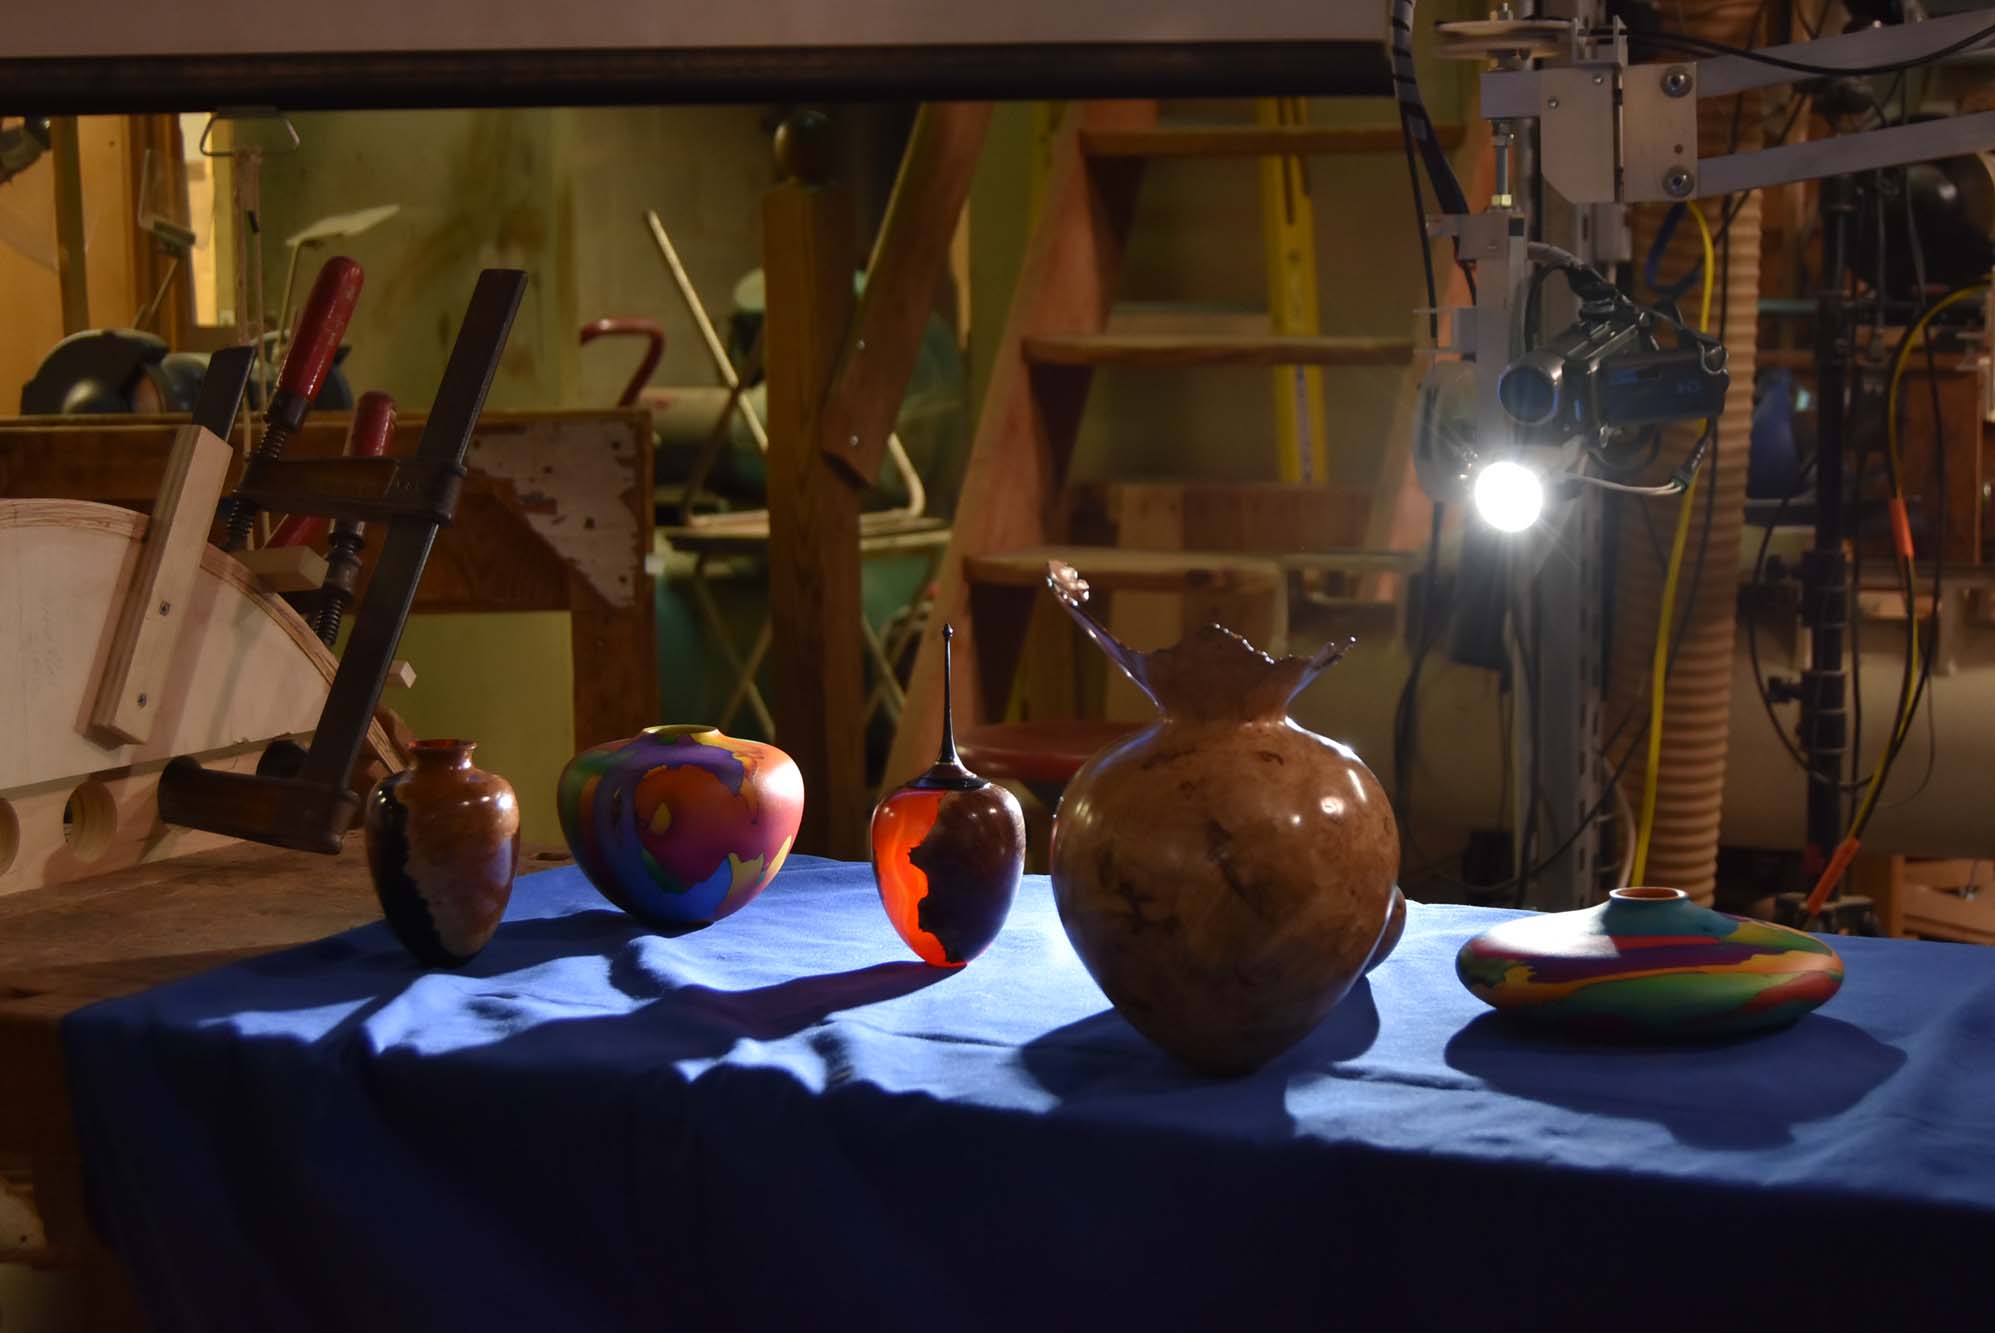
Bud walked through a number of these pieces and pointed out the various details he felt made them work: egg-shaped forms with continuous curves, asymmetry in the lip of natural forms, finial tops that mimicked the vessels form, and certainly, taking advantage of what’s already in the wood.
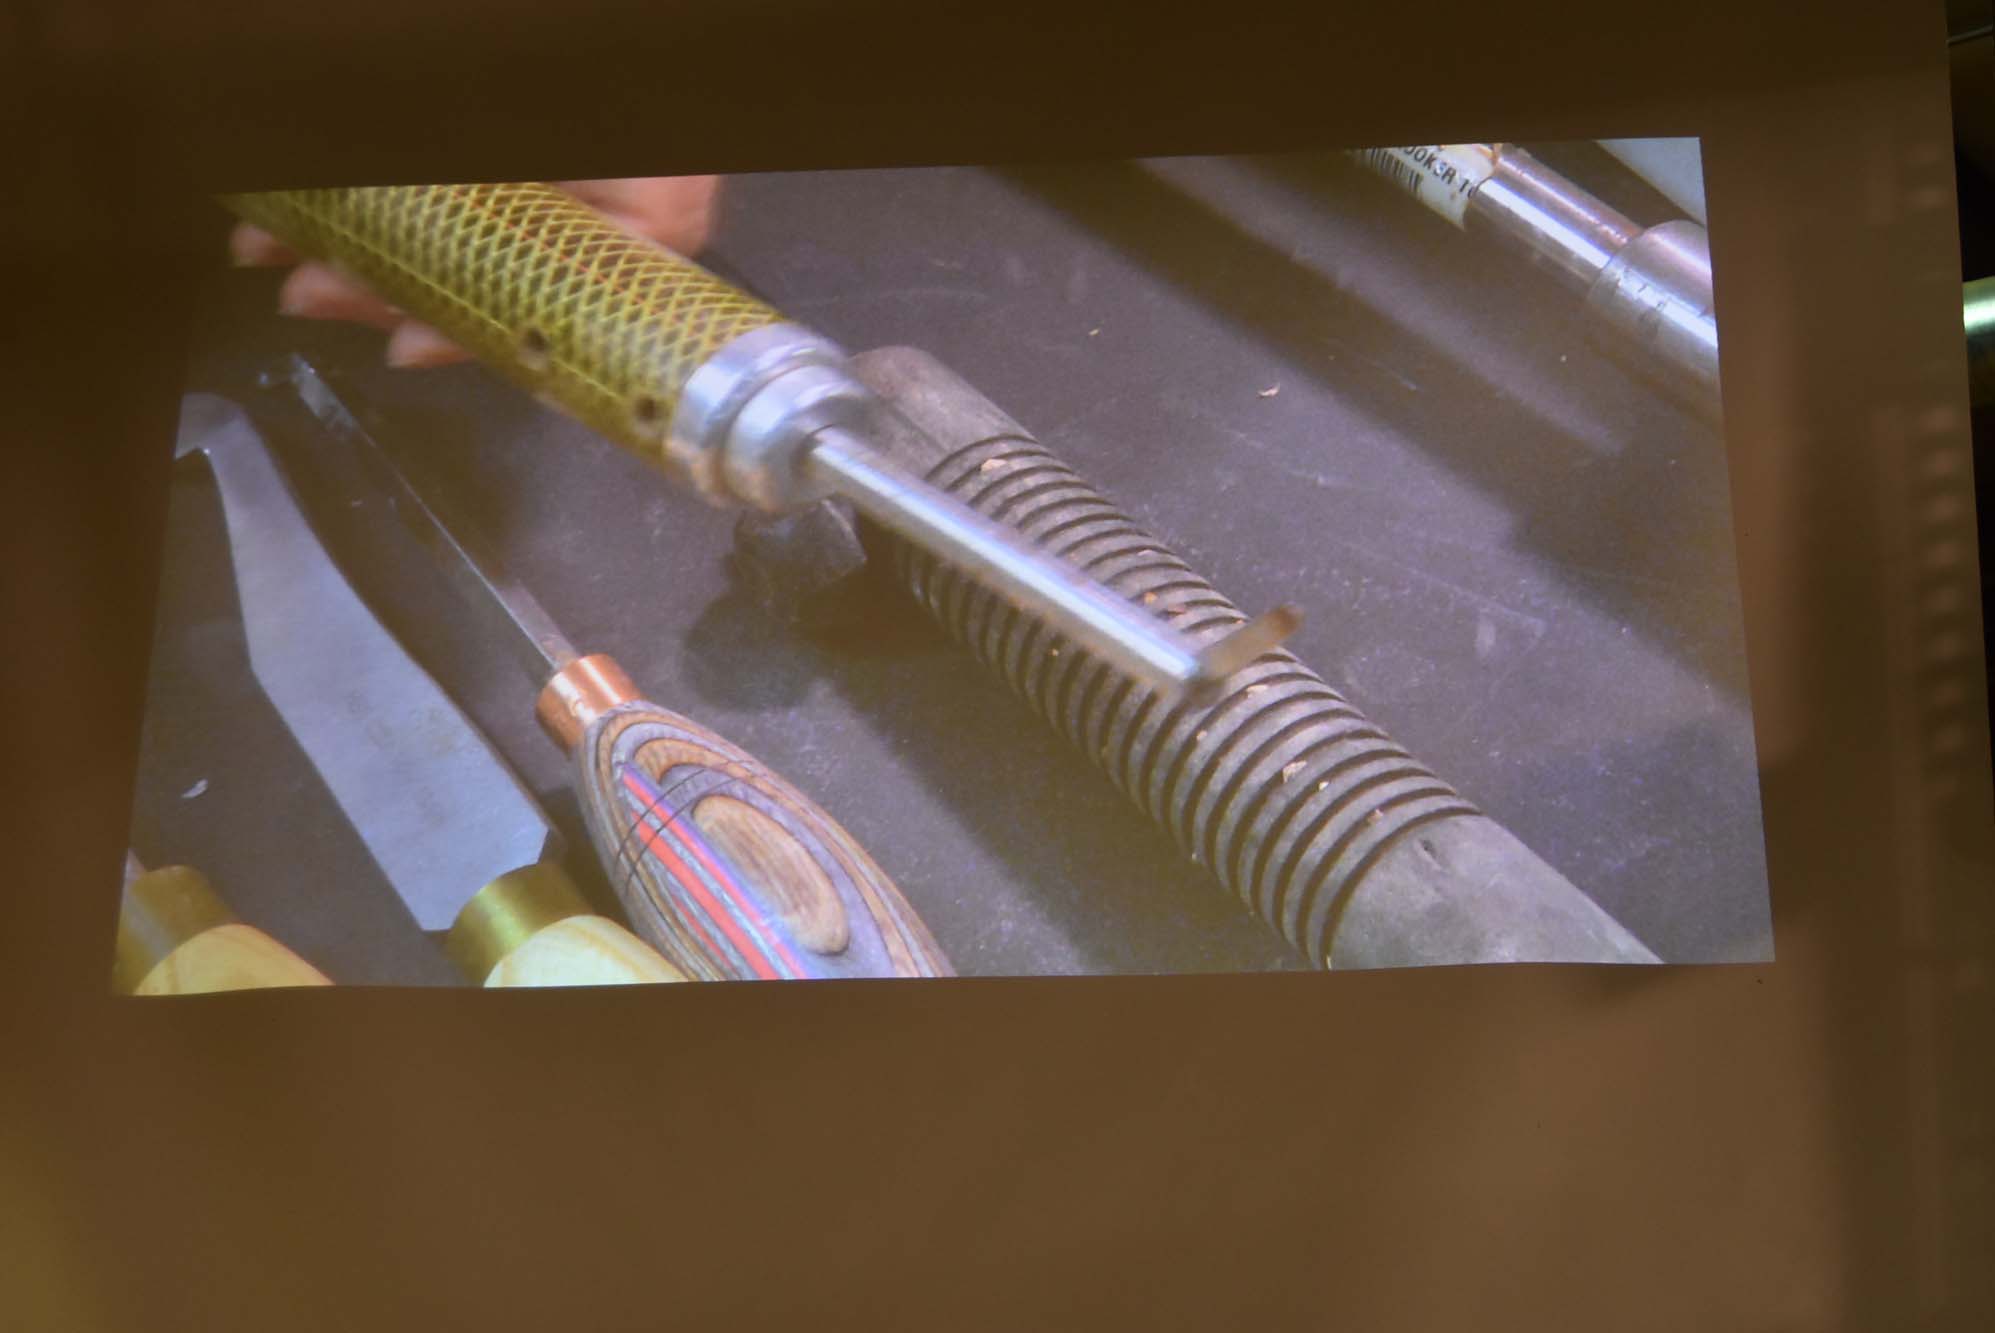
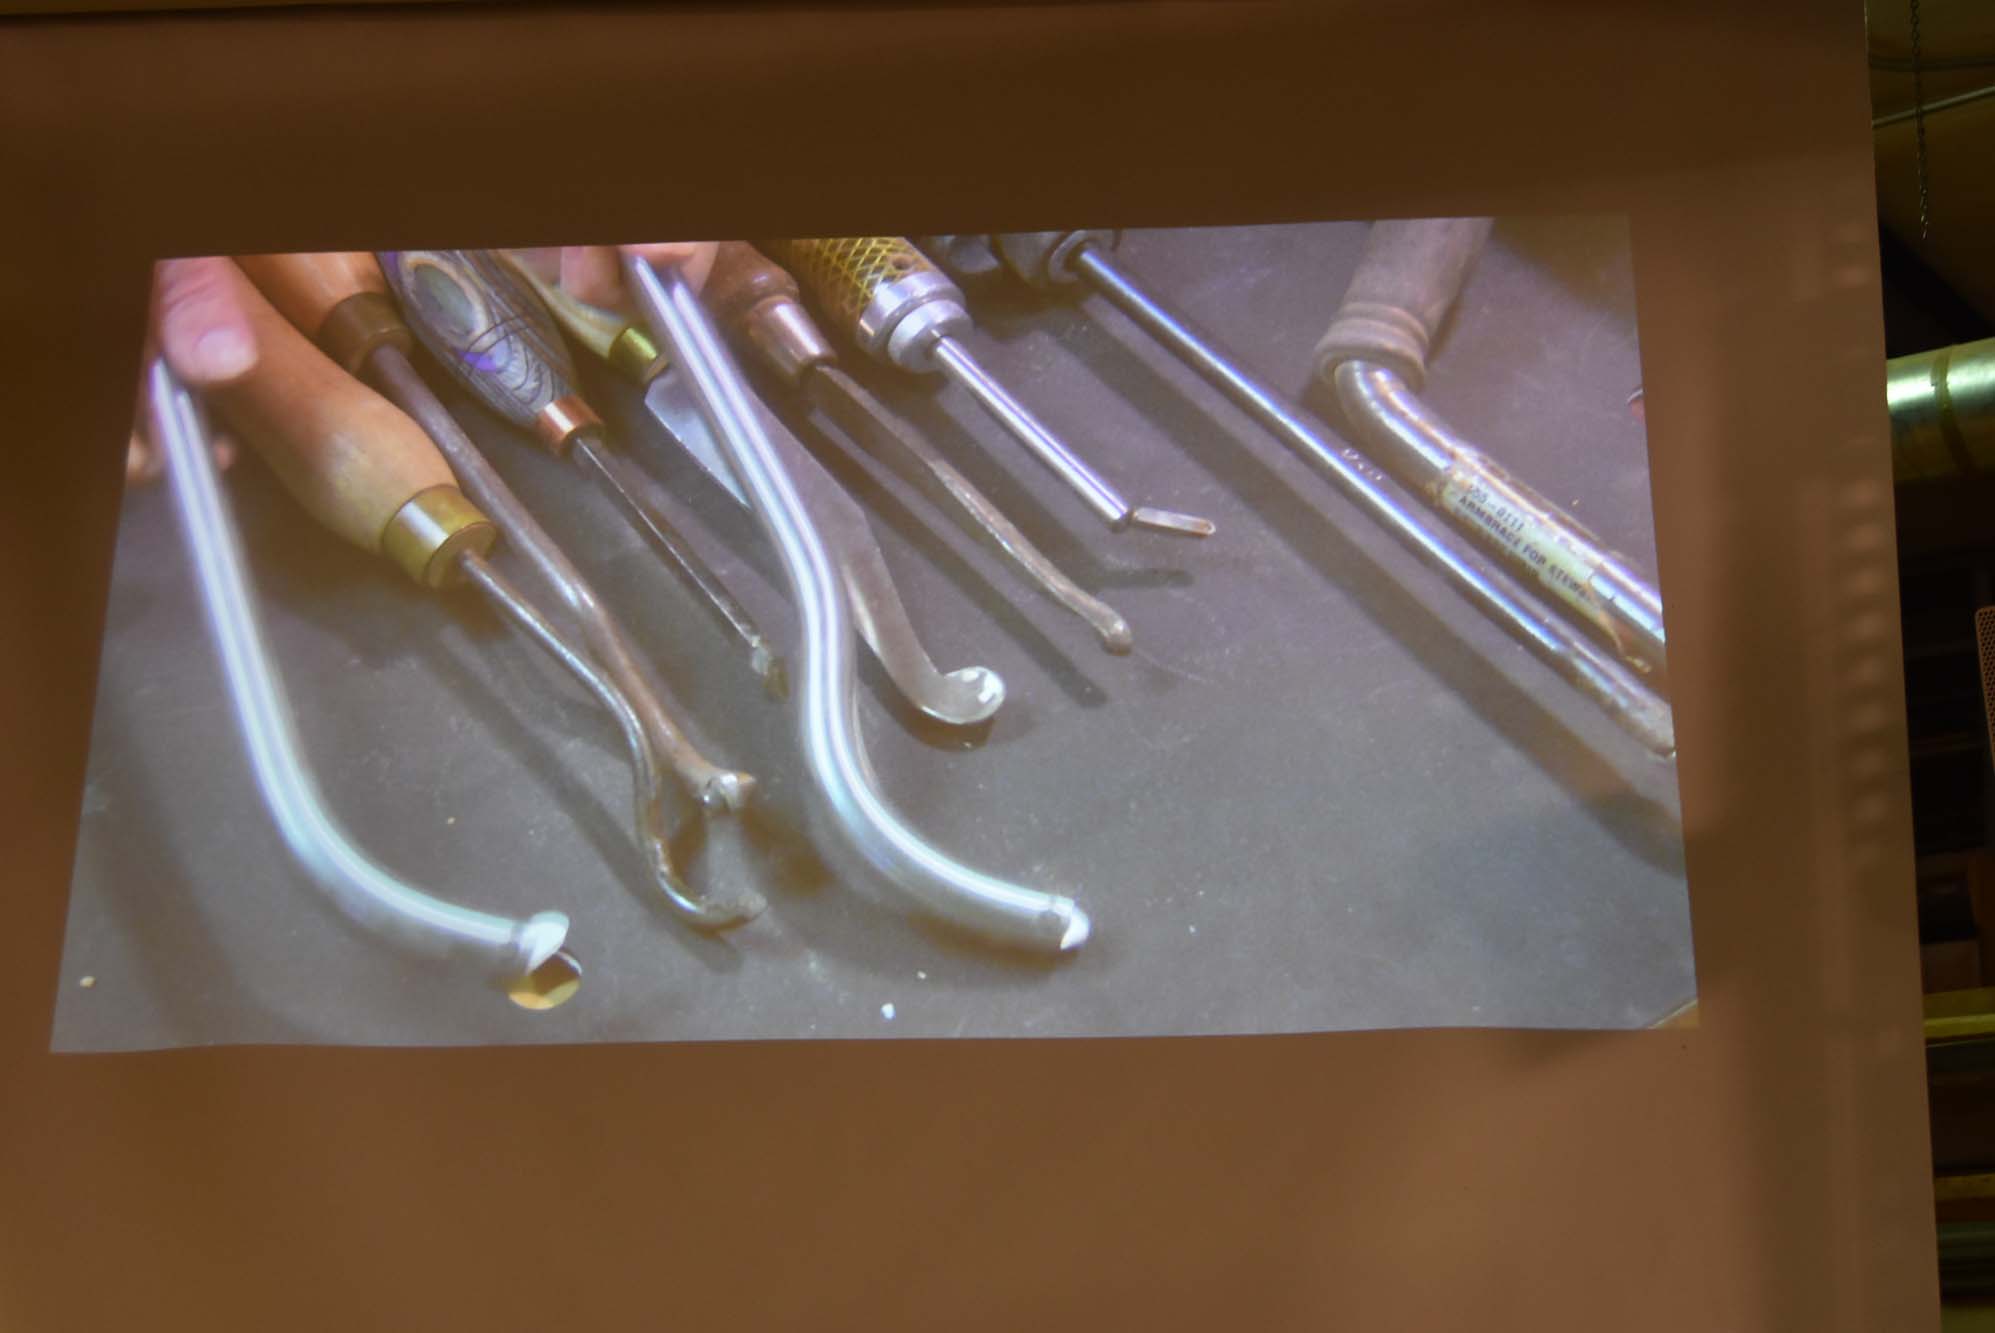
Since this was all about hollowing, Bud brought out his arsenal tools he’s used through the years, including Stewart, Ellsworth, Munro, and Sorby Tools. Currently, Bud is using the Oneway’s Laser Hollowing System.
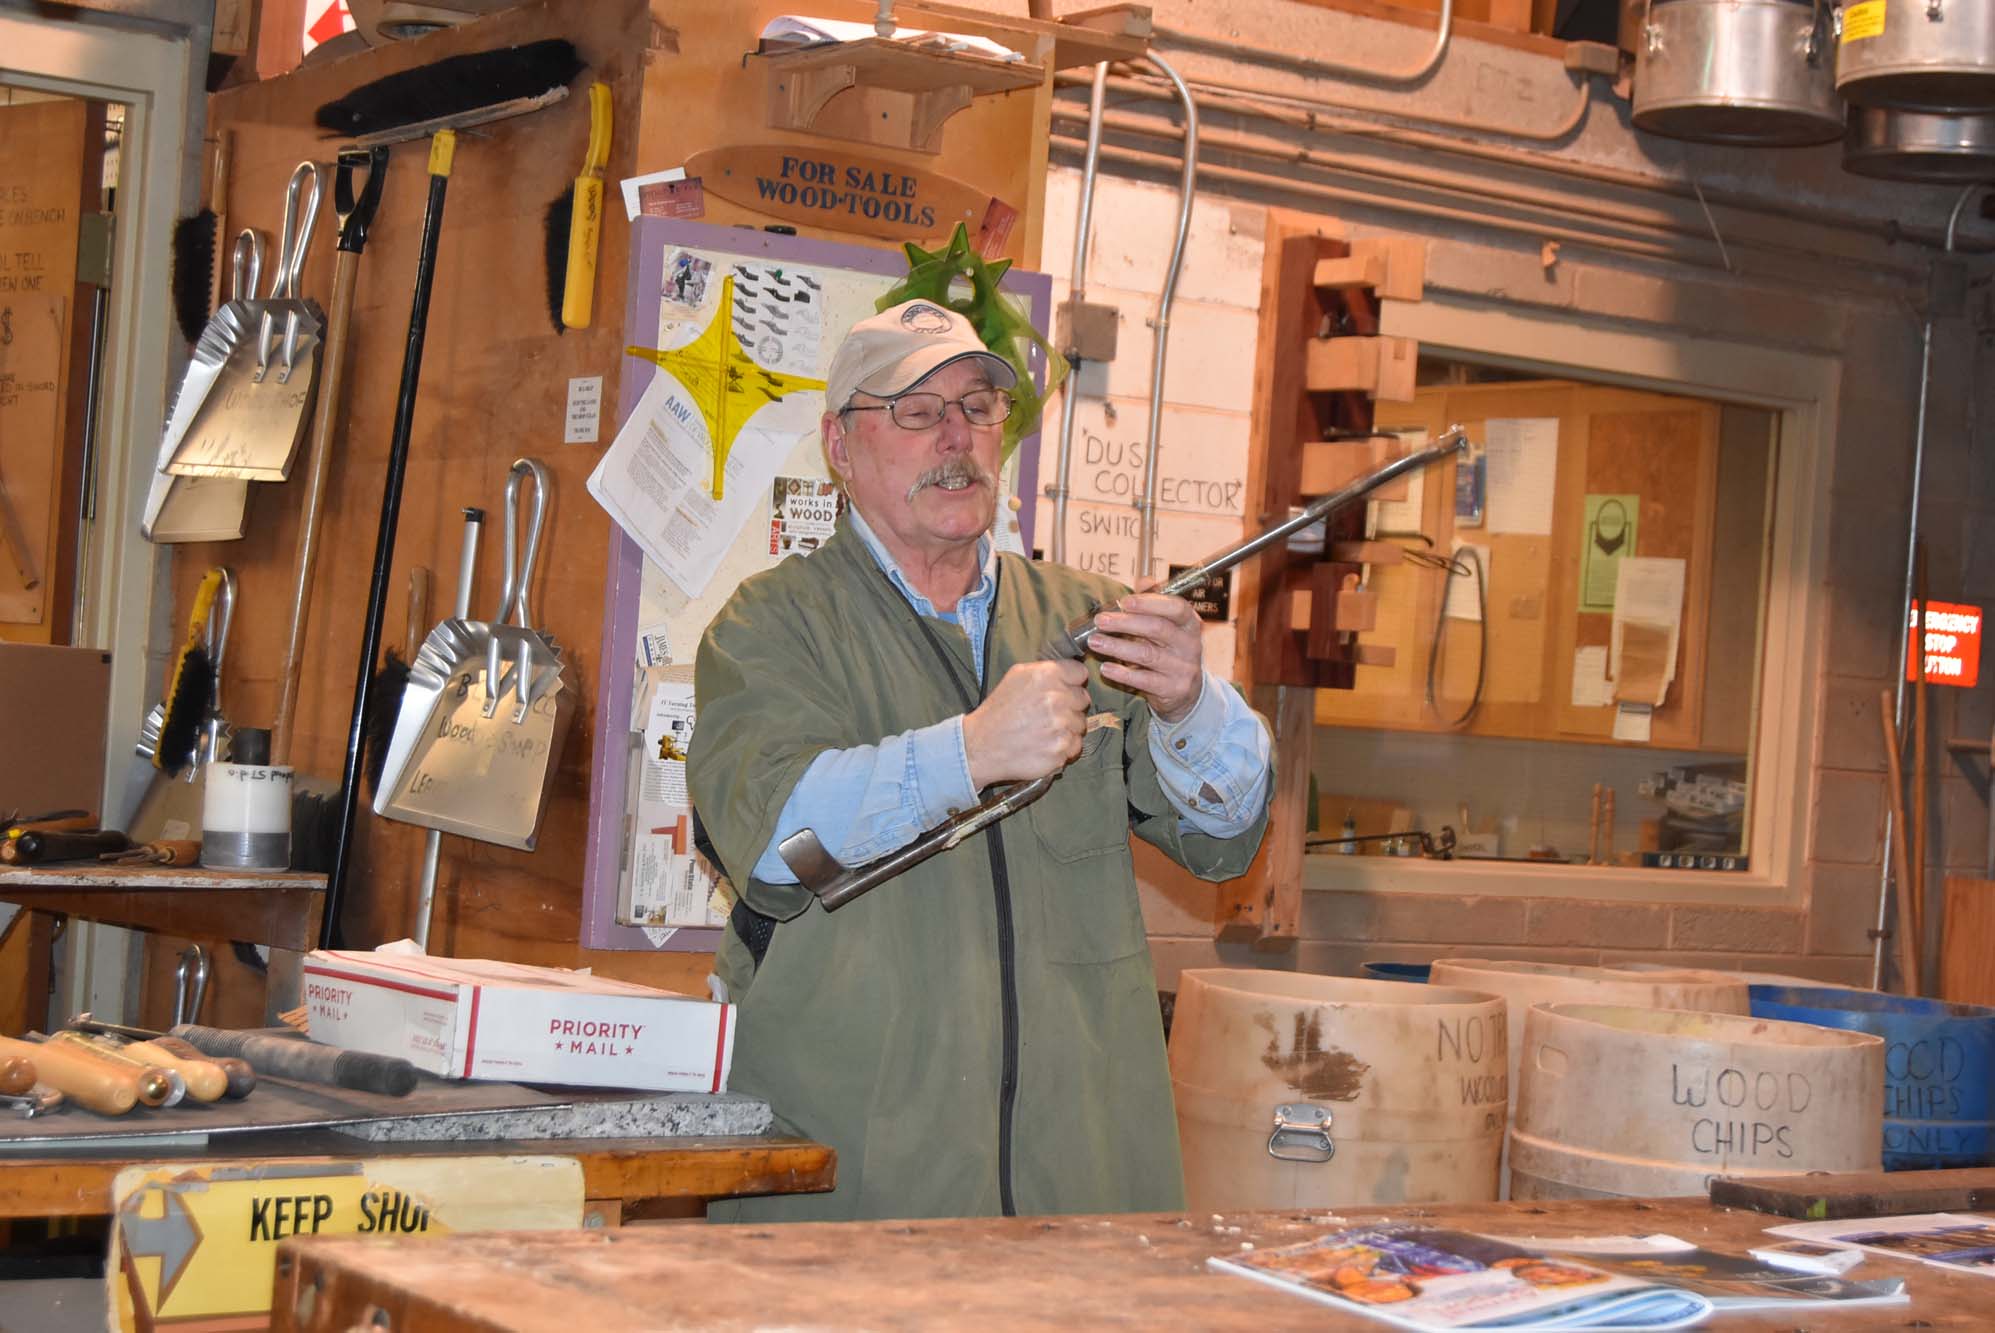
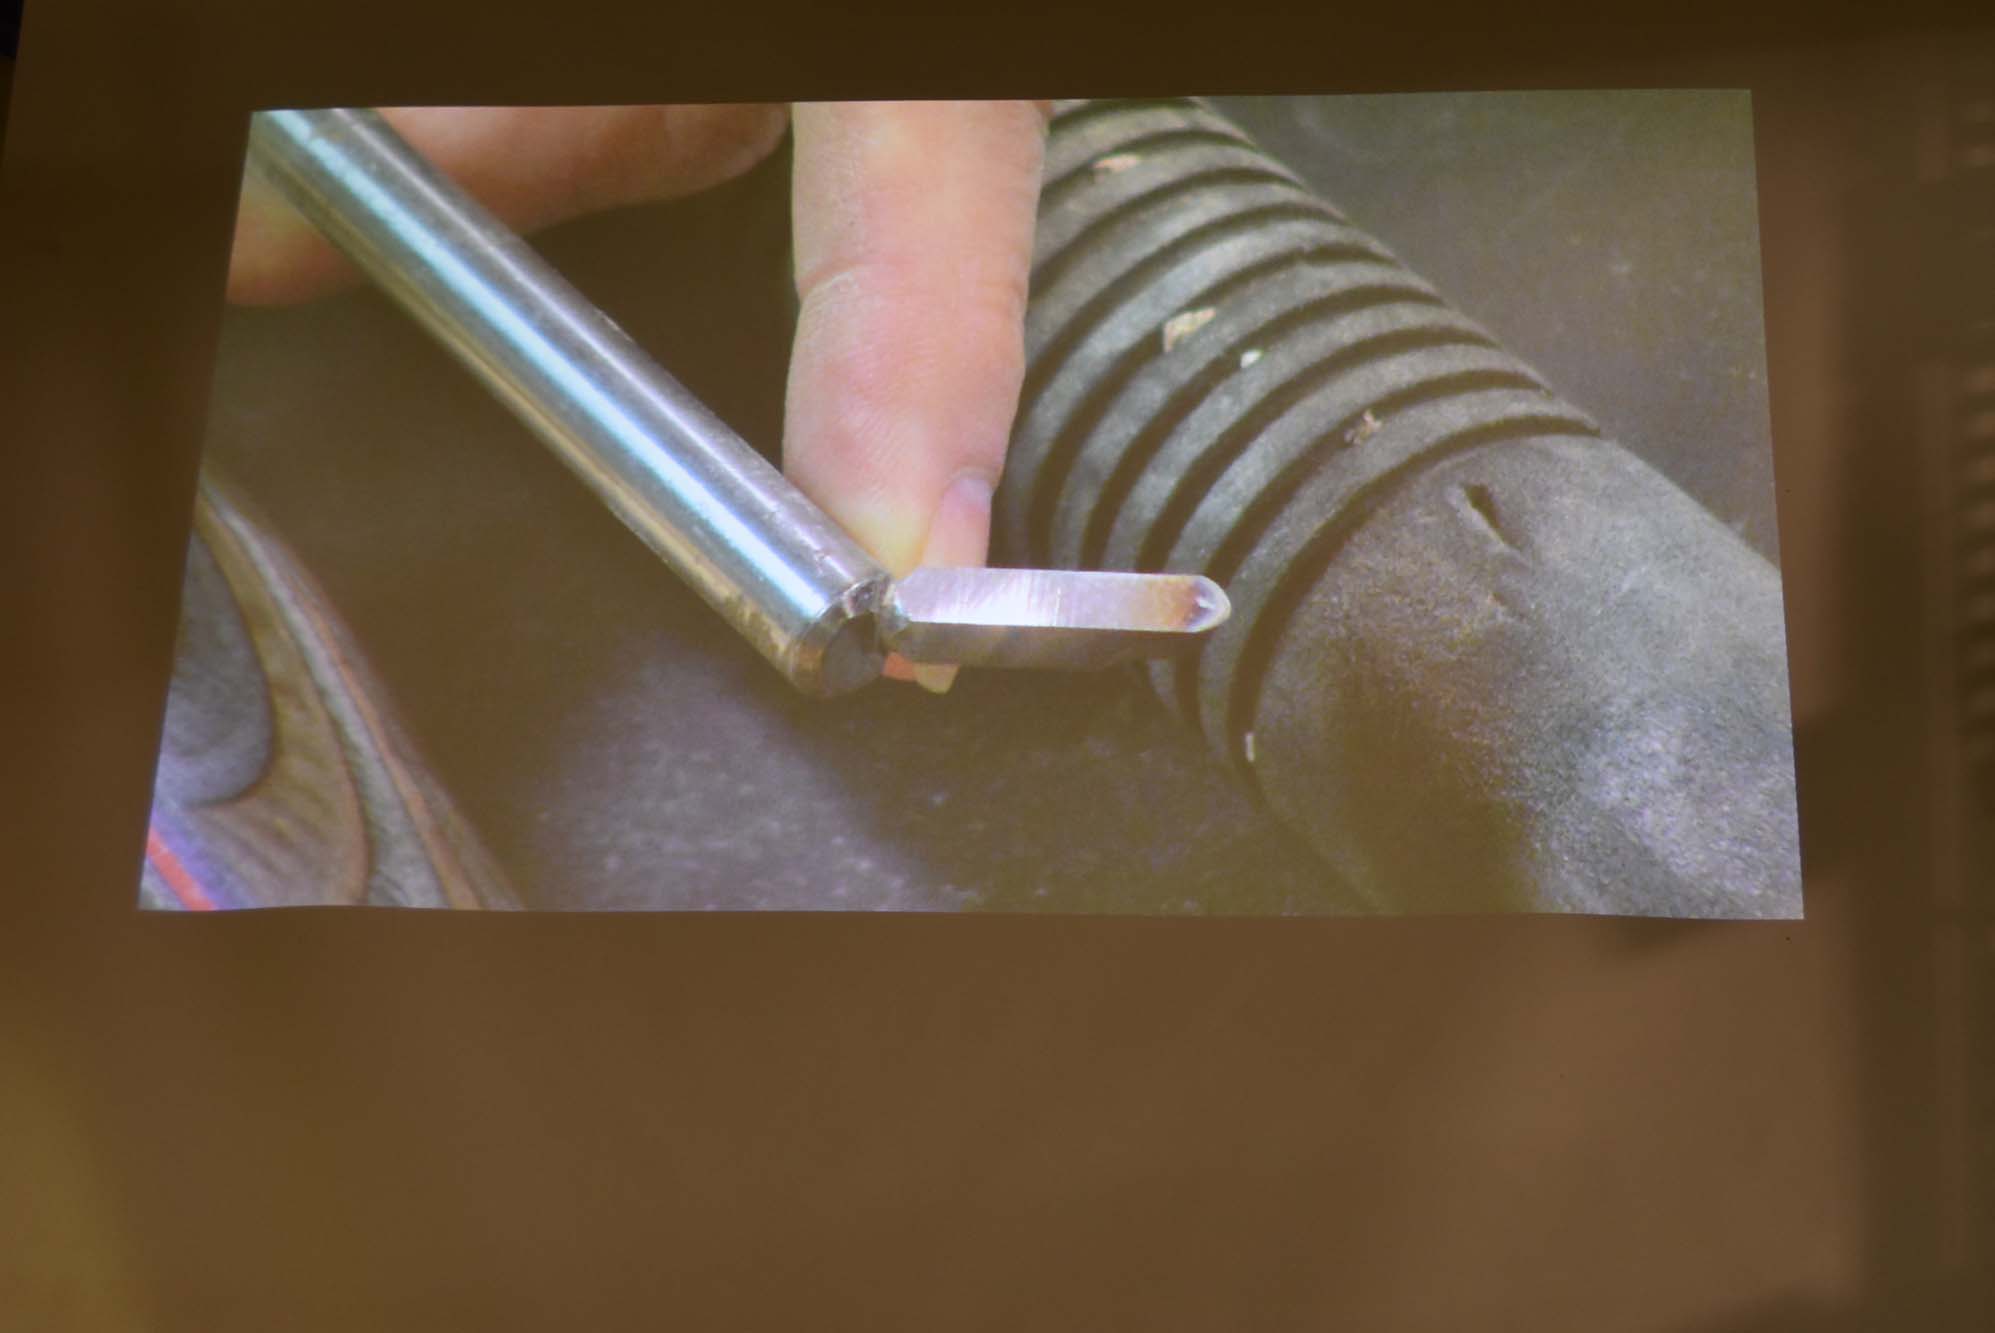
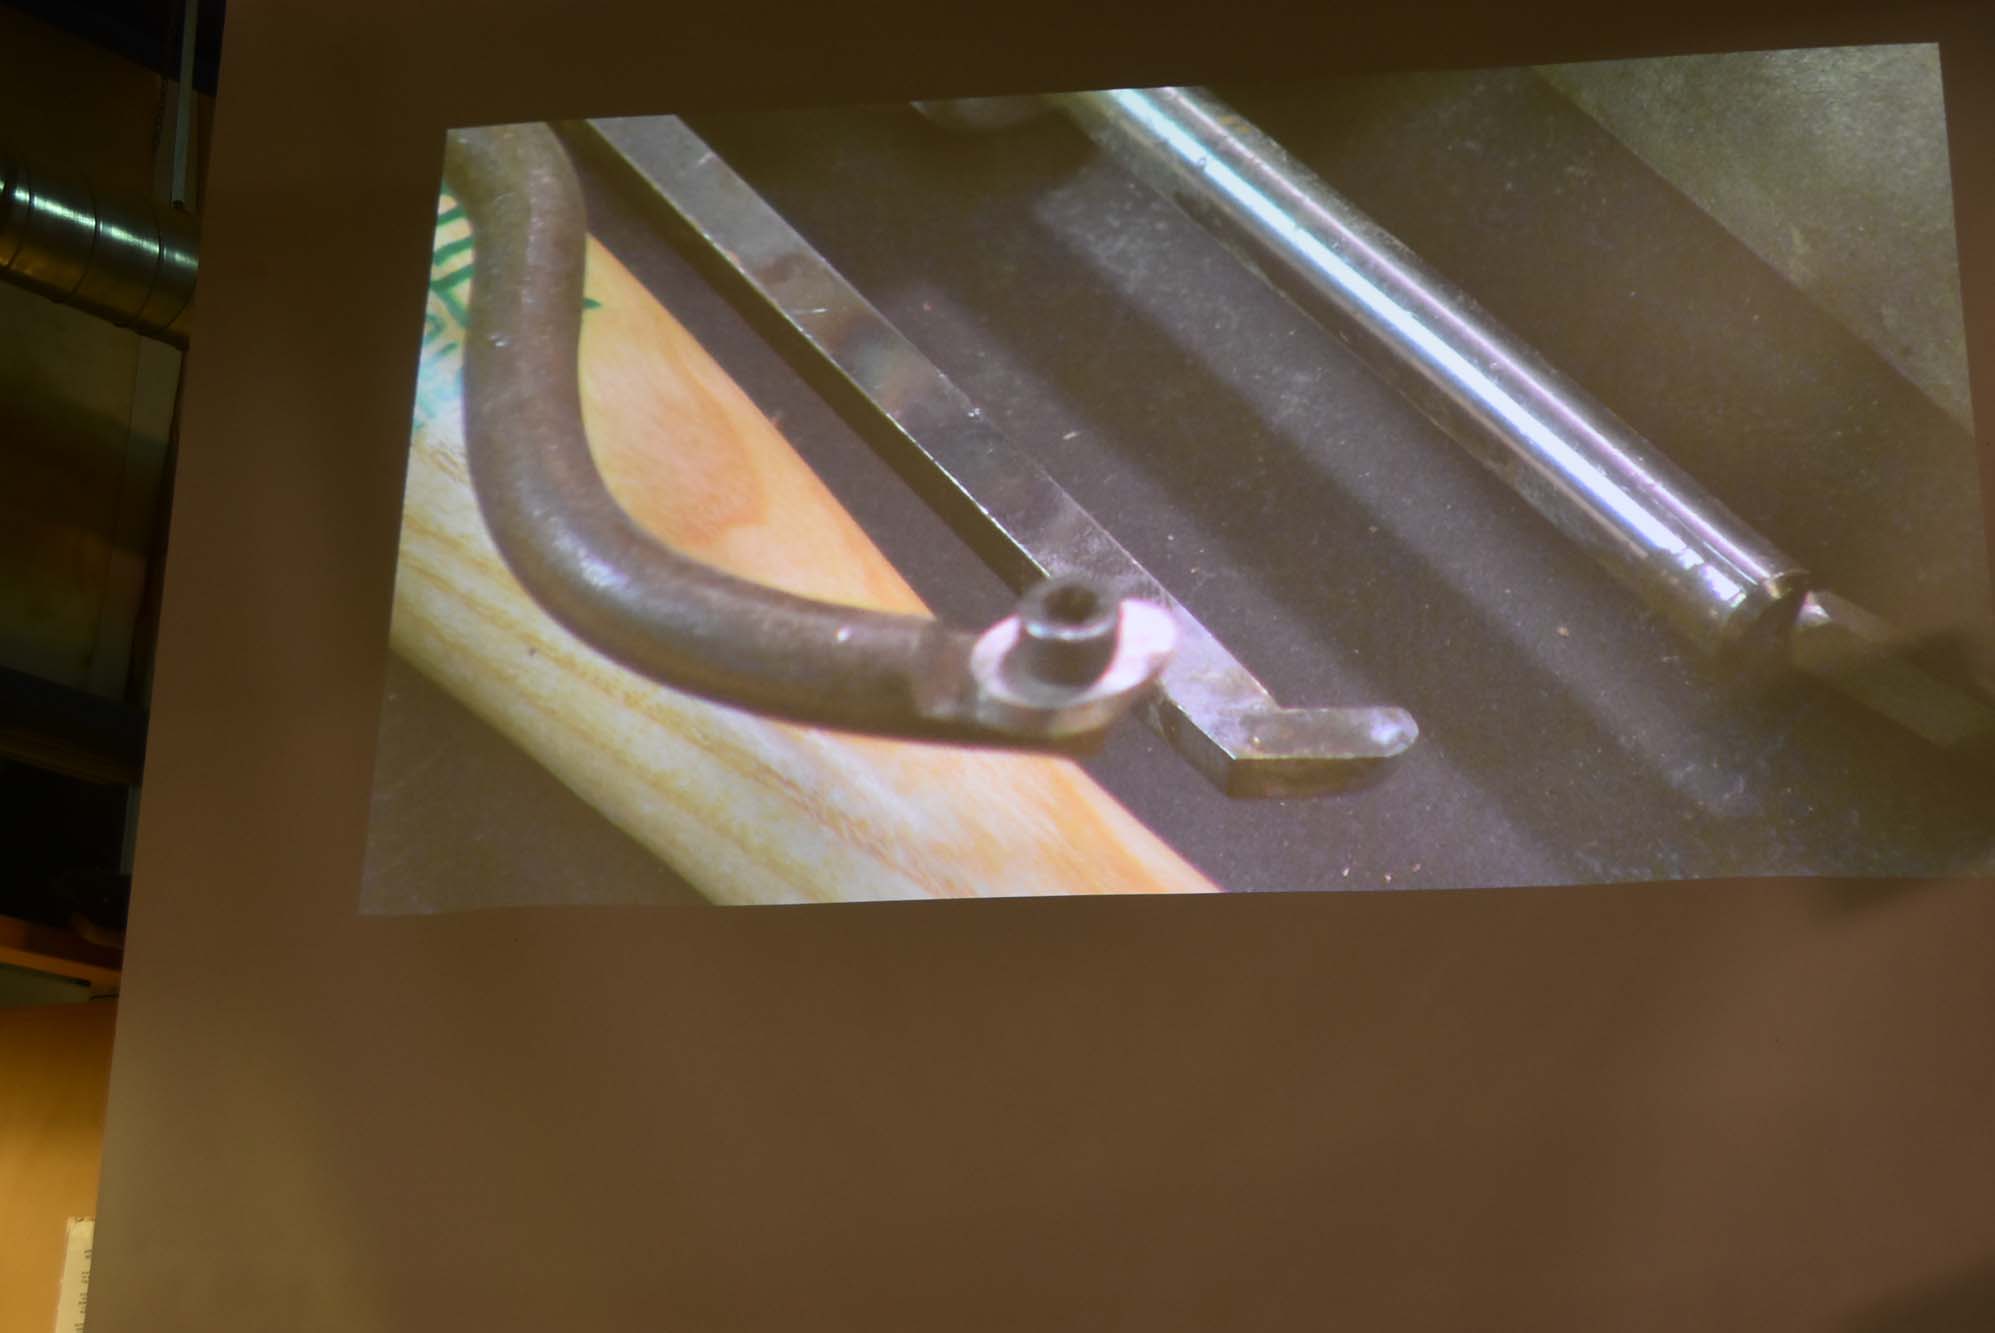
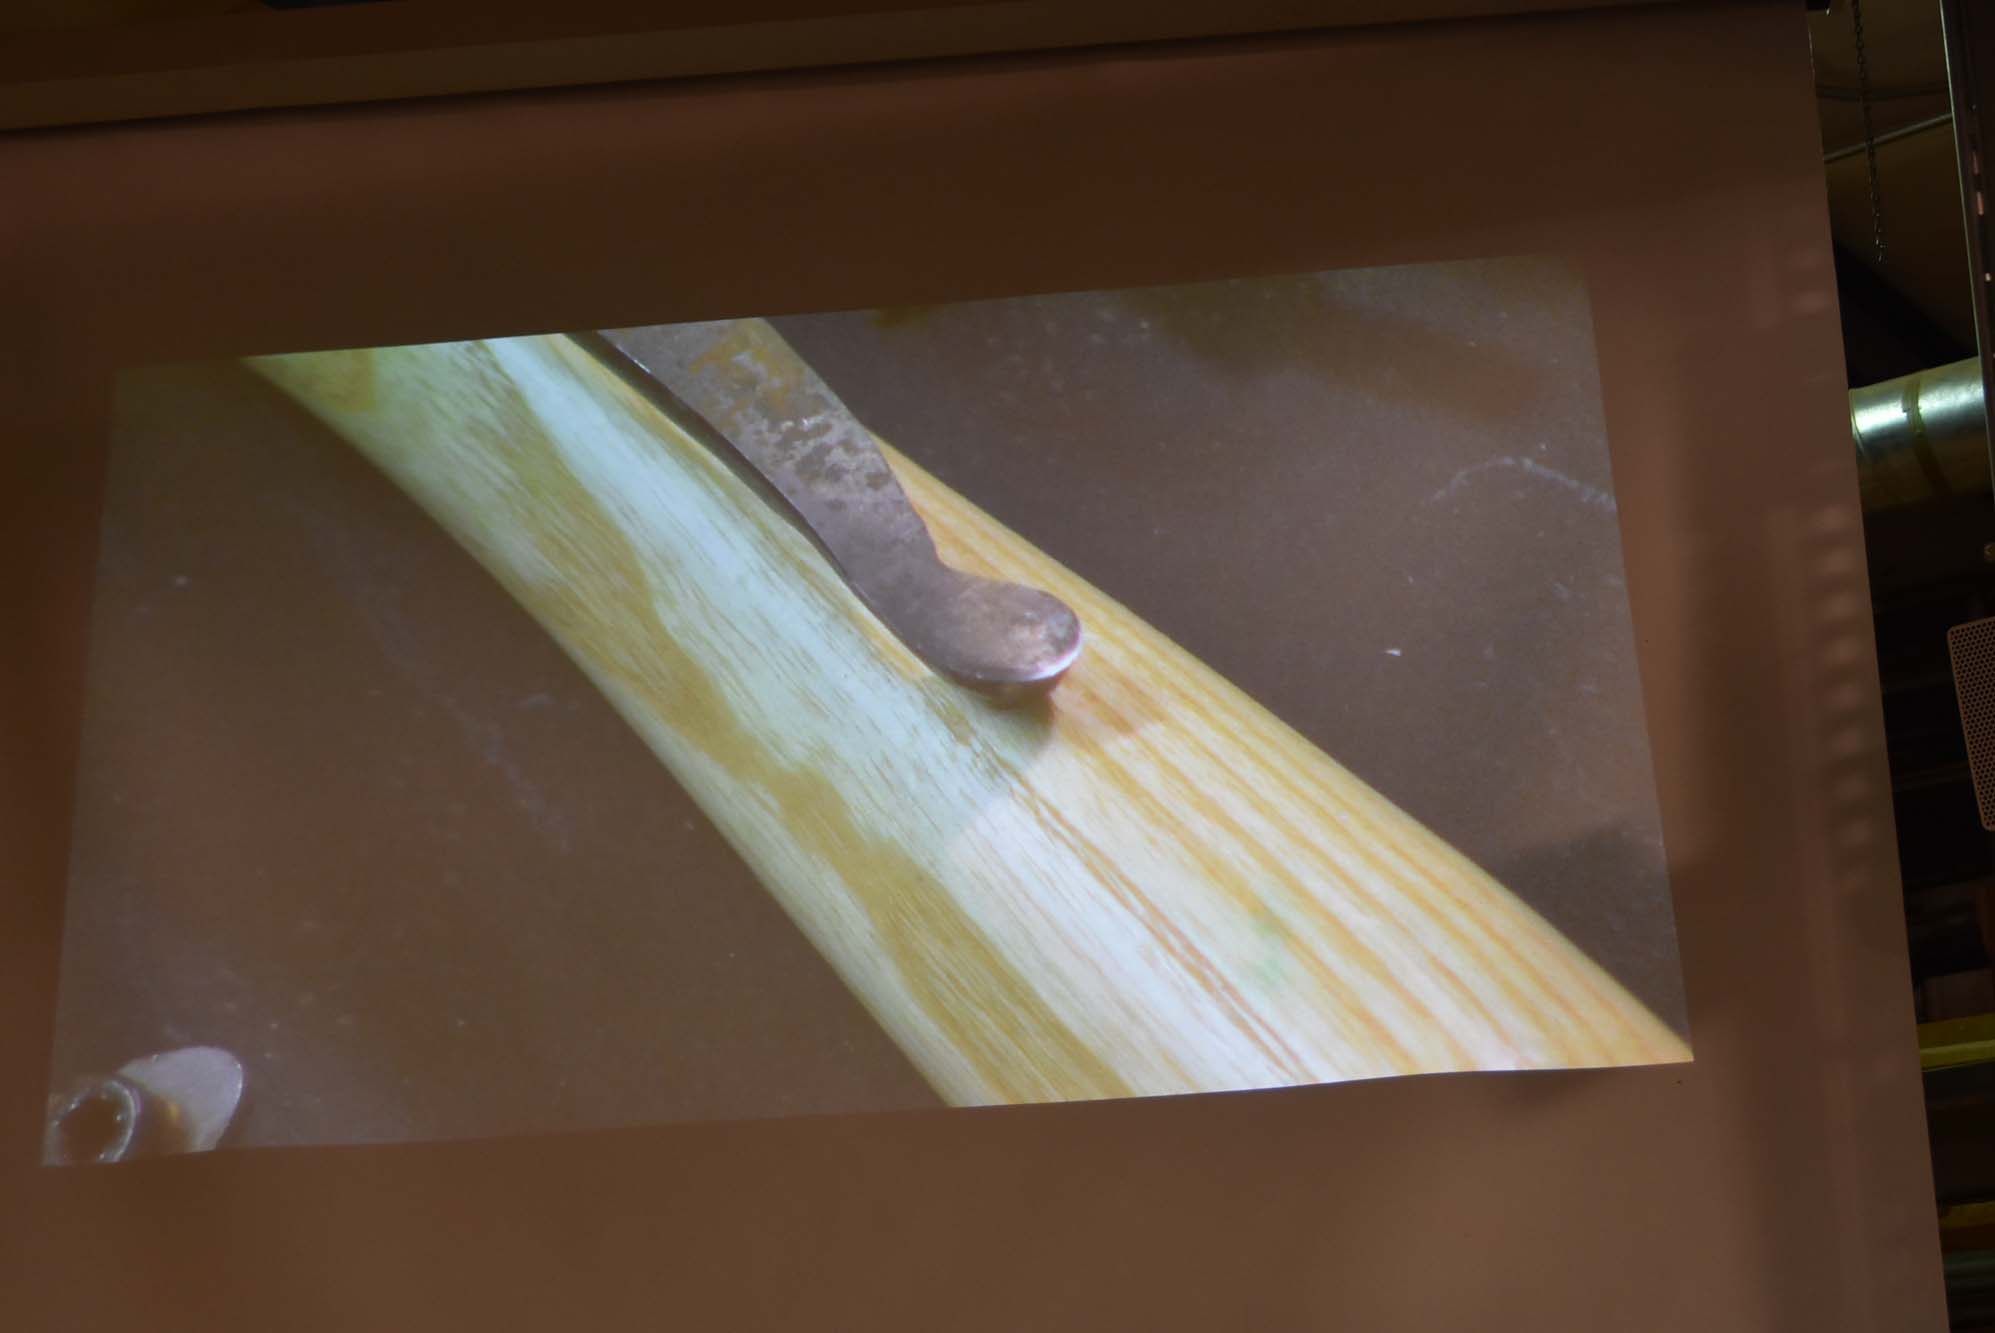

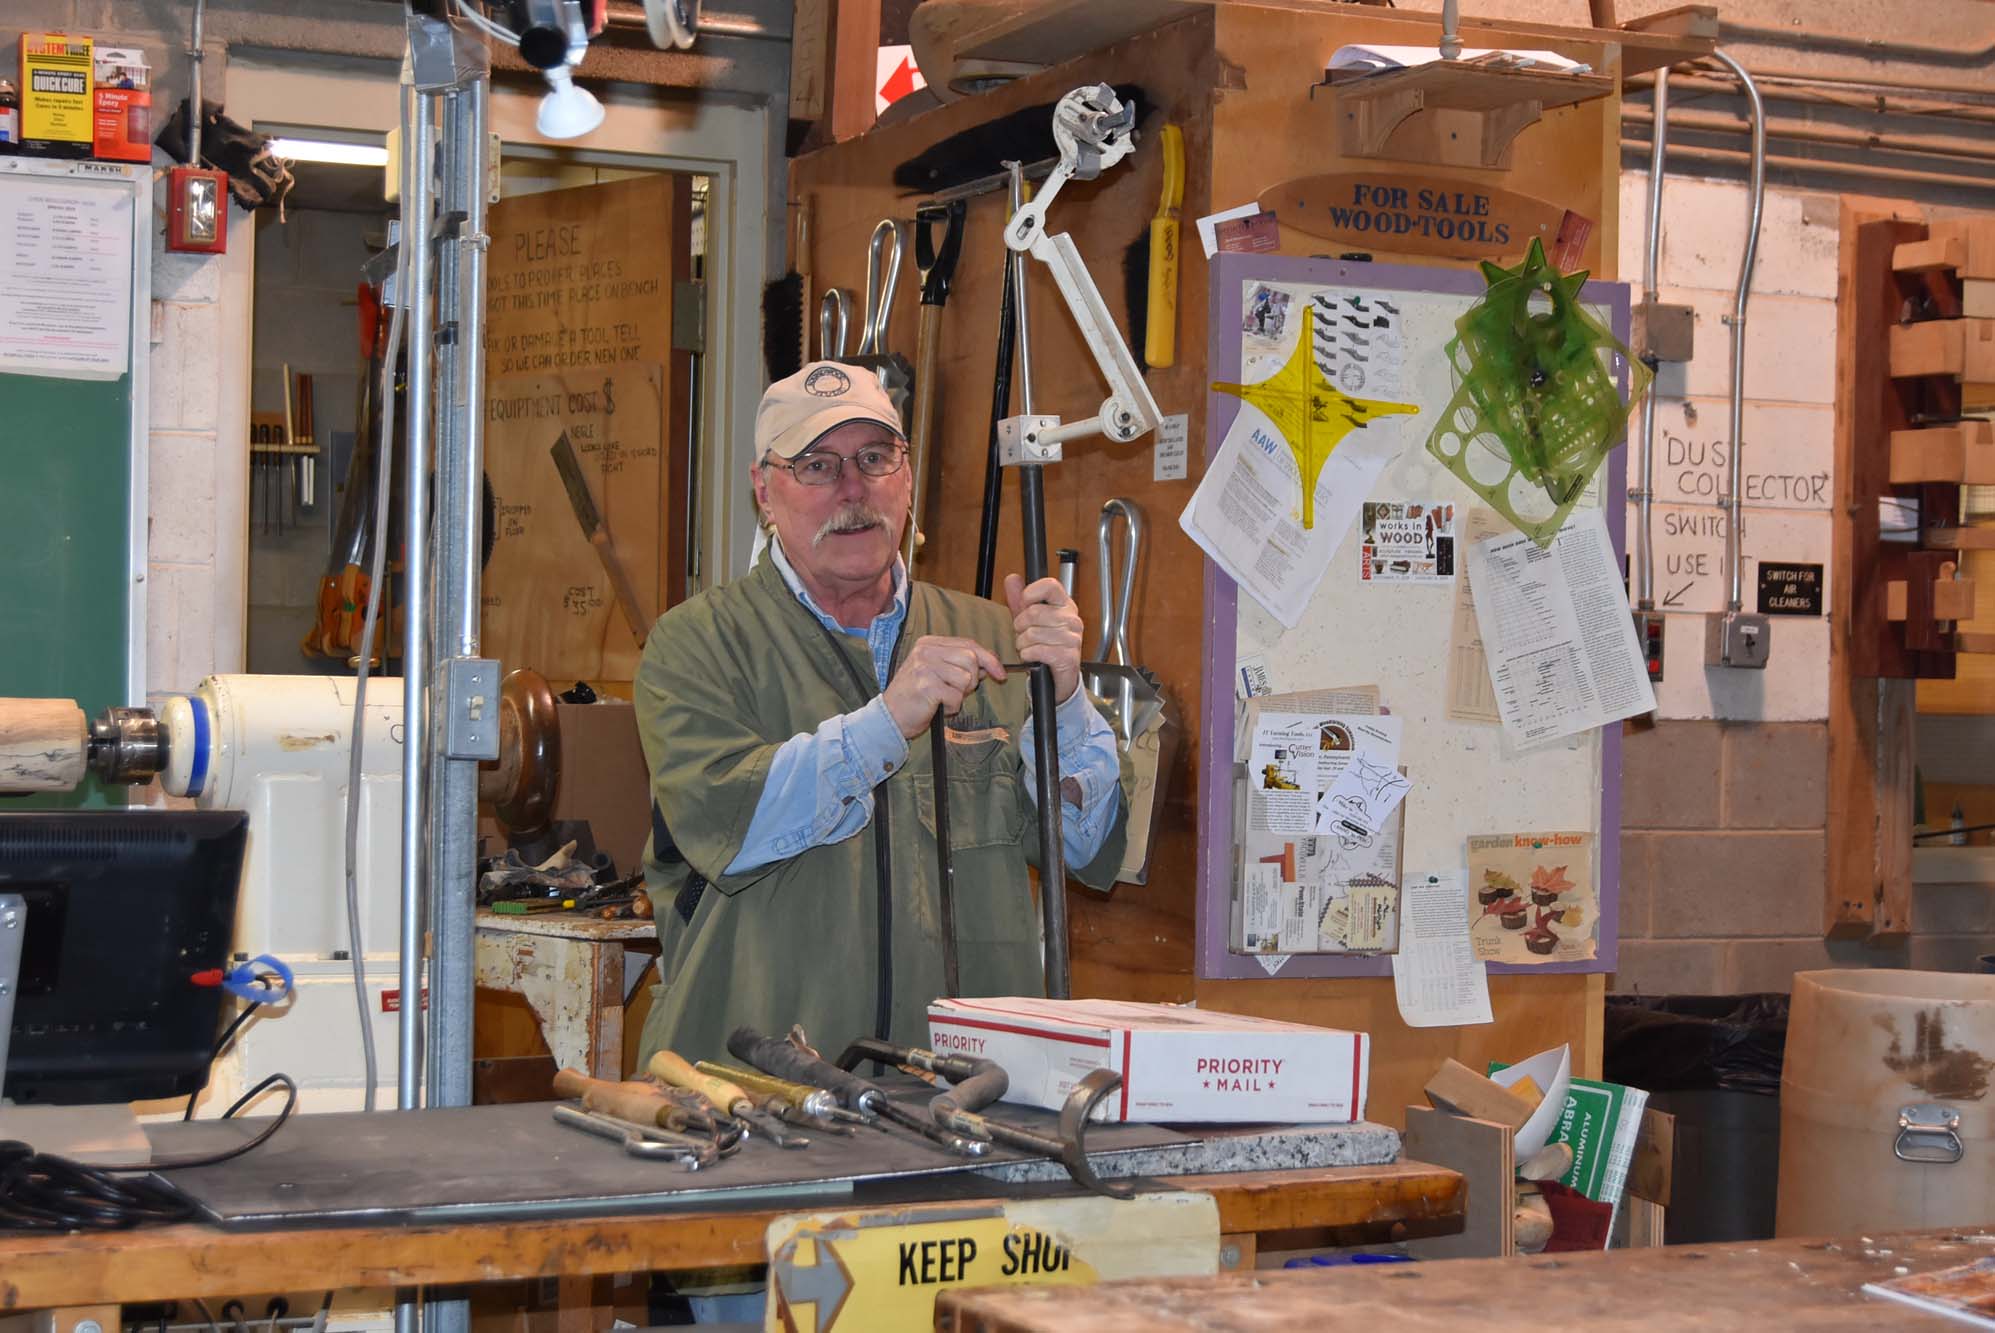
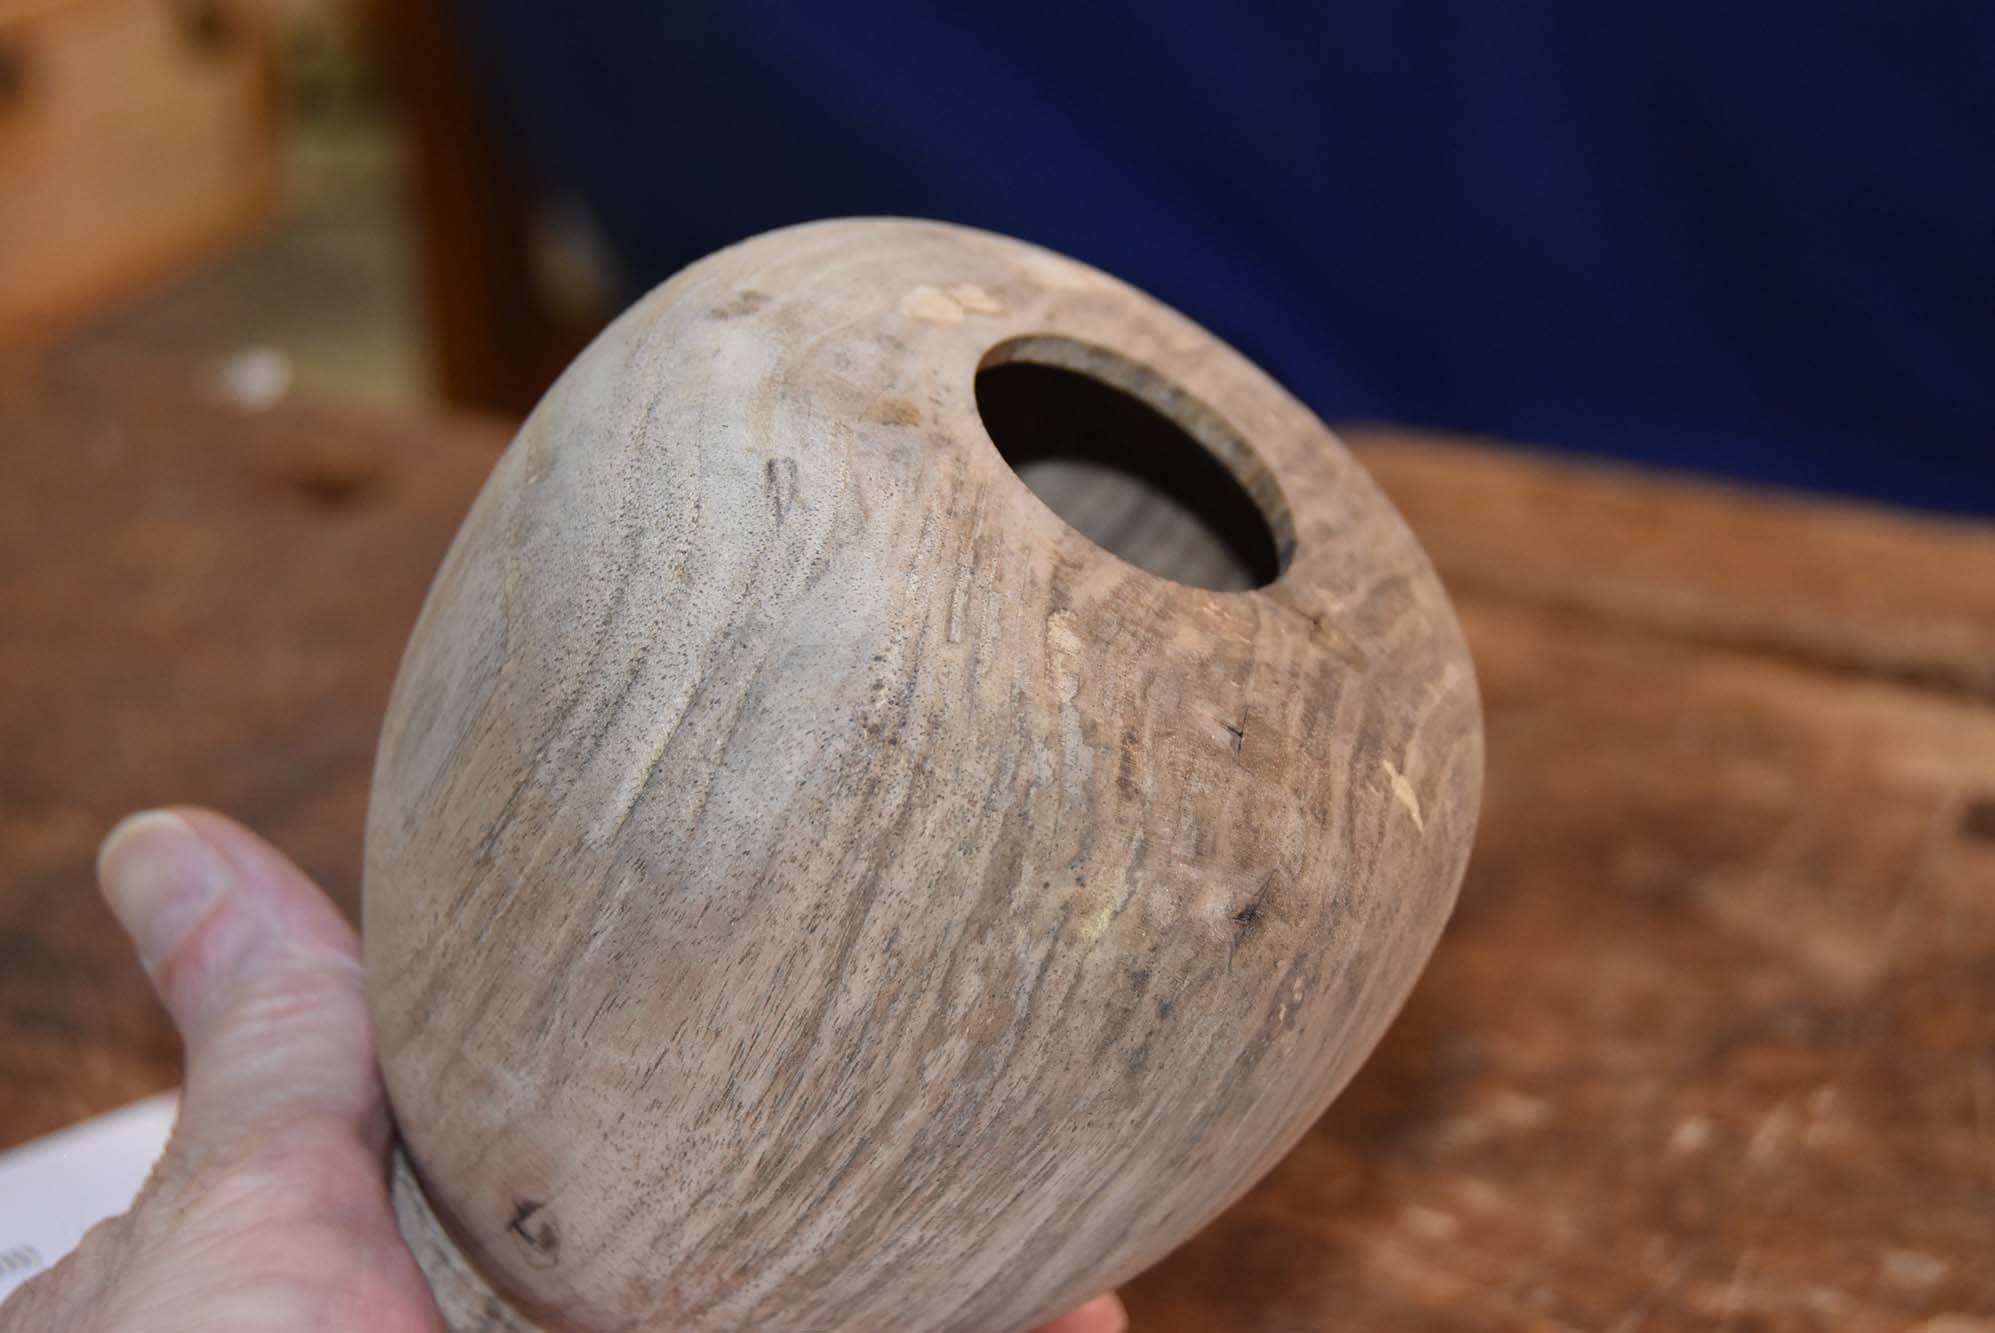
But before he brought out the Oneway system, he began shaping the outside of the hollow form. Bud likes using both 1/2 and 3/4 inch bowl gouges for most of his turning. Here, he’s shaping a nice piece of spalted English Walnut. As he shaped the piece, he reminded us he’s looking for a nice continuous curve with no flat spots.
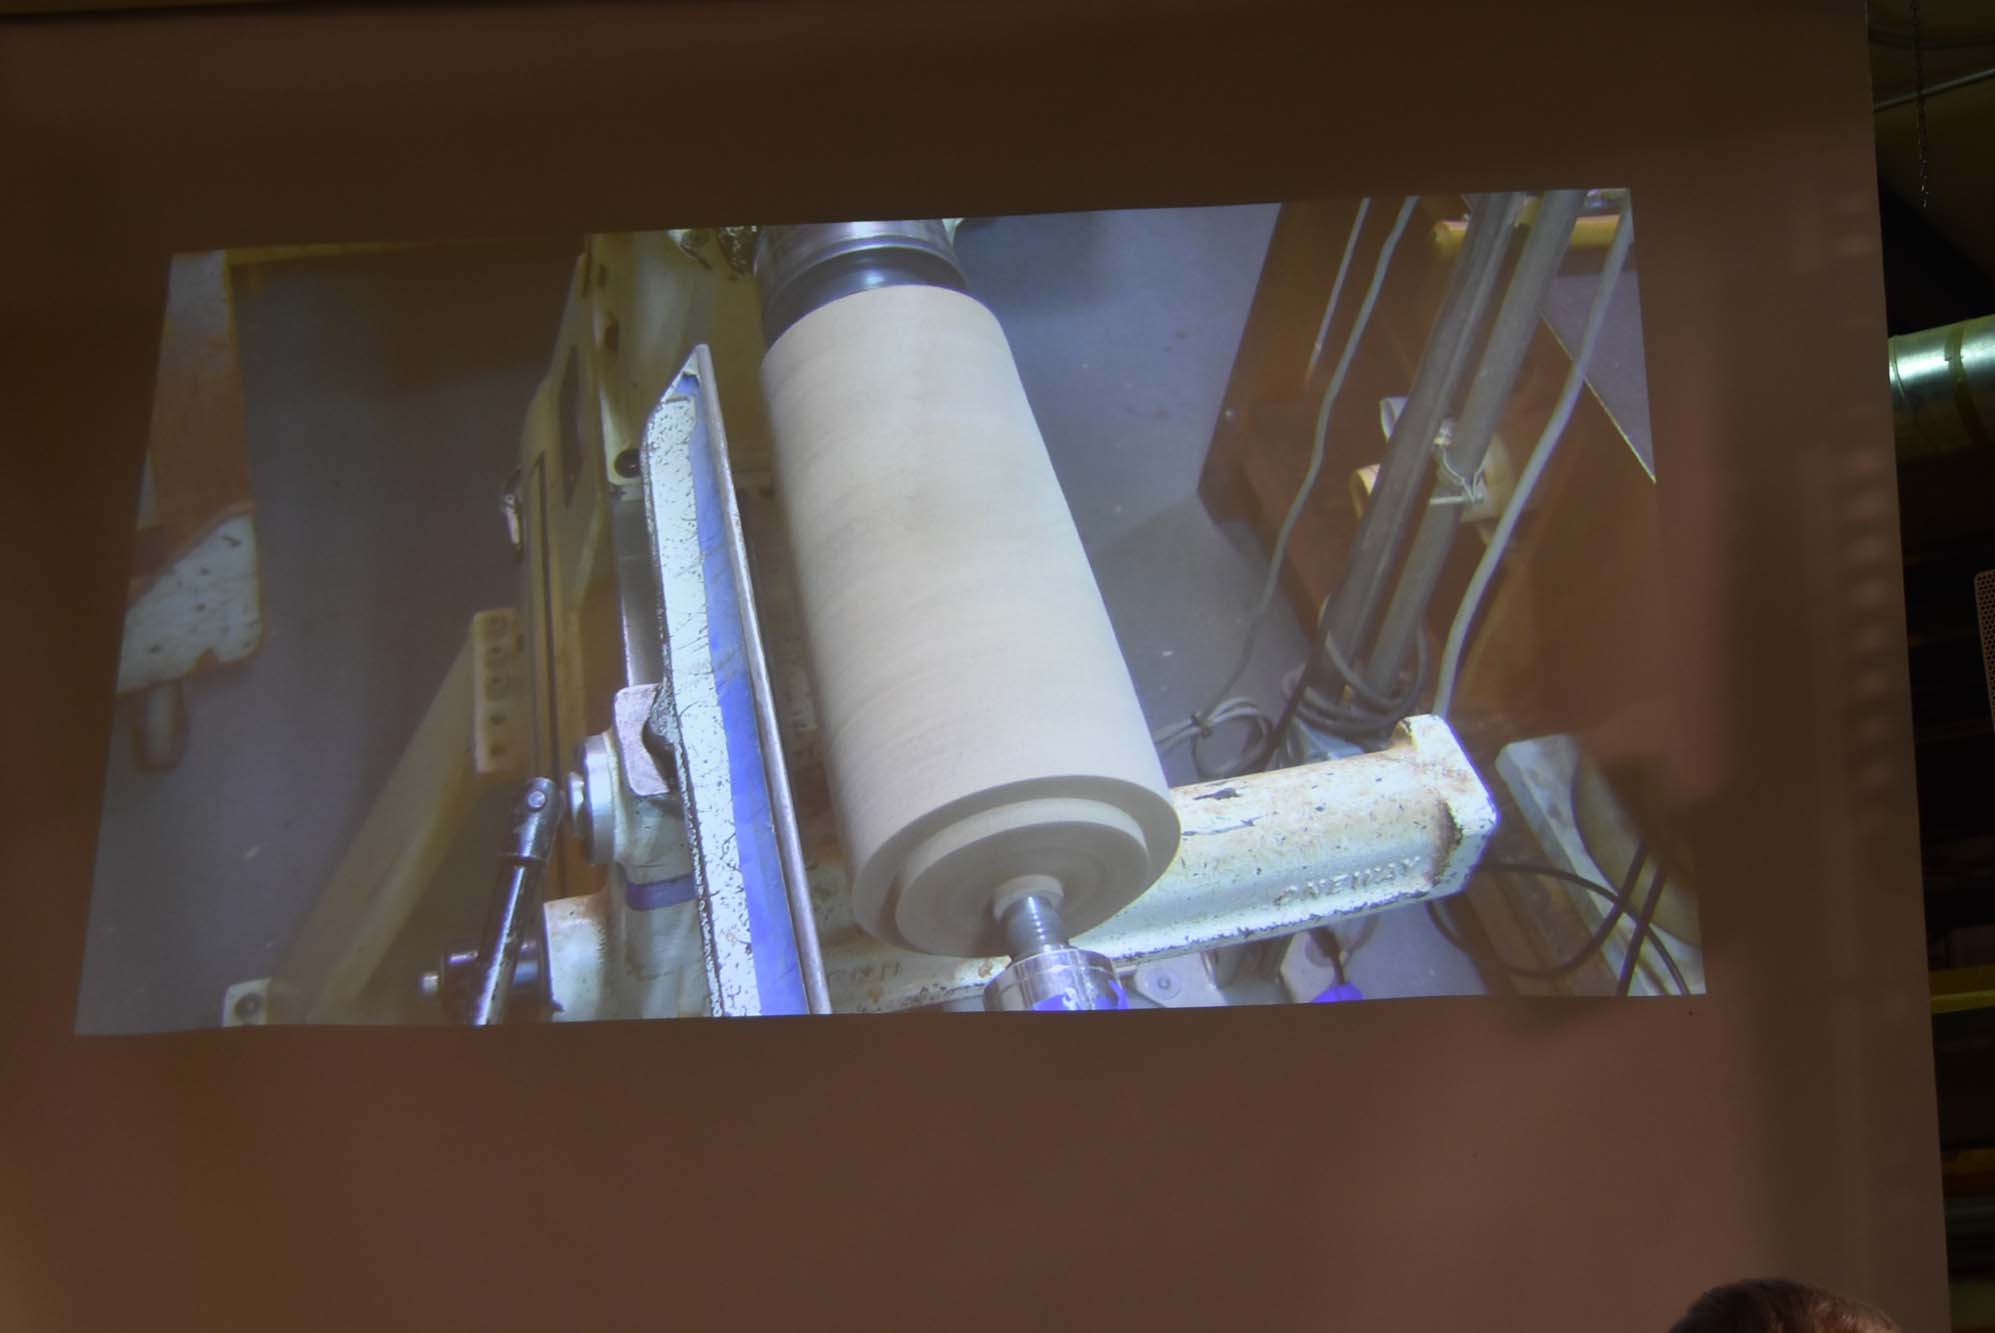

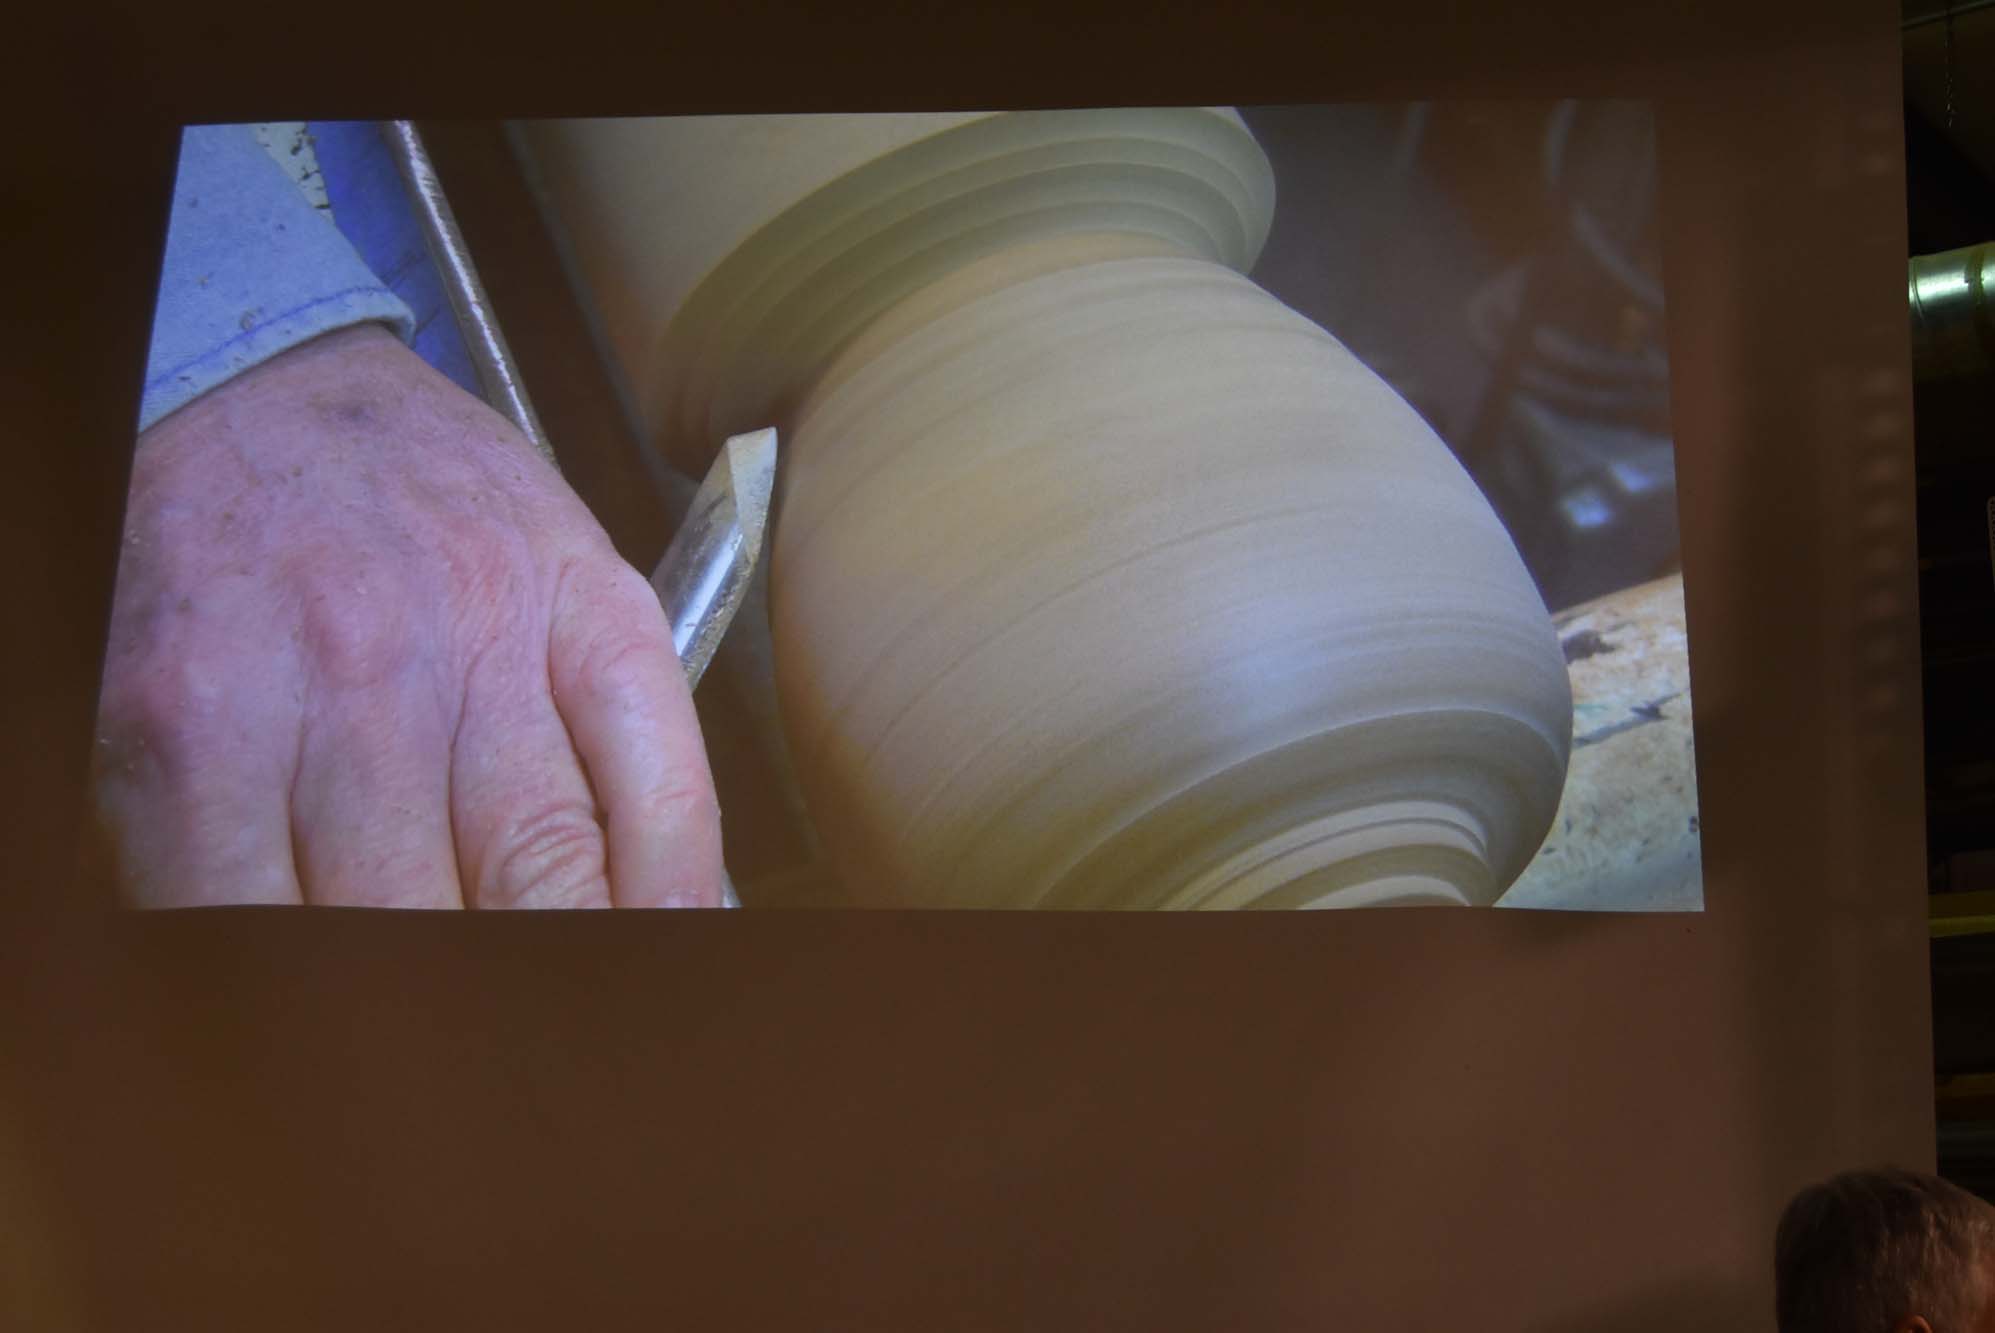
In no time, he had the outside shaped, and then used a 3/8 bedan to form his tenon for the four jaw chuck. He parted the vessel off and then began preparation to hollow it out: he removed the tail stock center and then slightly dished the top of the form. Then with a 1 3/8 Forstner bit he created an initial hole, but because his bit was short, he used a large brad point bit to bring the hollowing hole closer to the base.

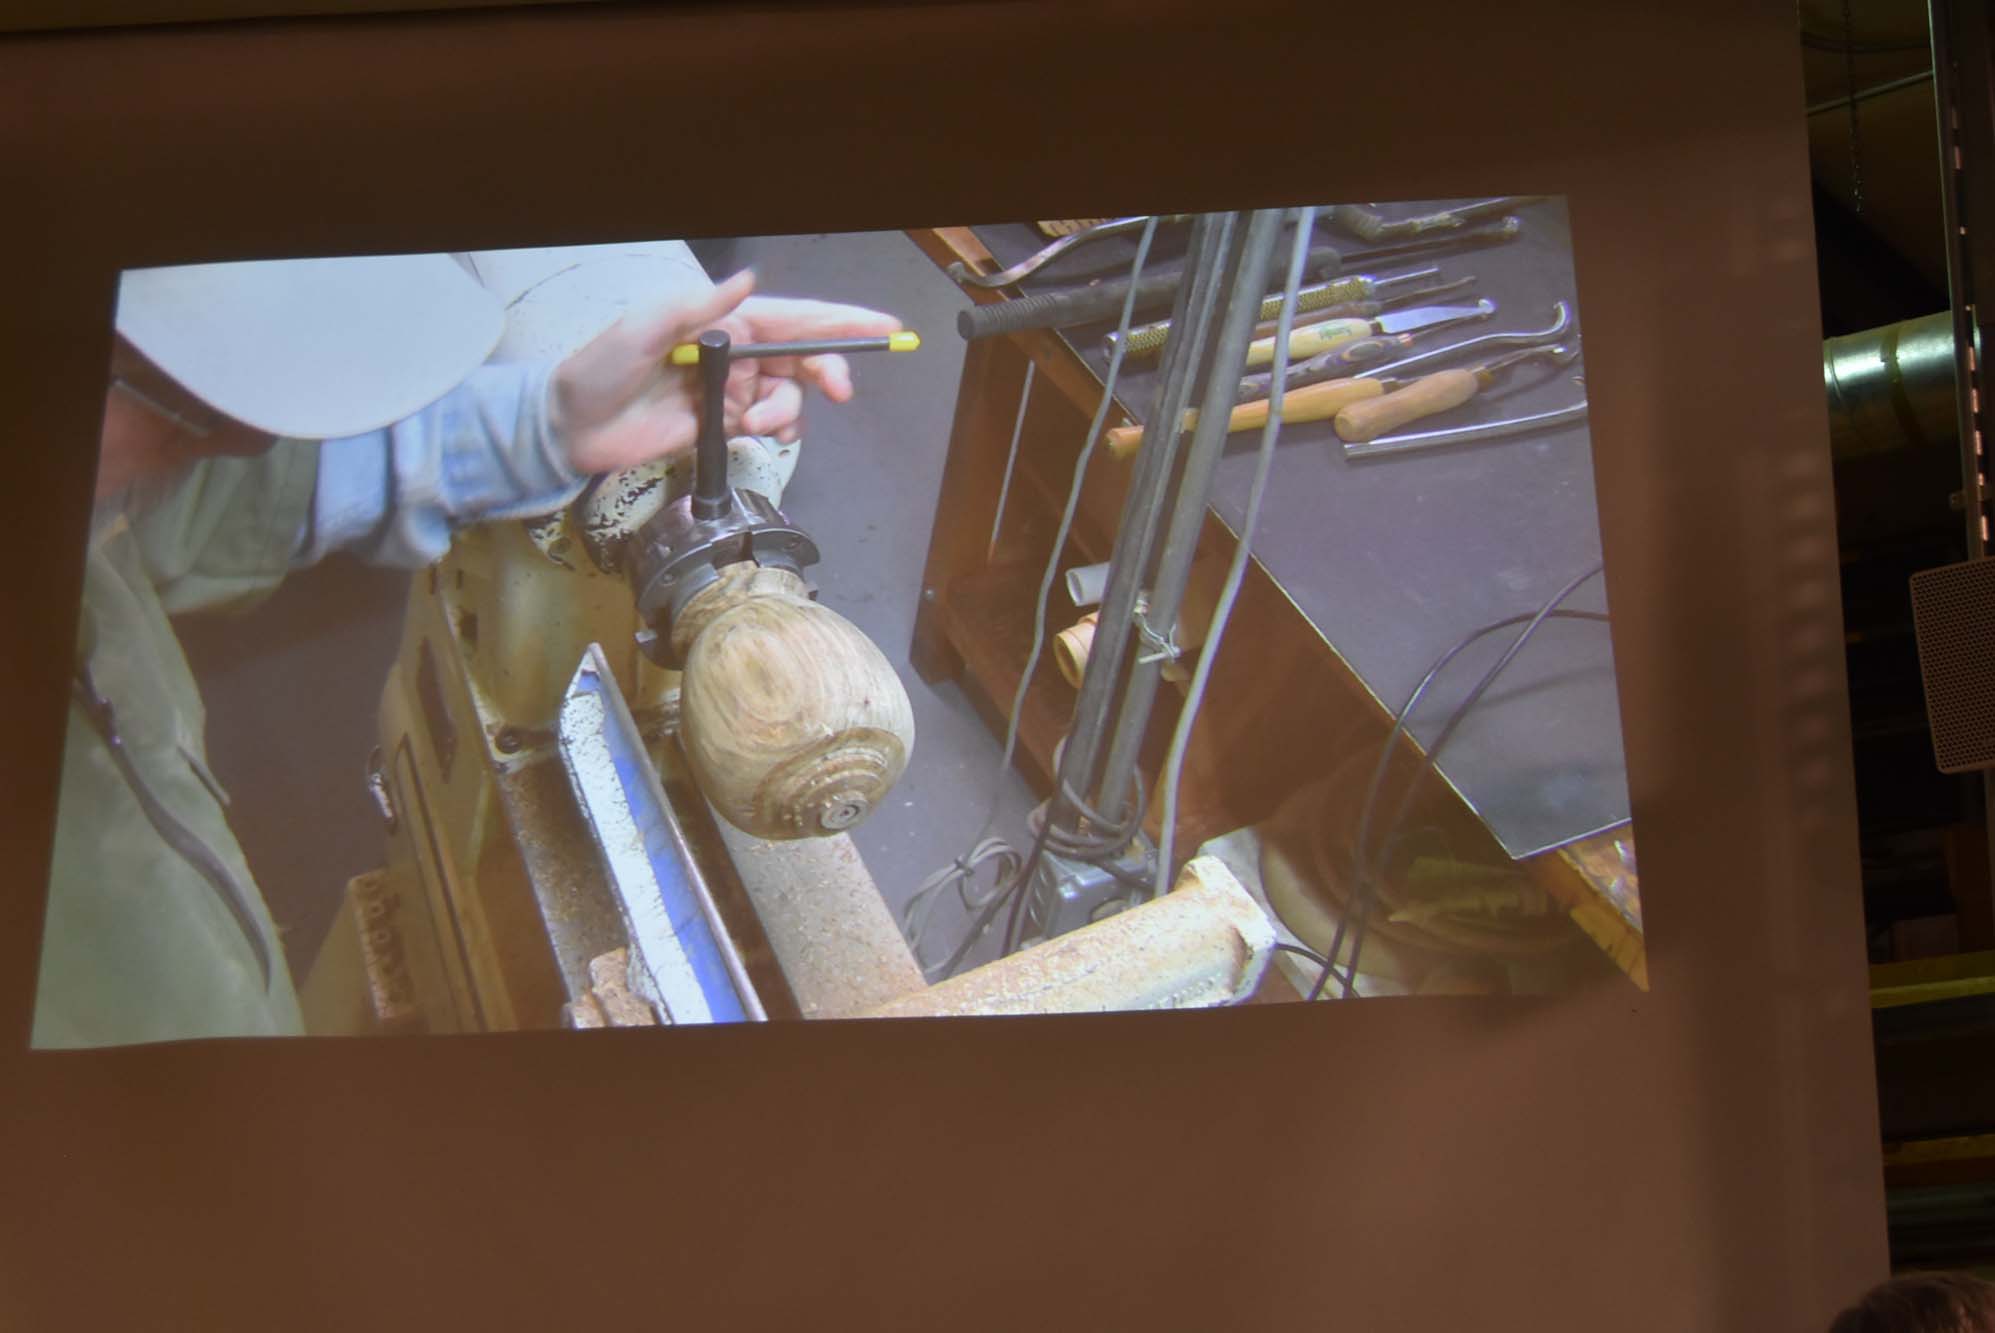
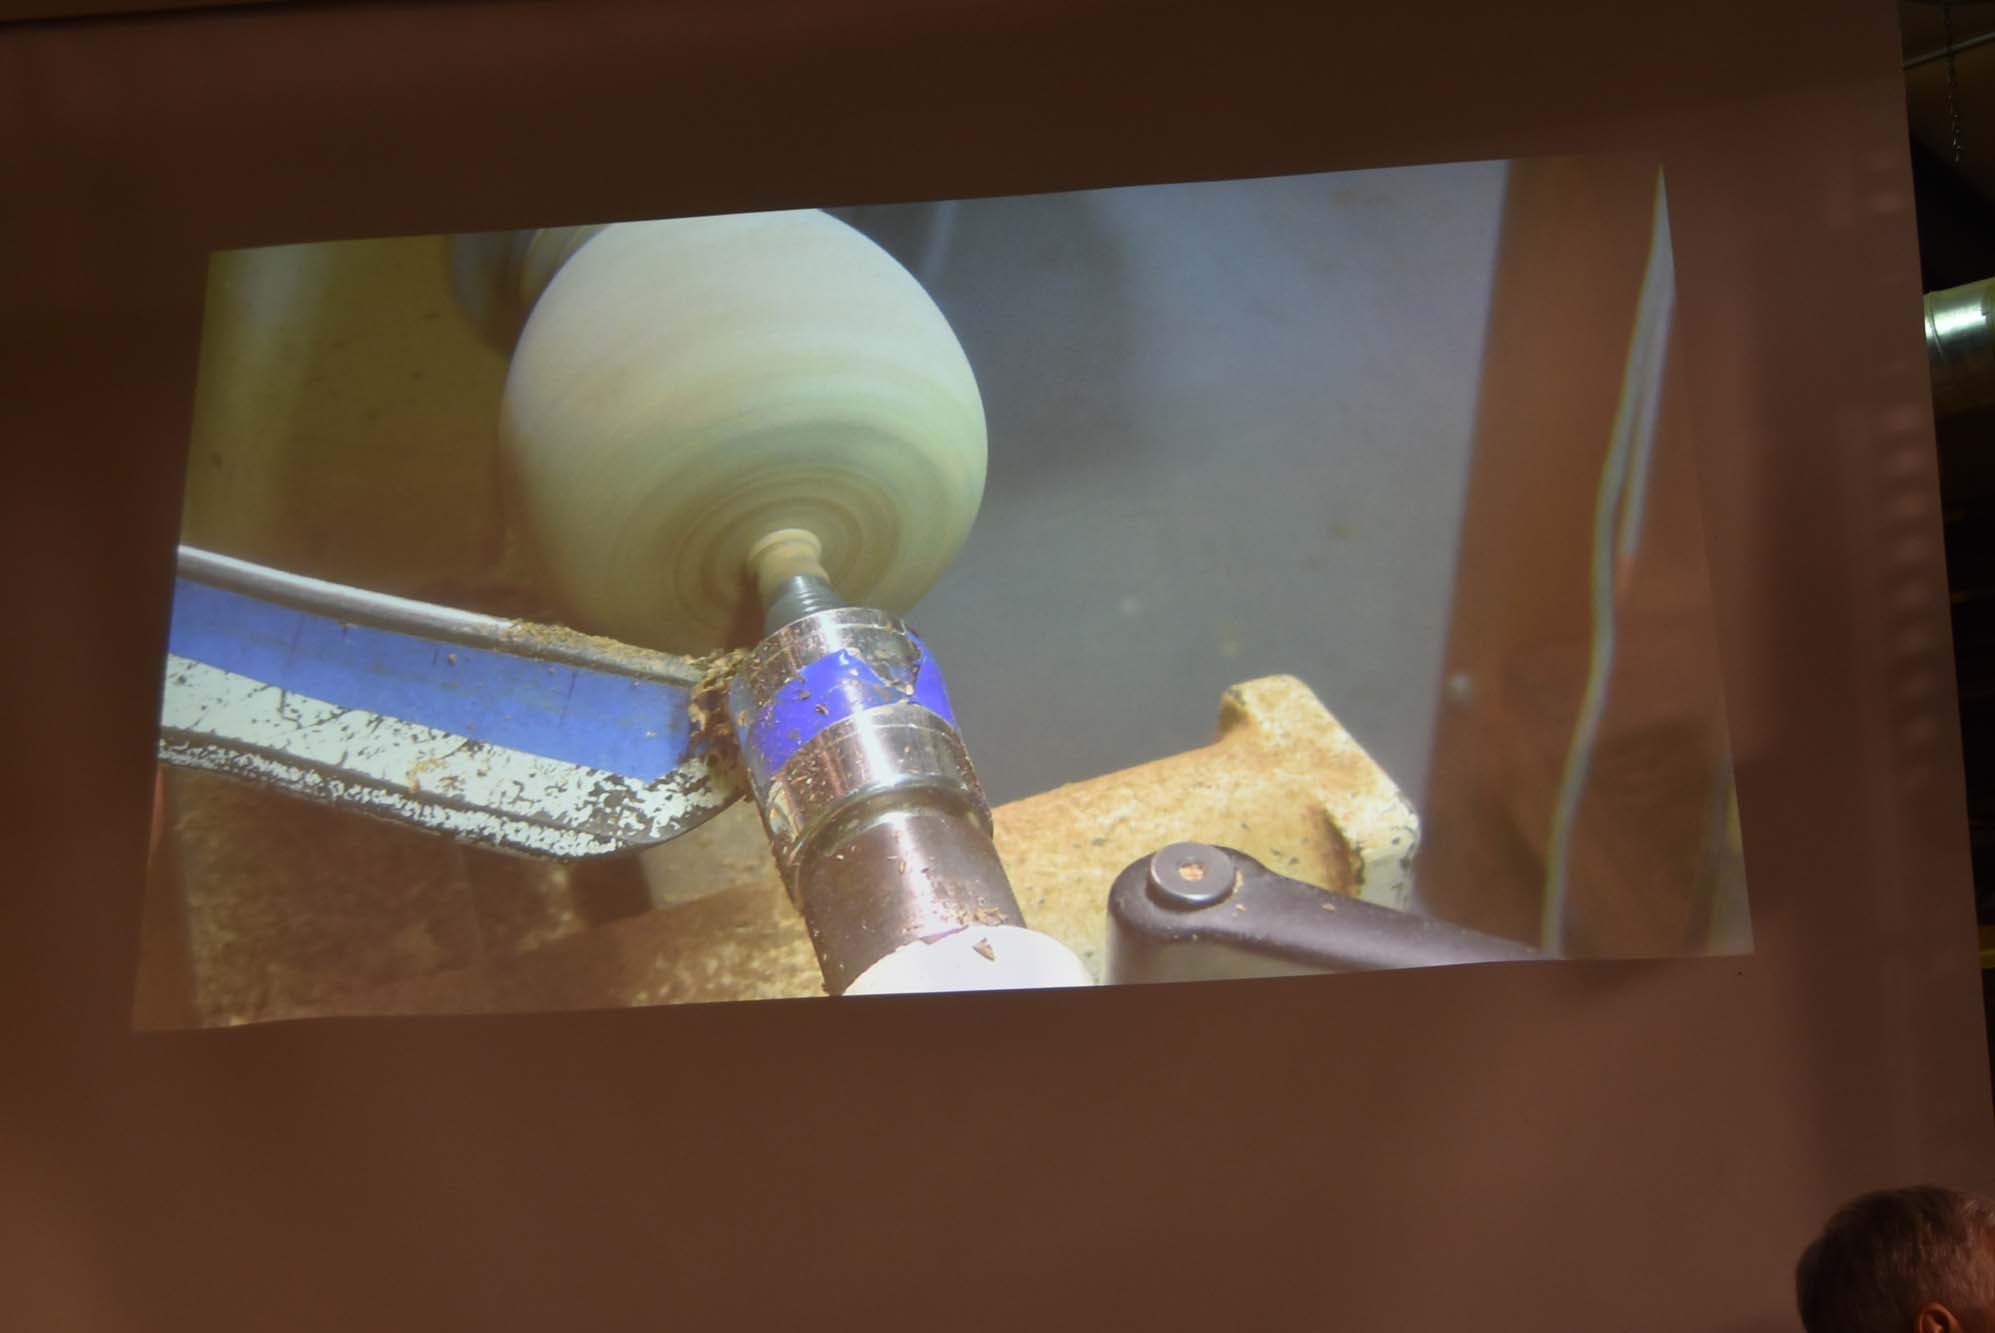
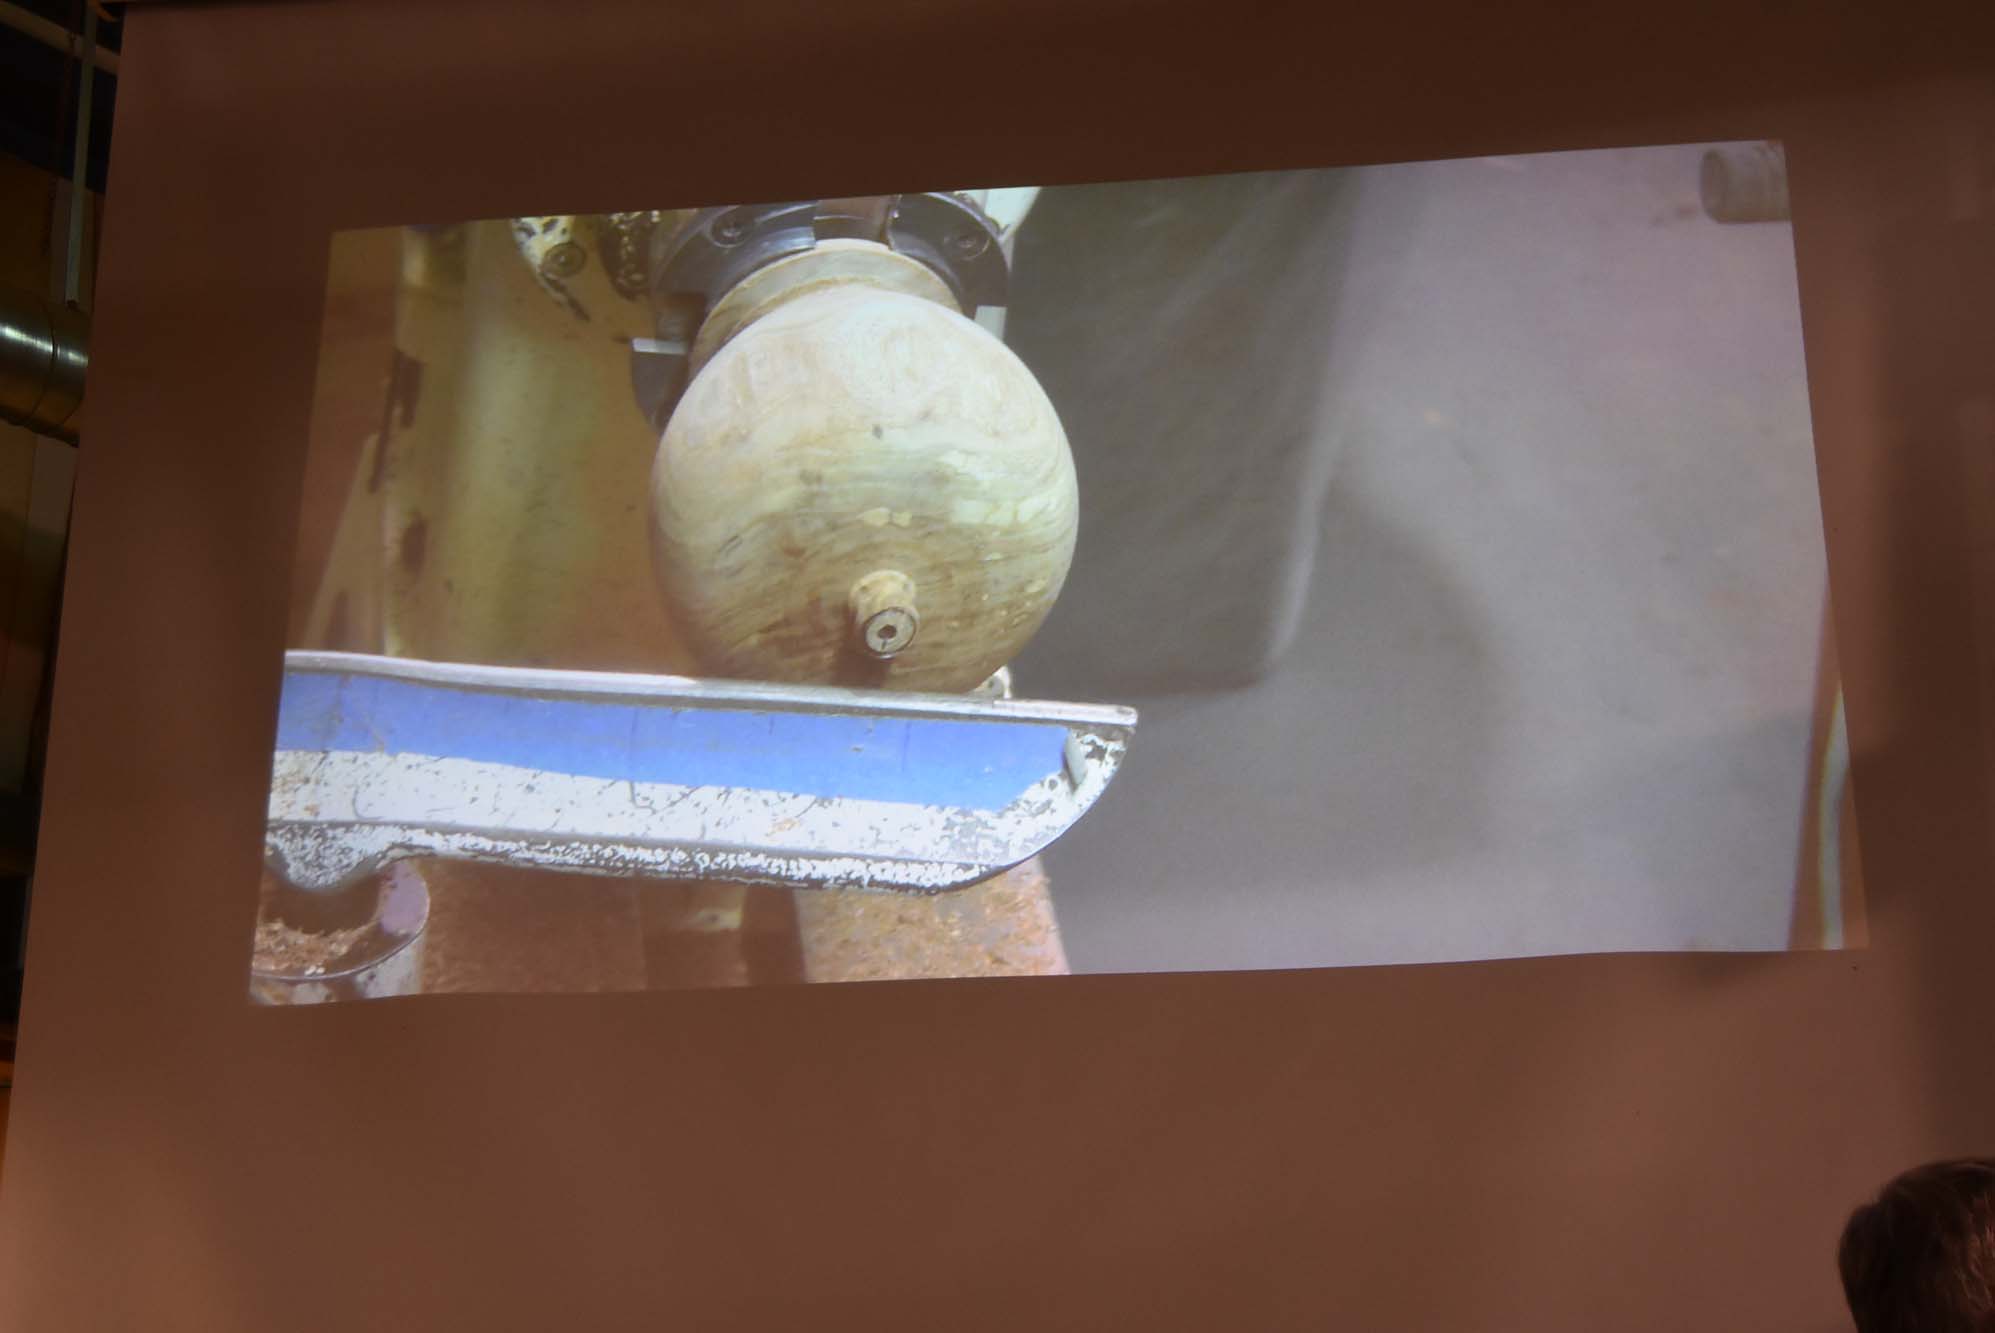
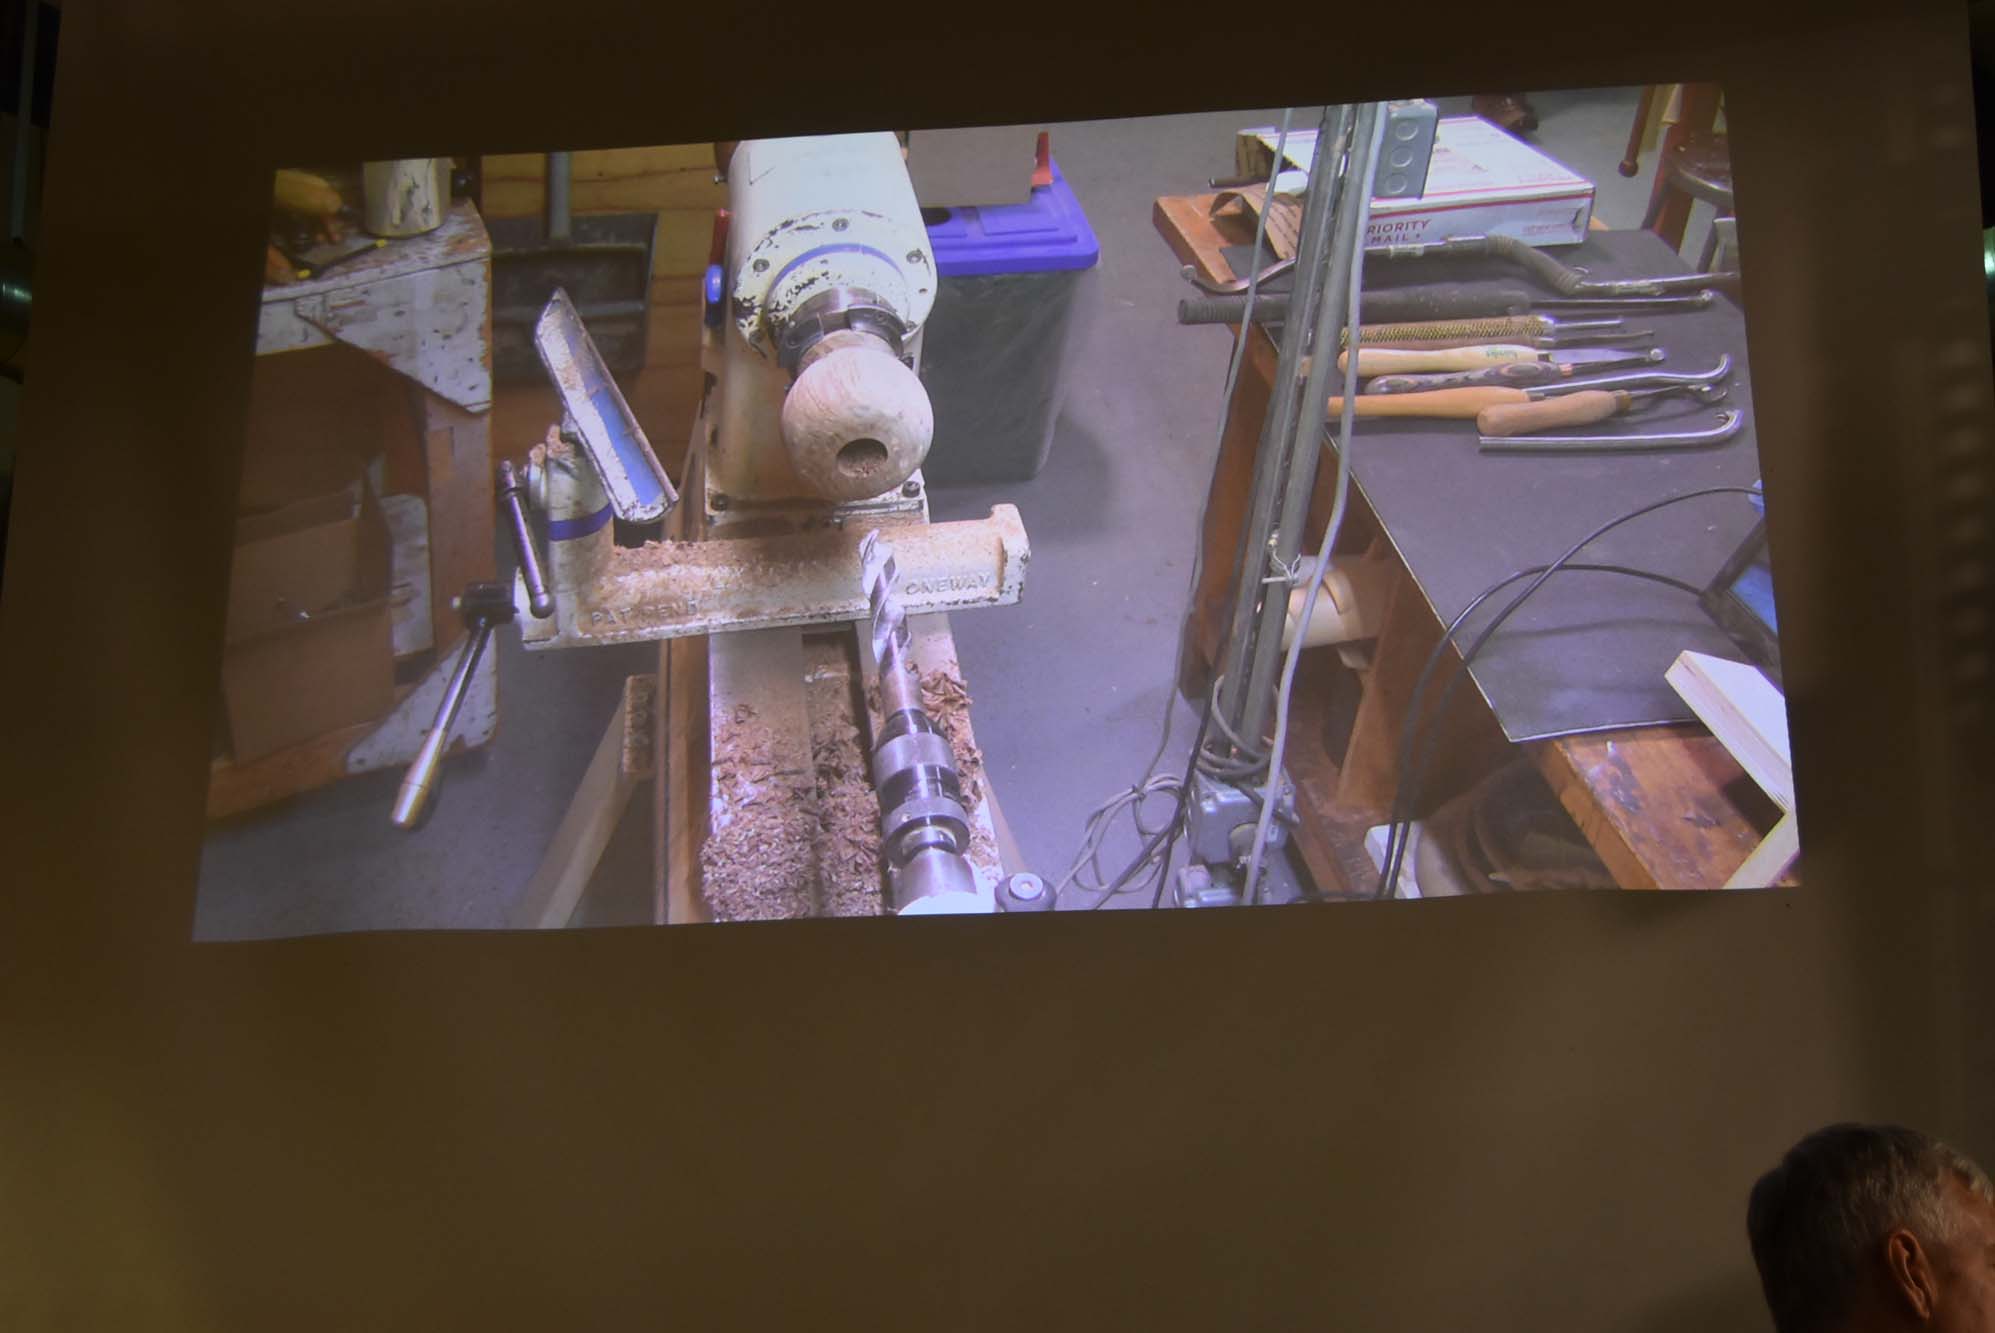
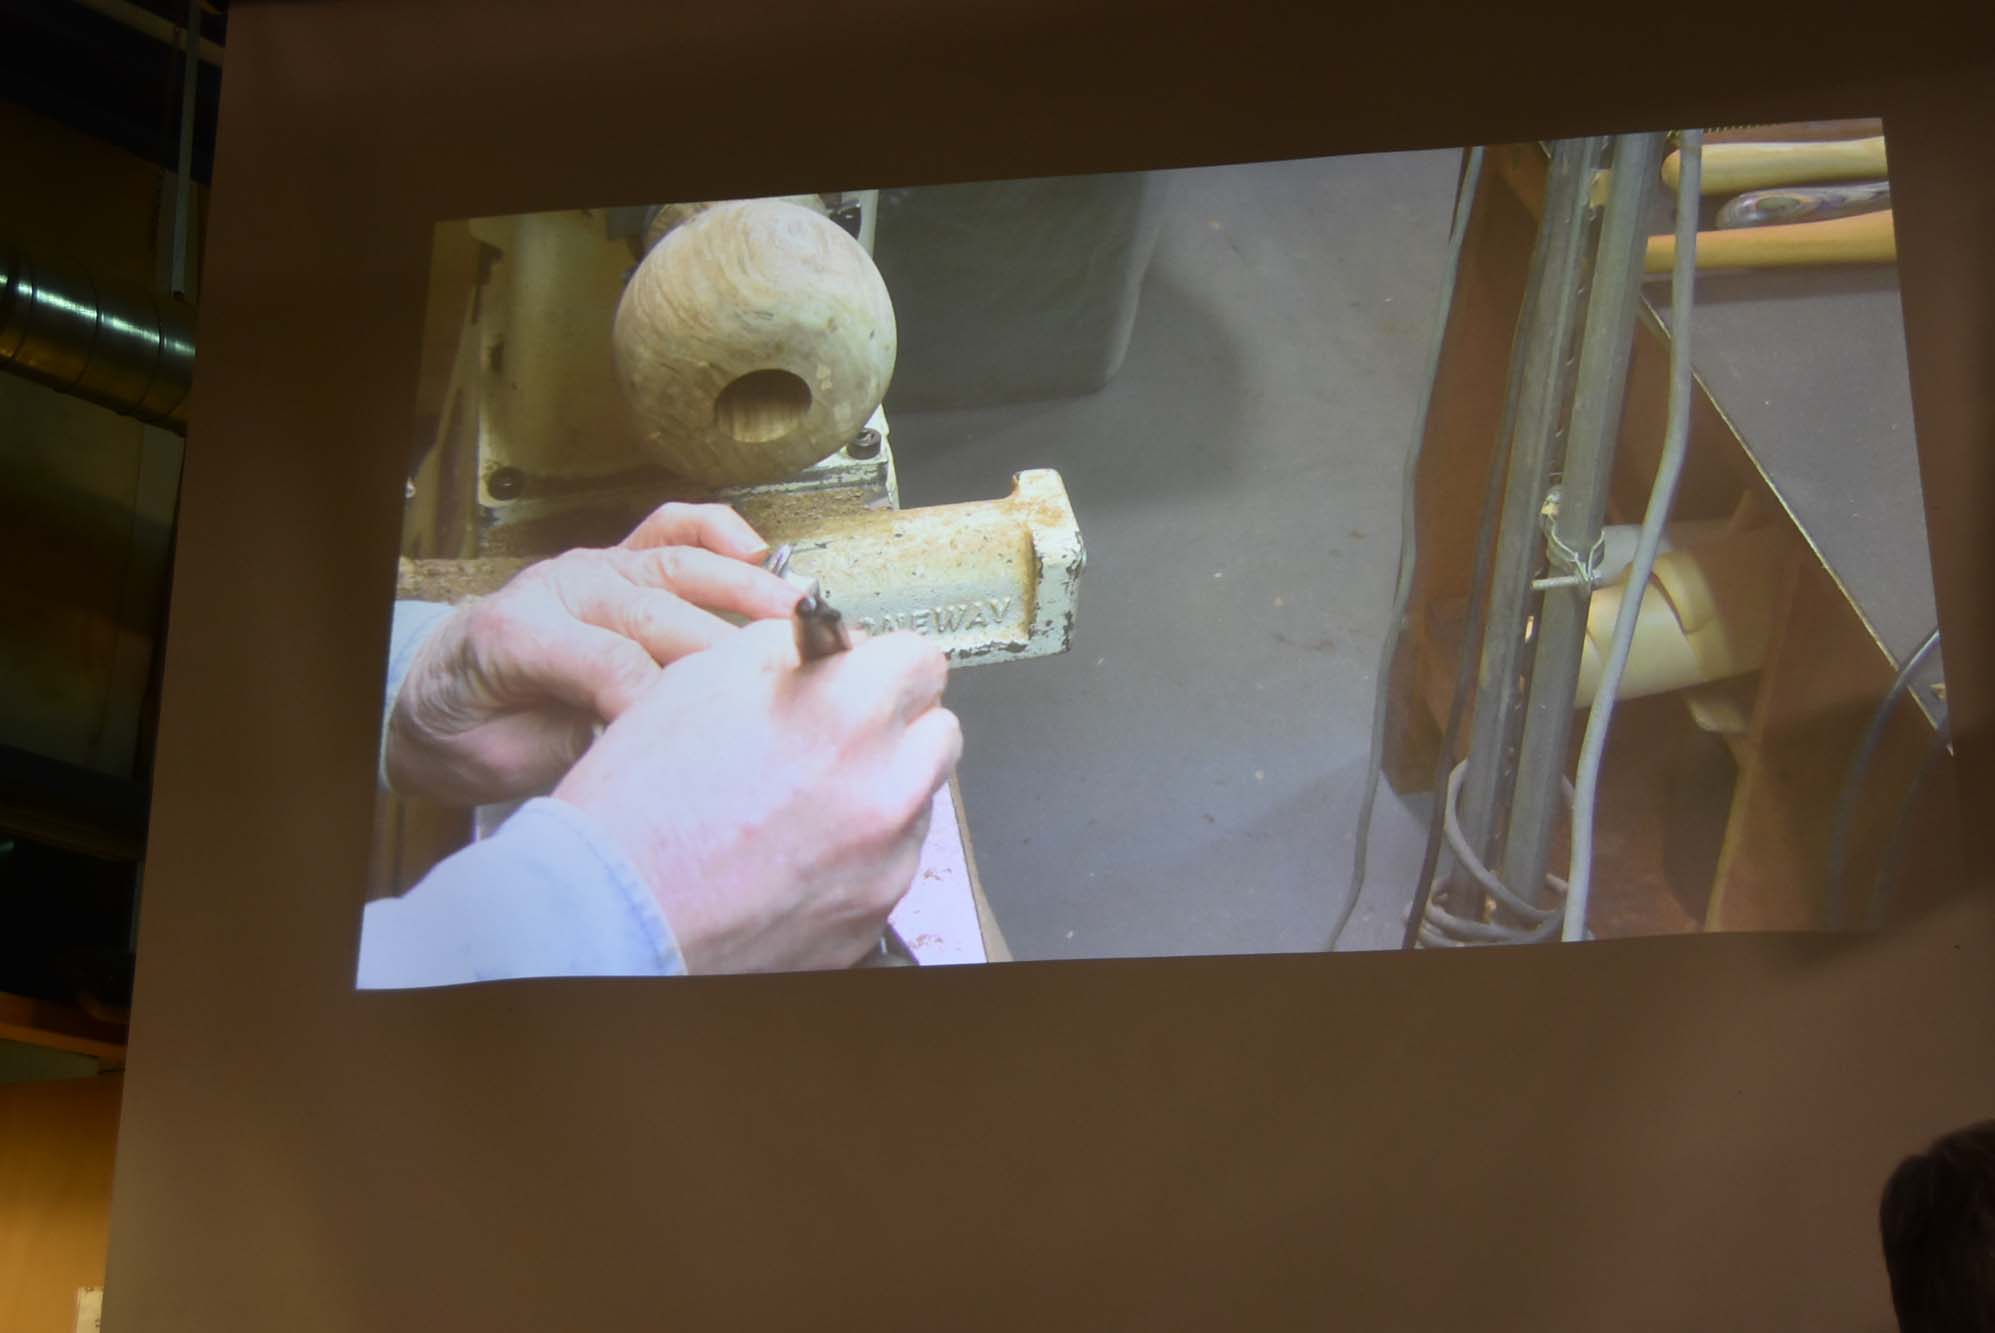
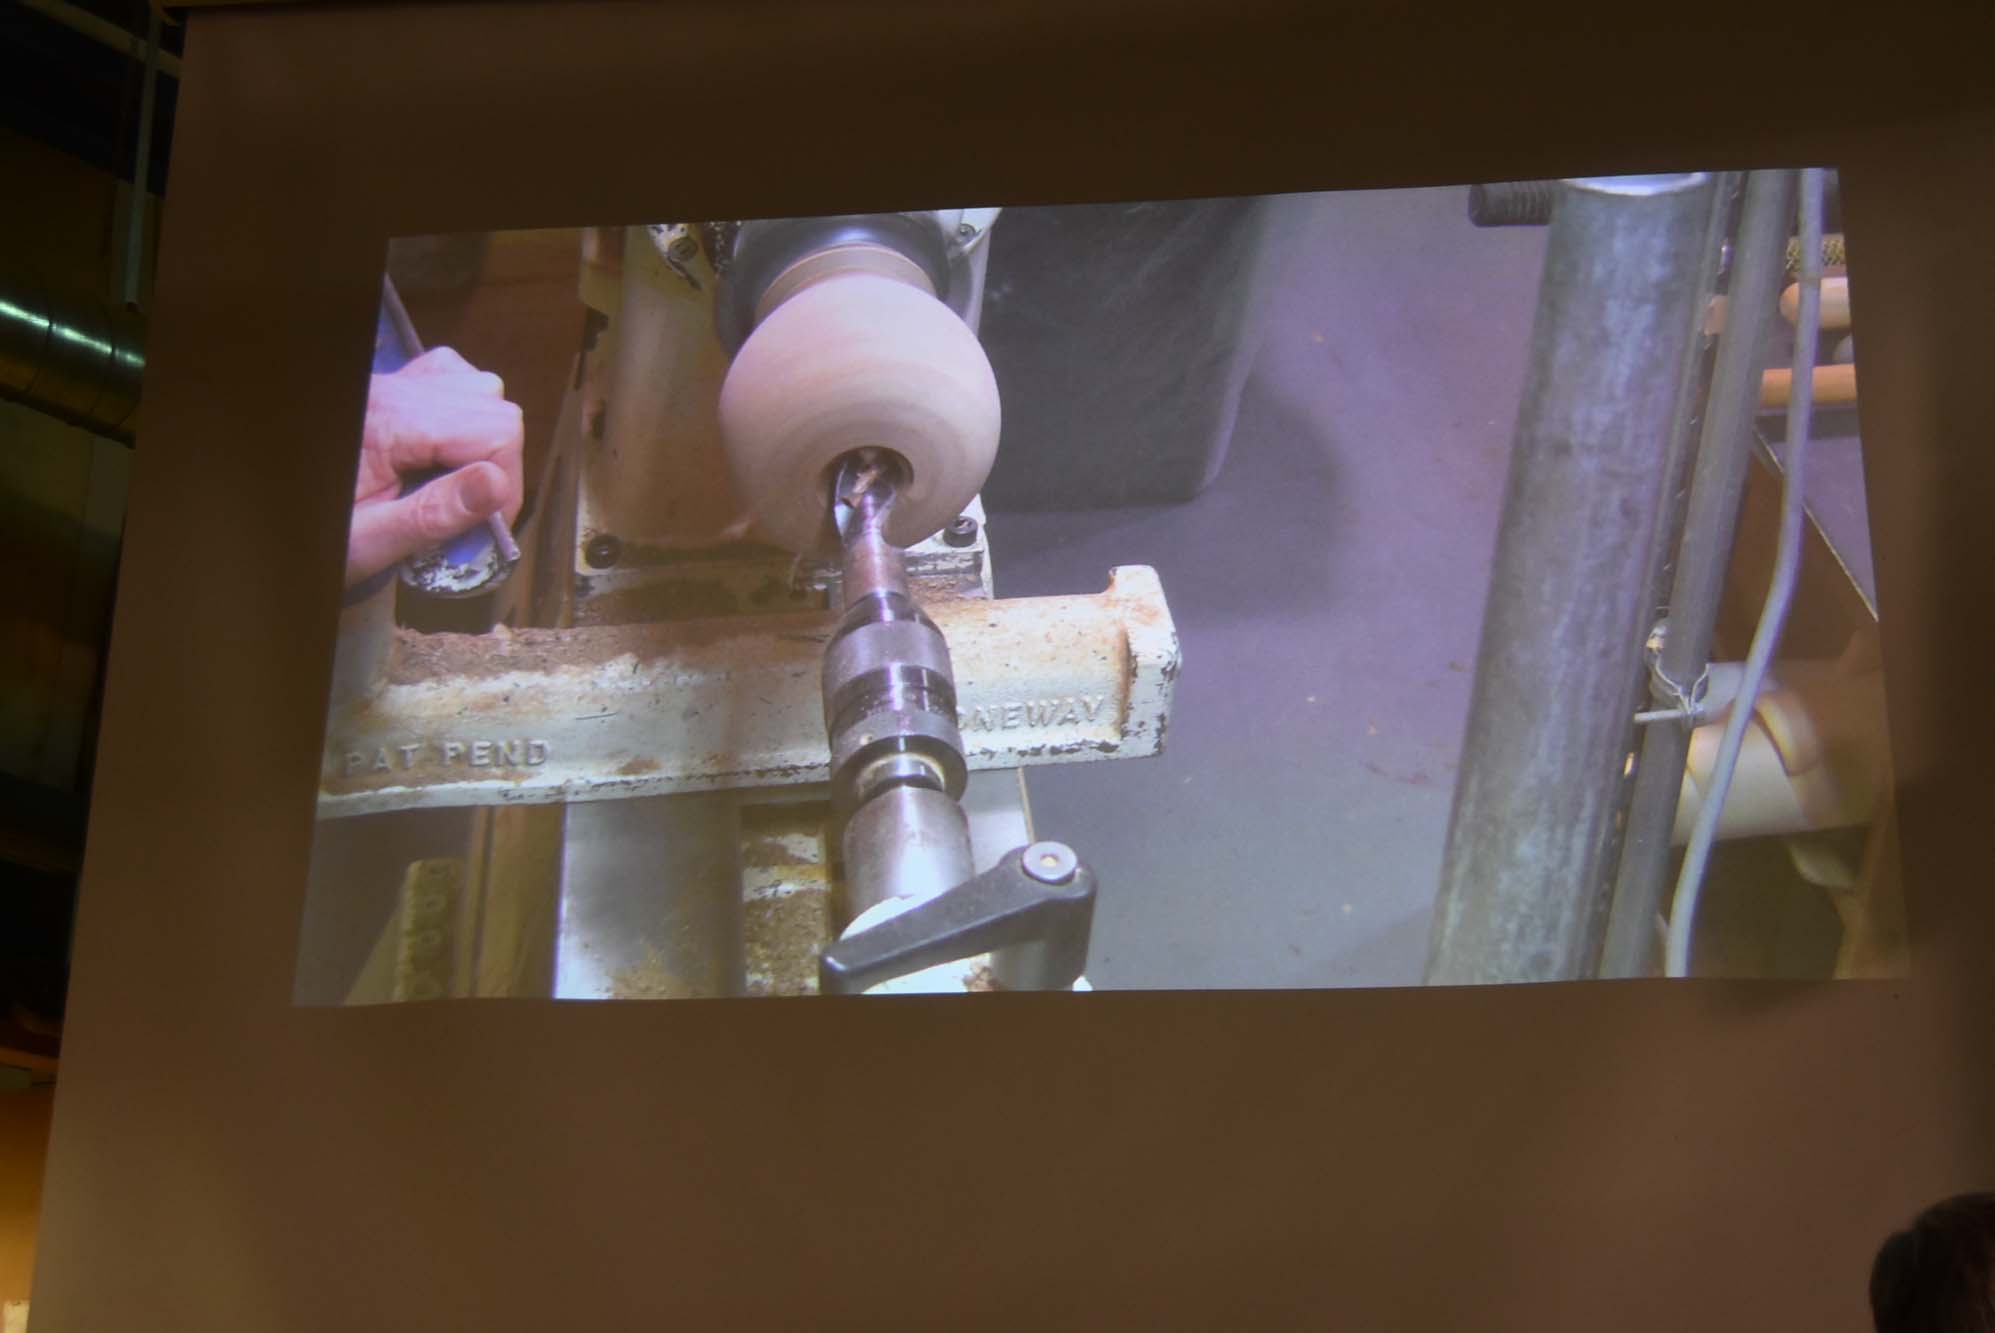
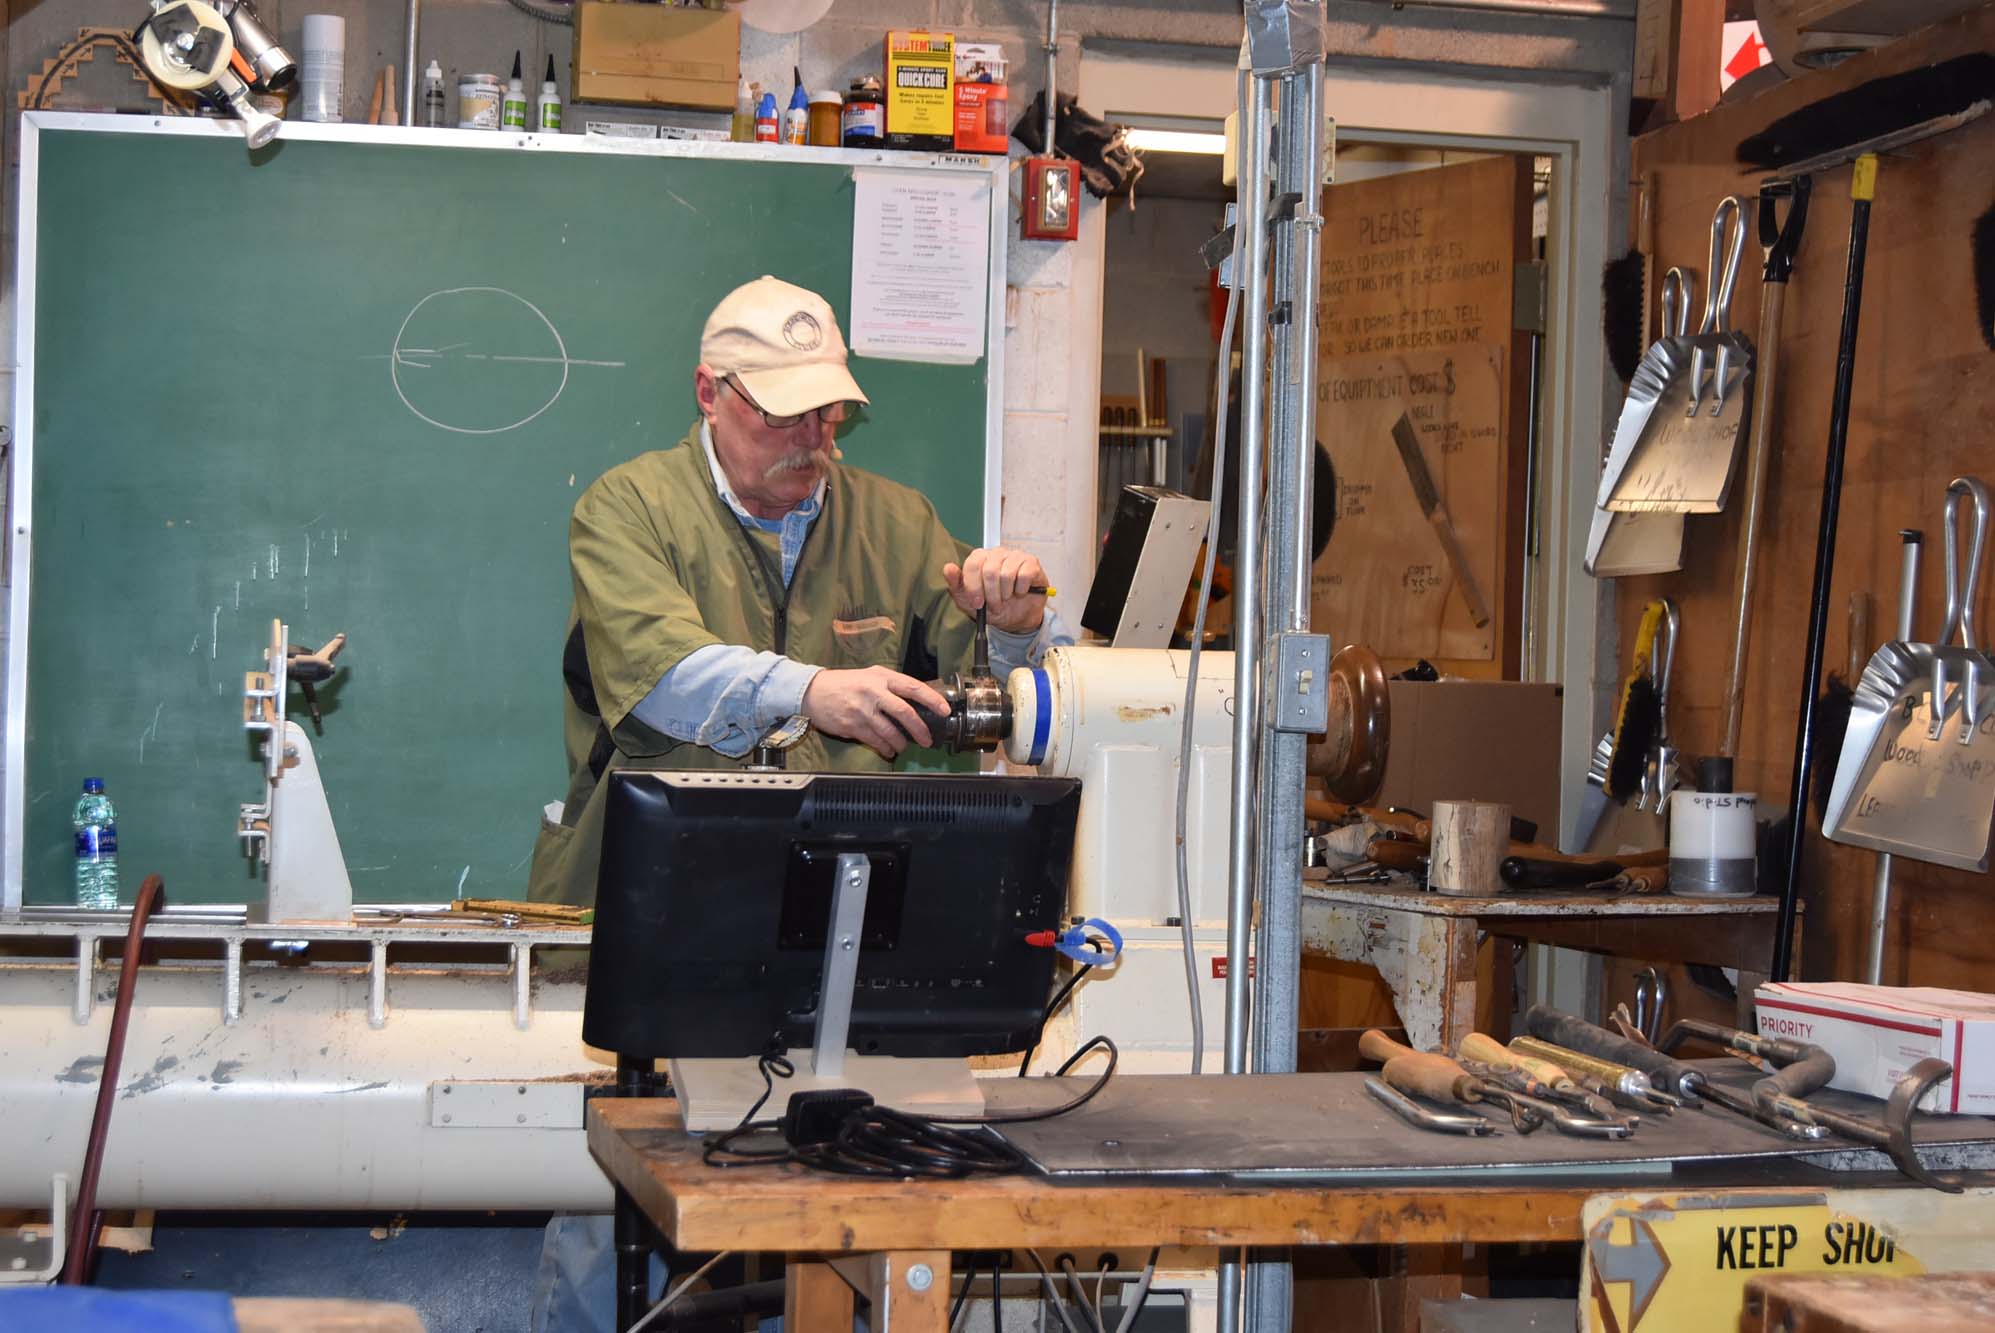
Ok, it’s time for some serious hollowing. Here he is assembling the Oneway system. It is important to get the rests level and cut about a 1/16th above the center of the piece.
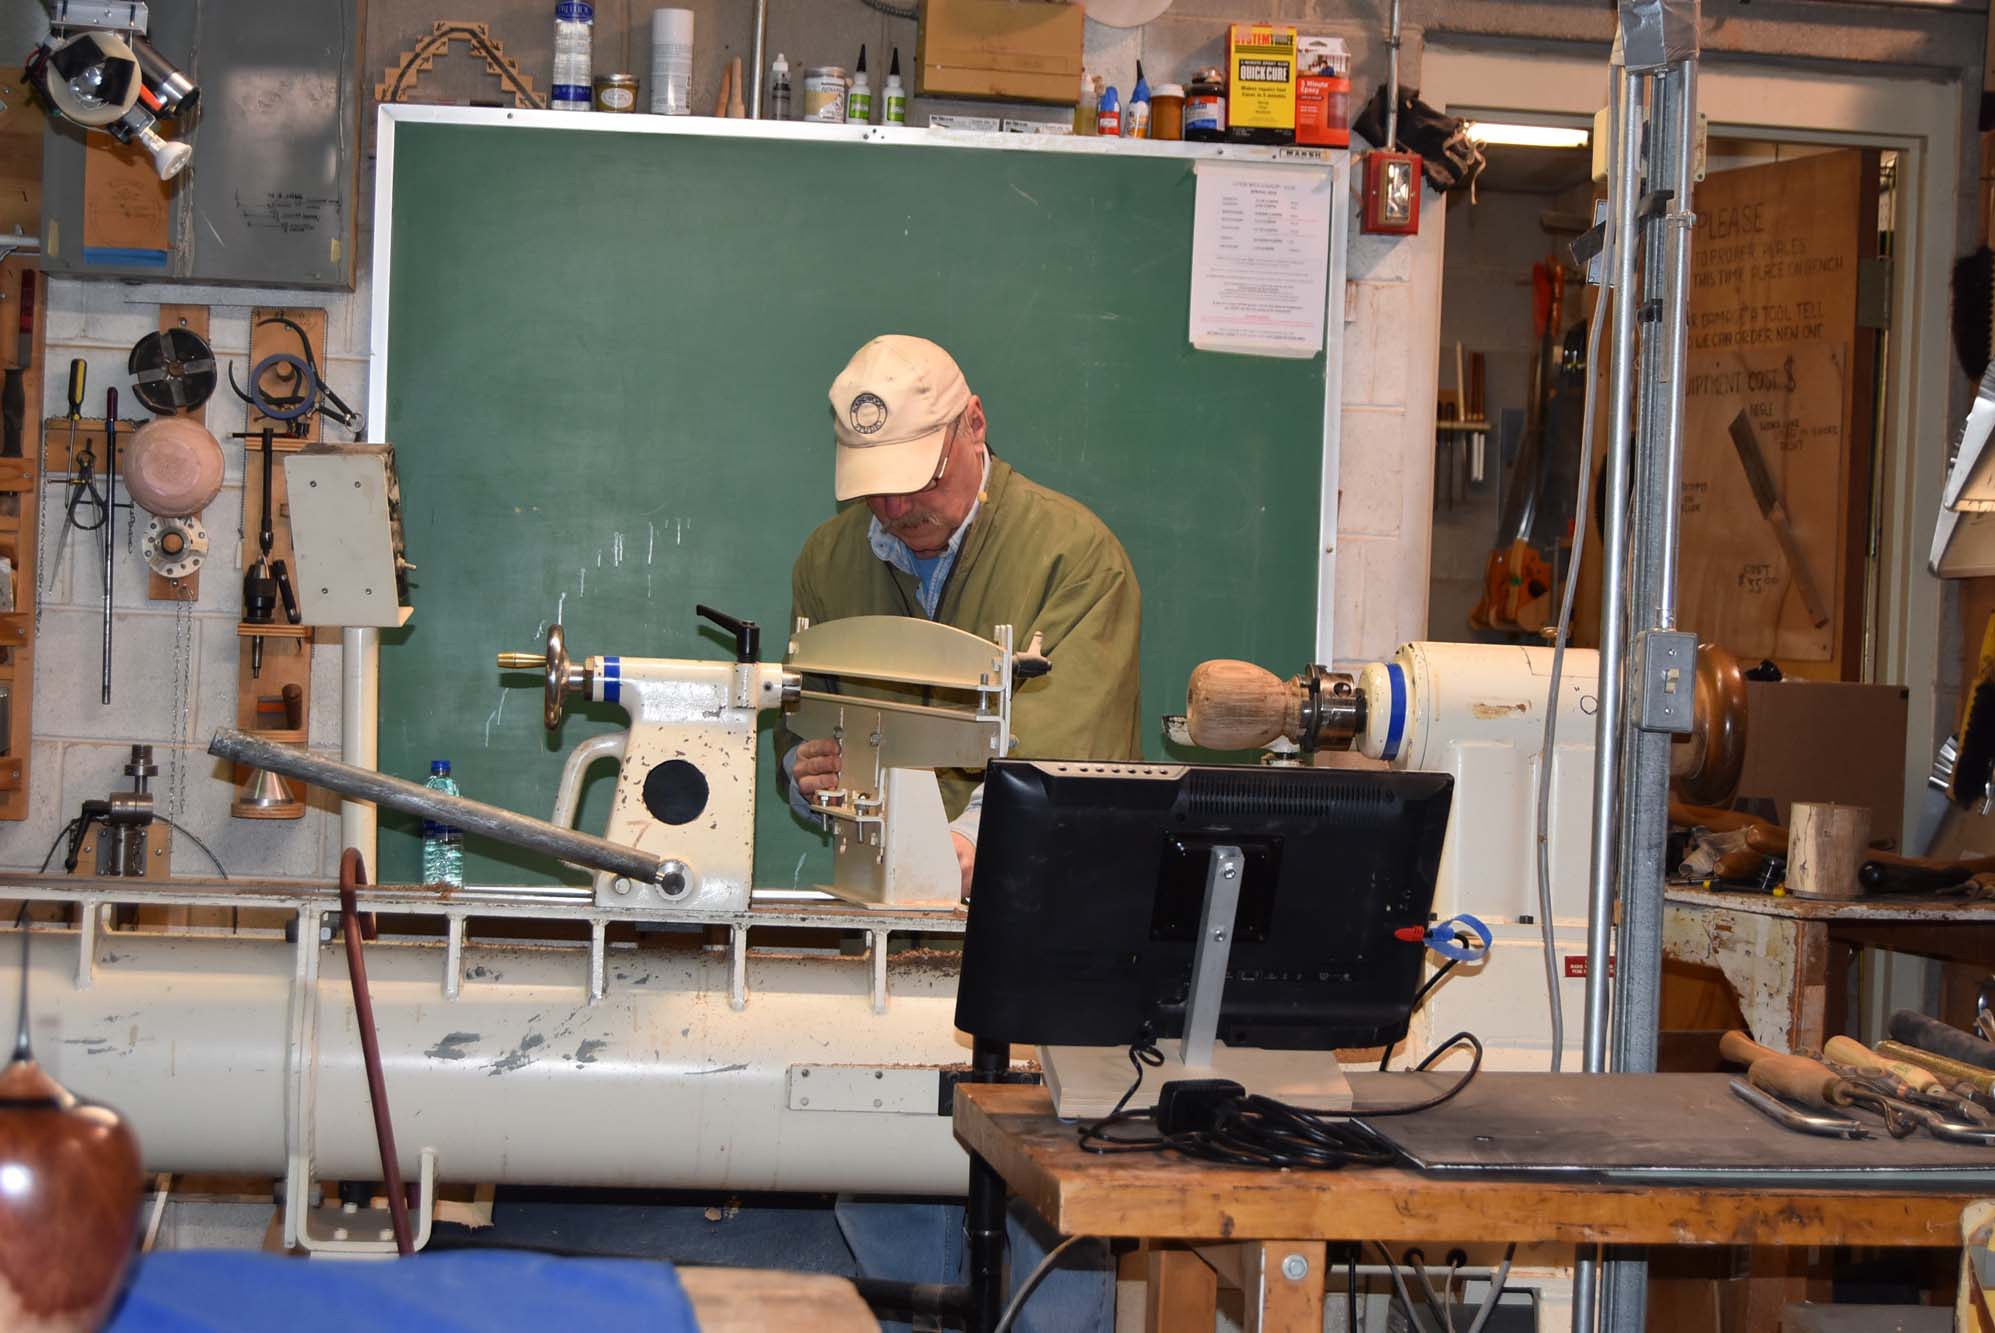
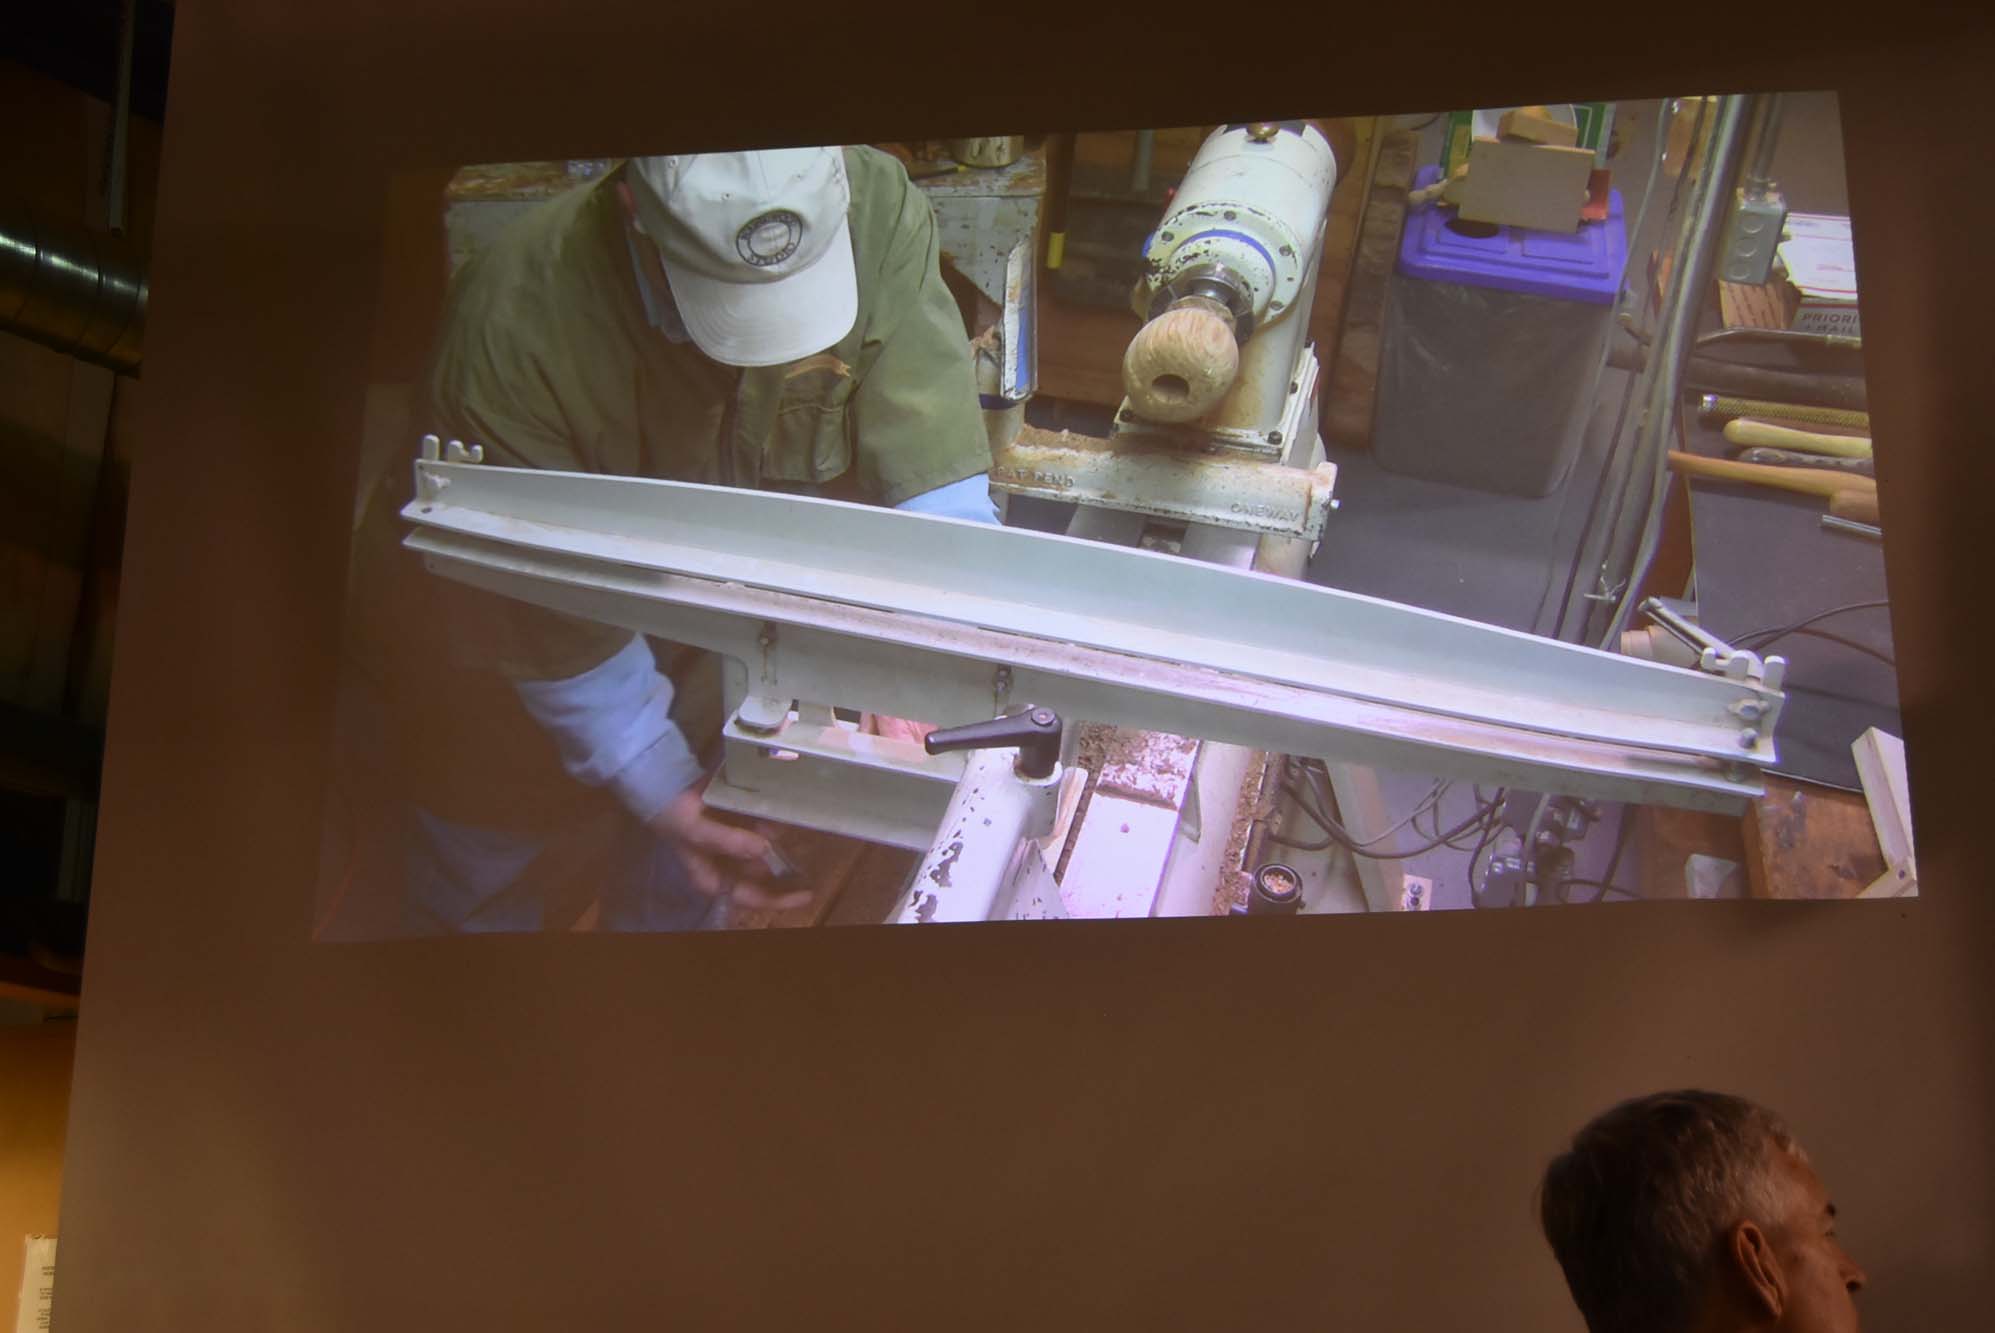
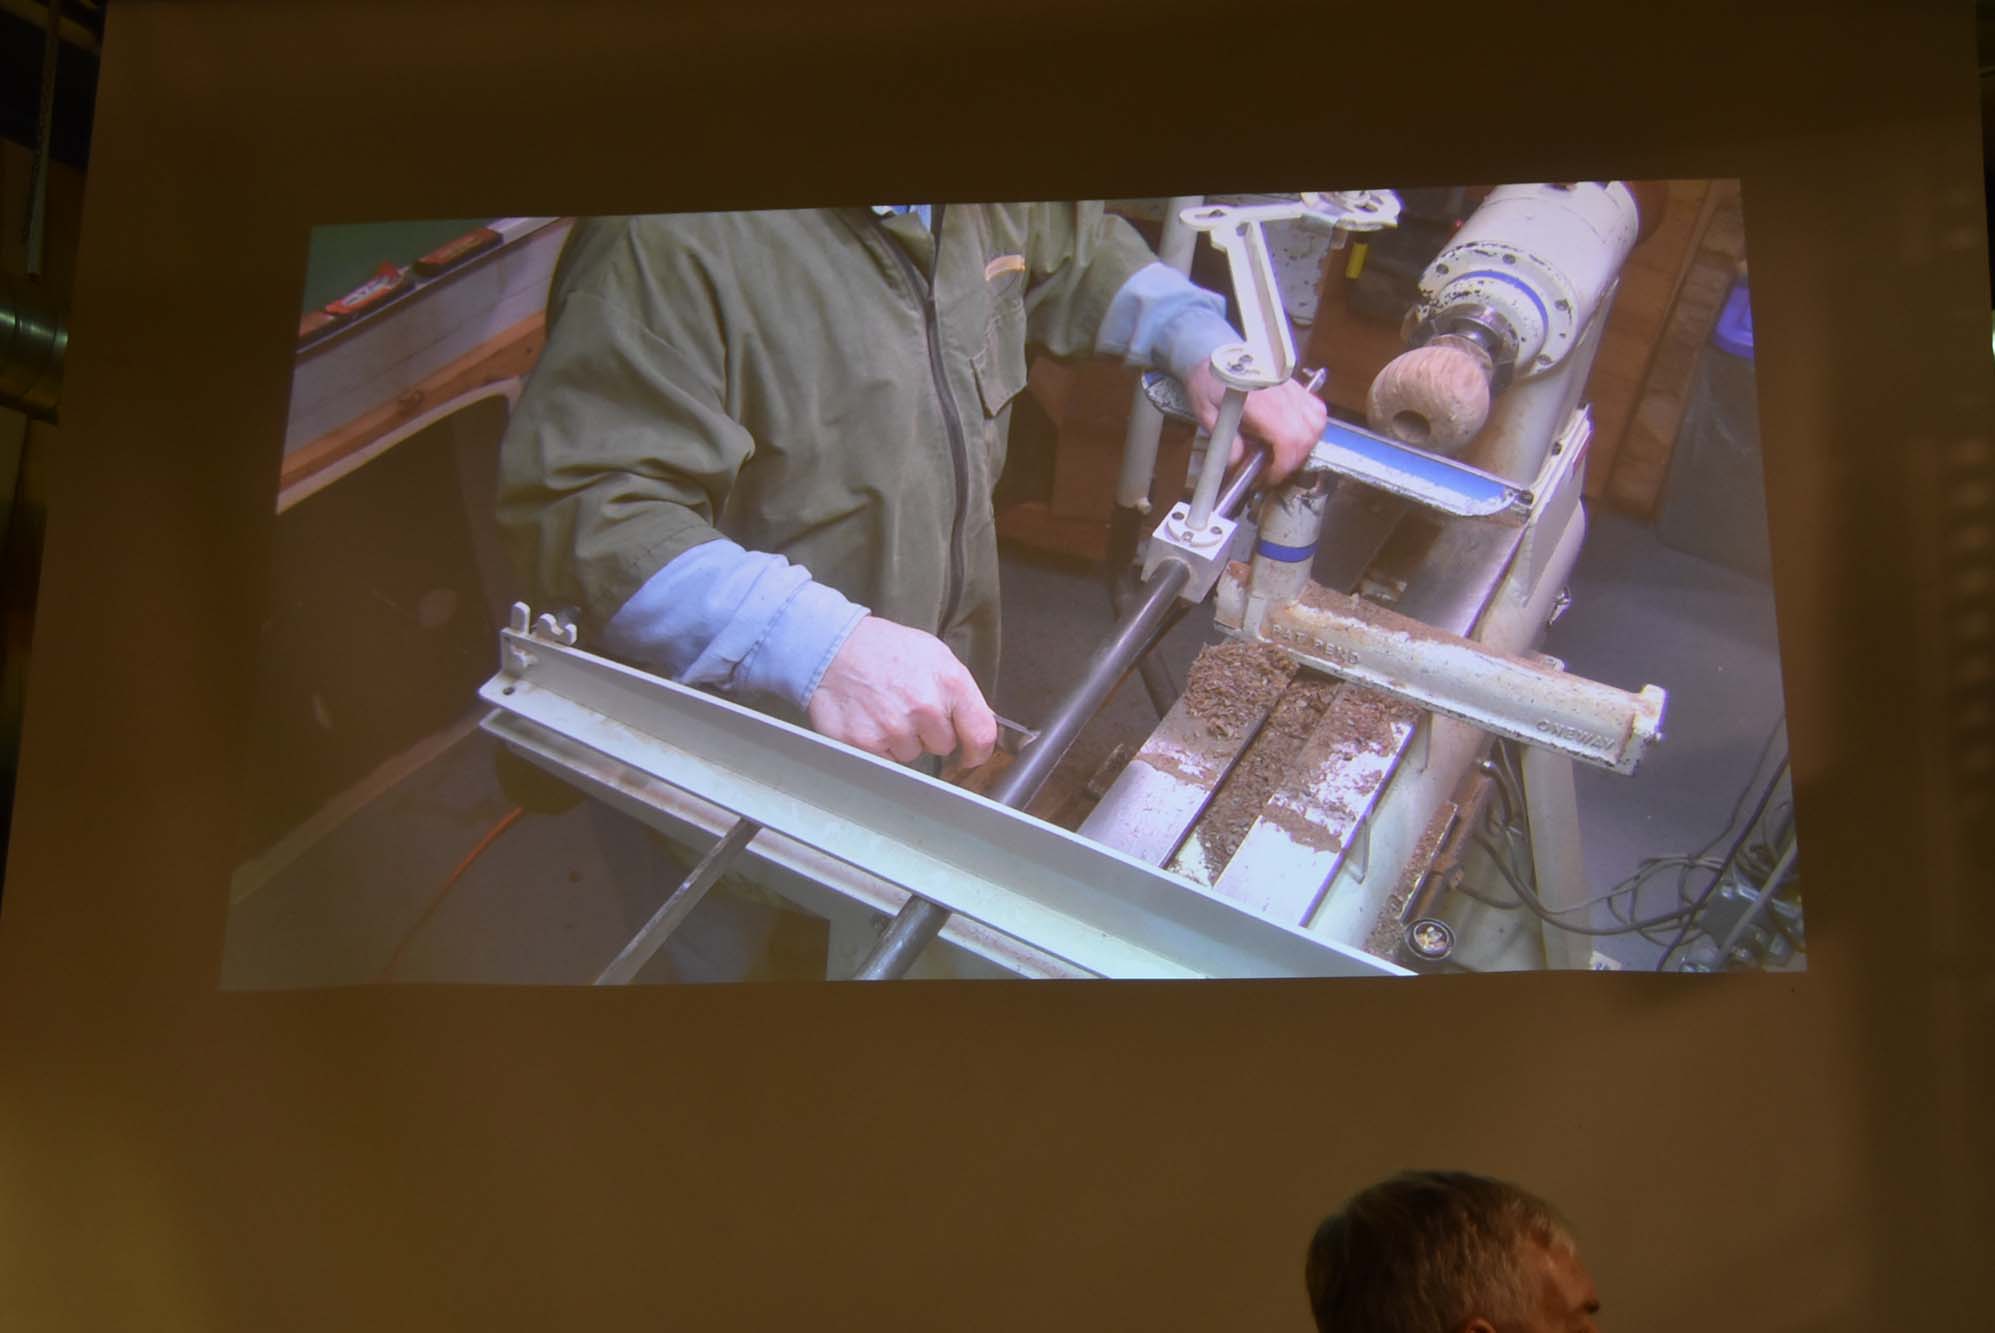
Bud’s first cuts are focused on establishing the wall thickness. After getting rid of the step between the Forstner and brad point bit, he then focuses on making a smooth cut bottom to top. He cuts on both the push and pull of the tool. He;’s so fast, before we knew it he was checking and finalizing the wall thickness, and he was done!

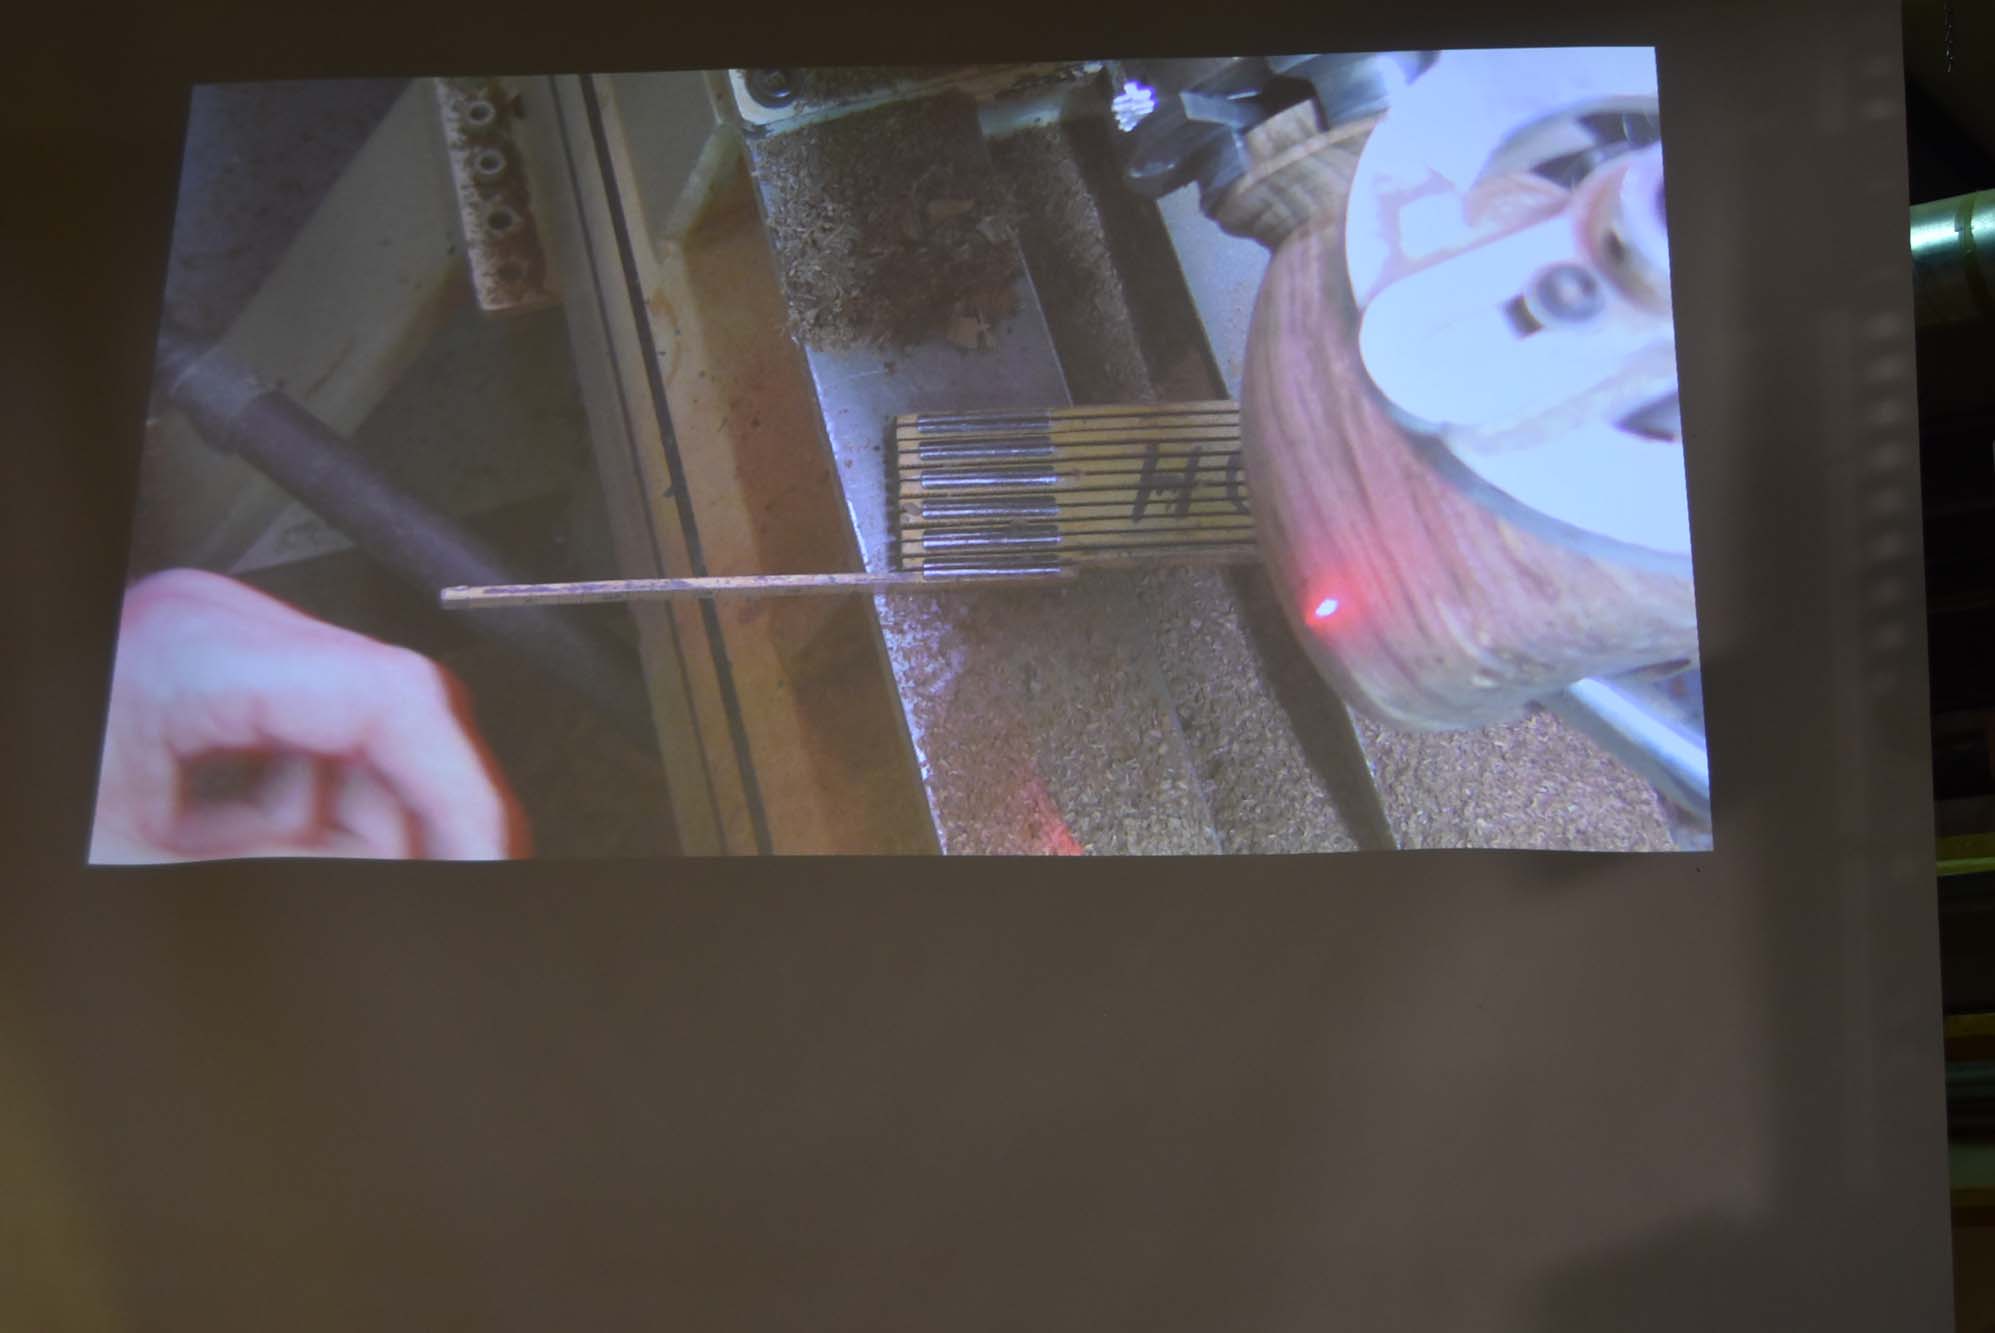
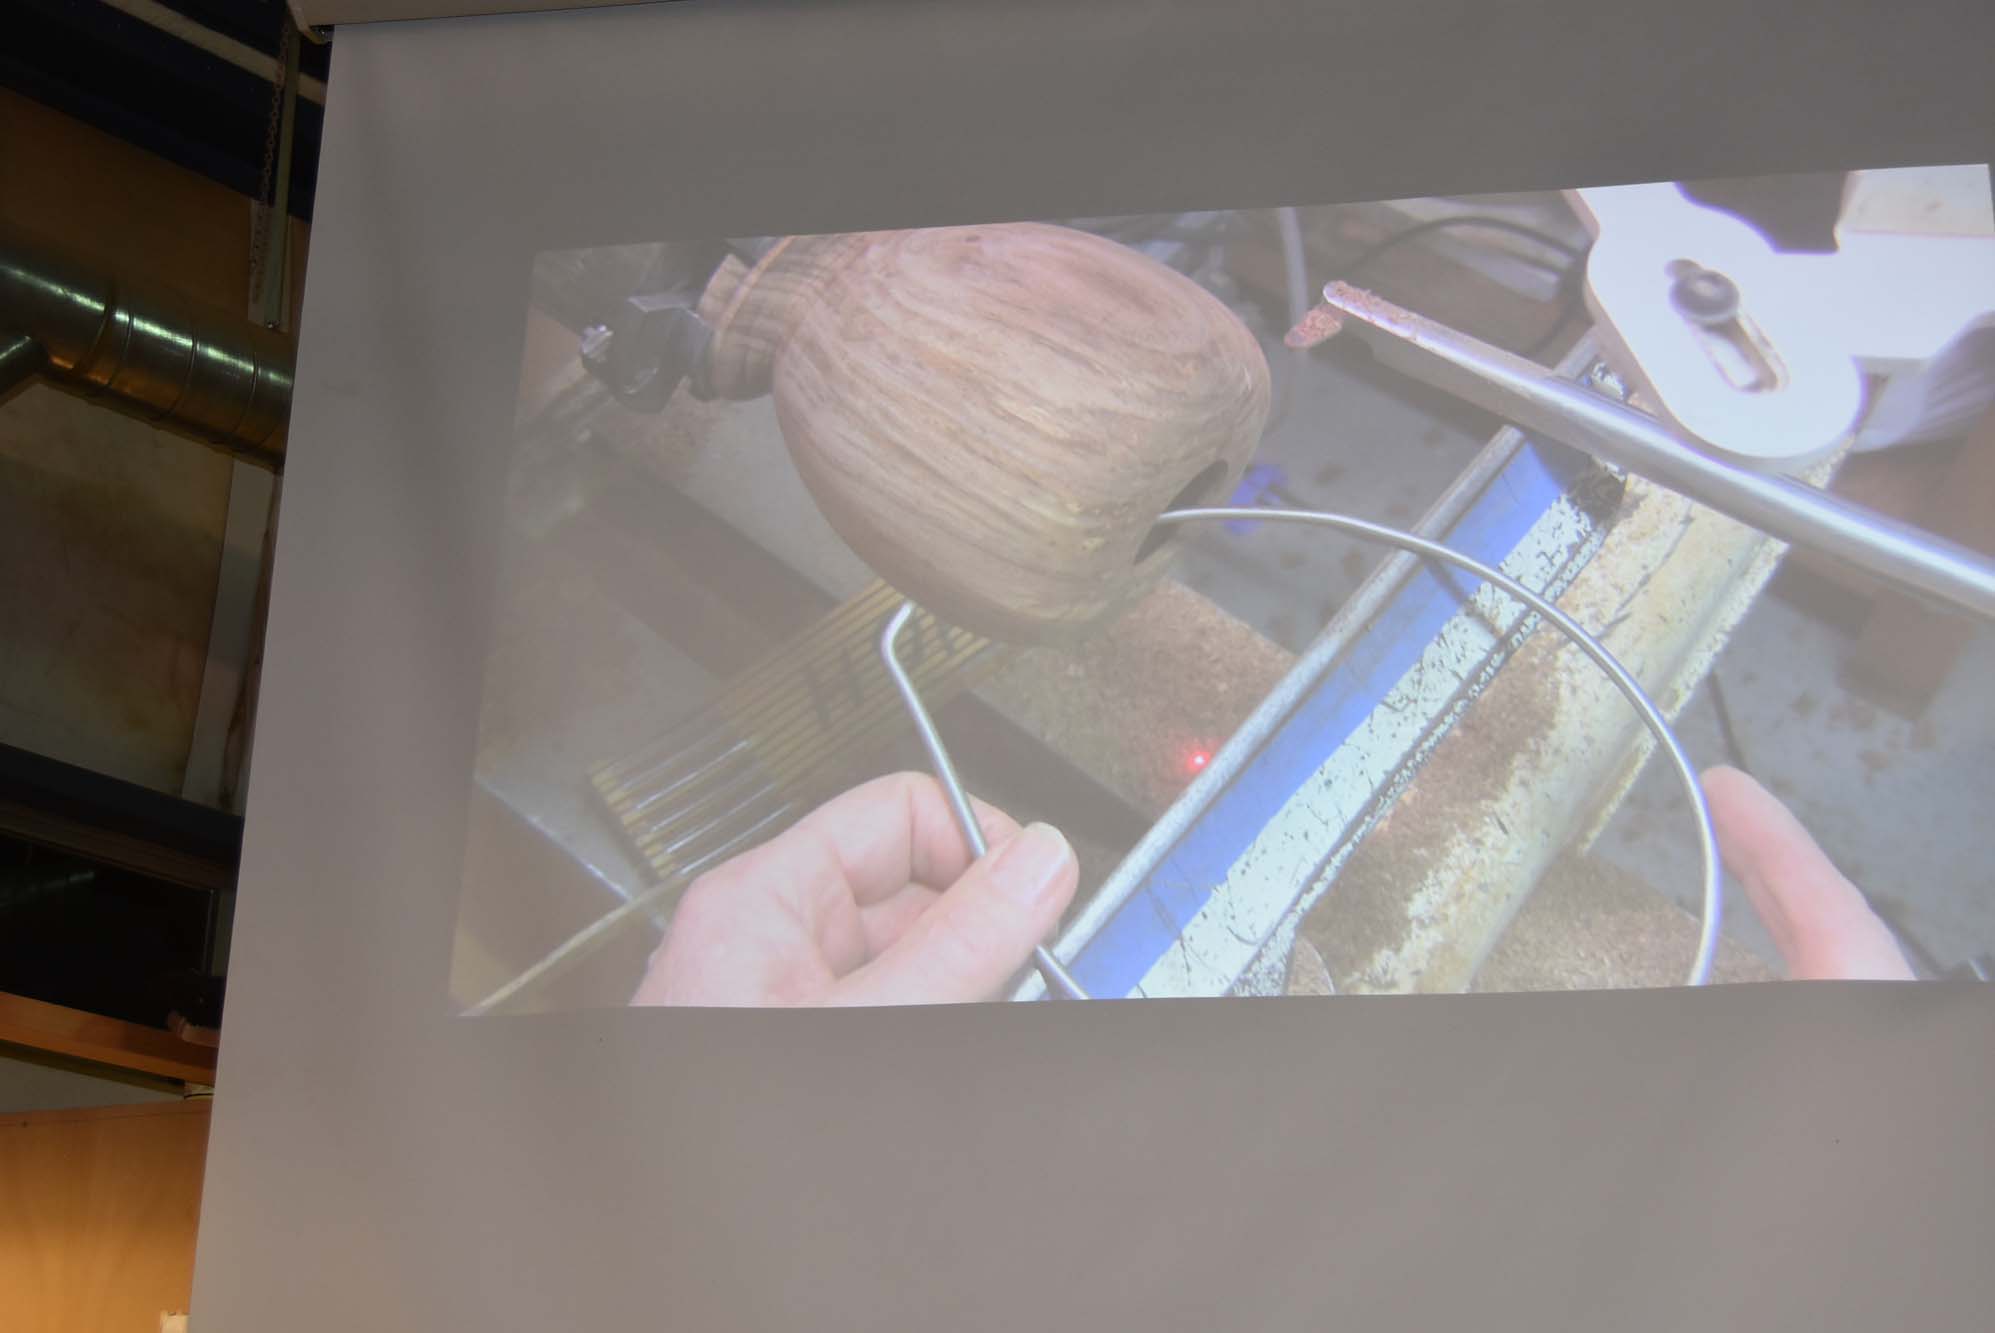
This is the part where Bud takes the hollow form and turns it into something special: the collar and finials. Starting with a reject African Blackwood clarinet blank from Gilmer Wood Company, he marks the diameter and turns a tenon to the length of the vessel’s wall thickness. Once it is fitted, Bud excavates the center and then parts it off.
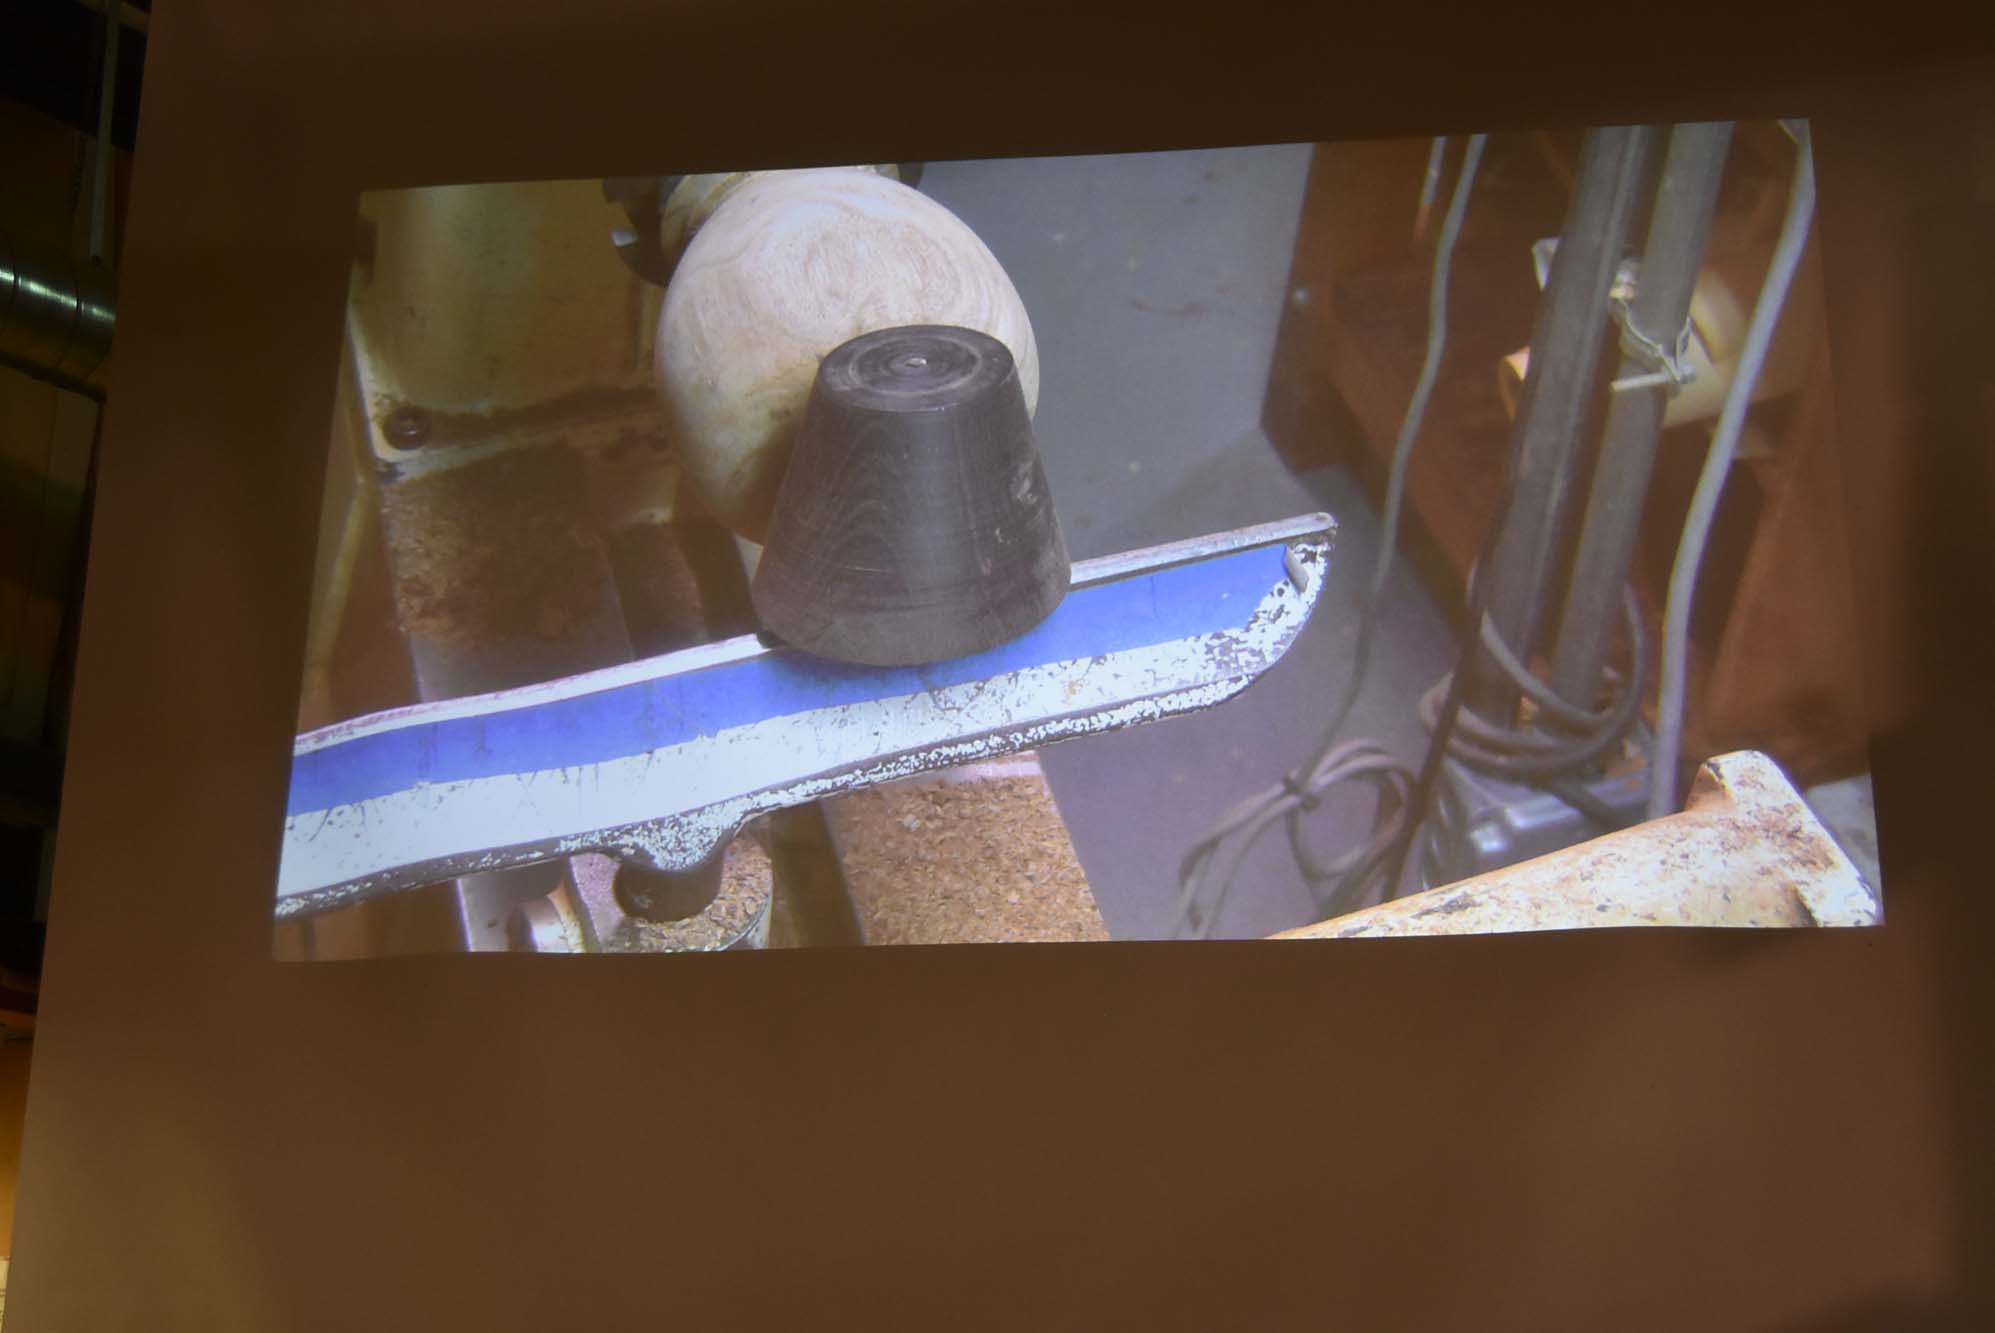
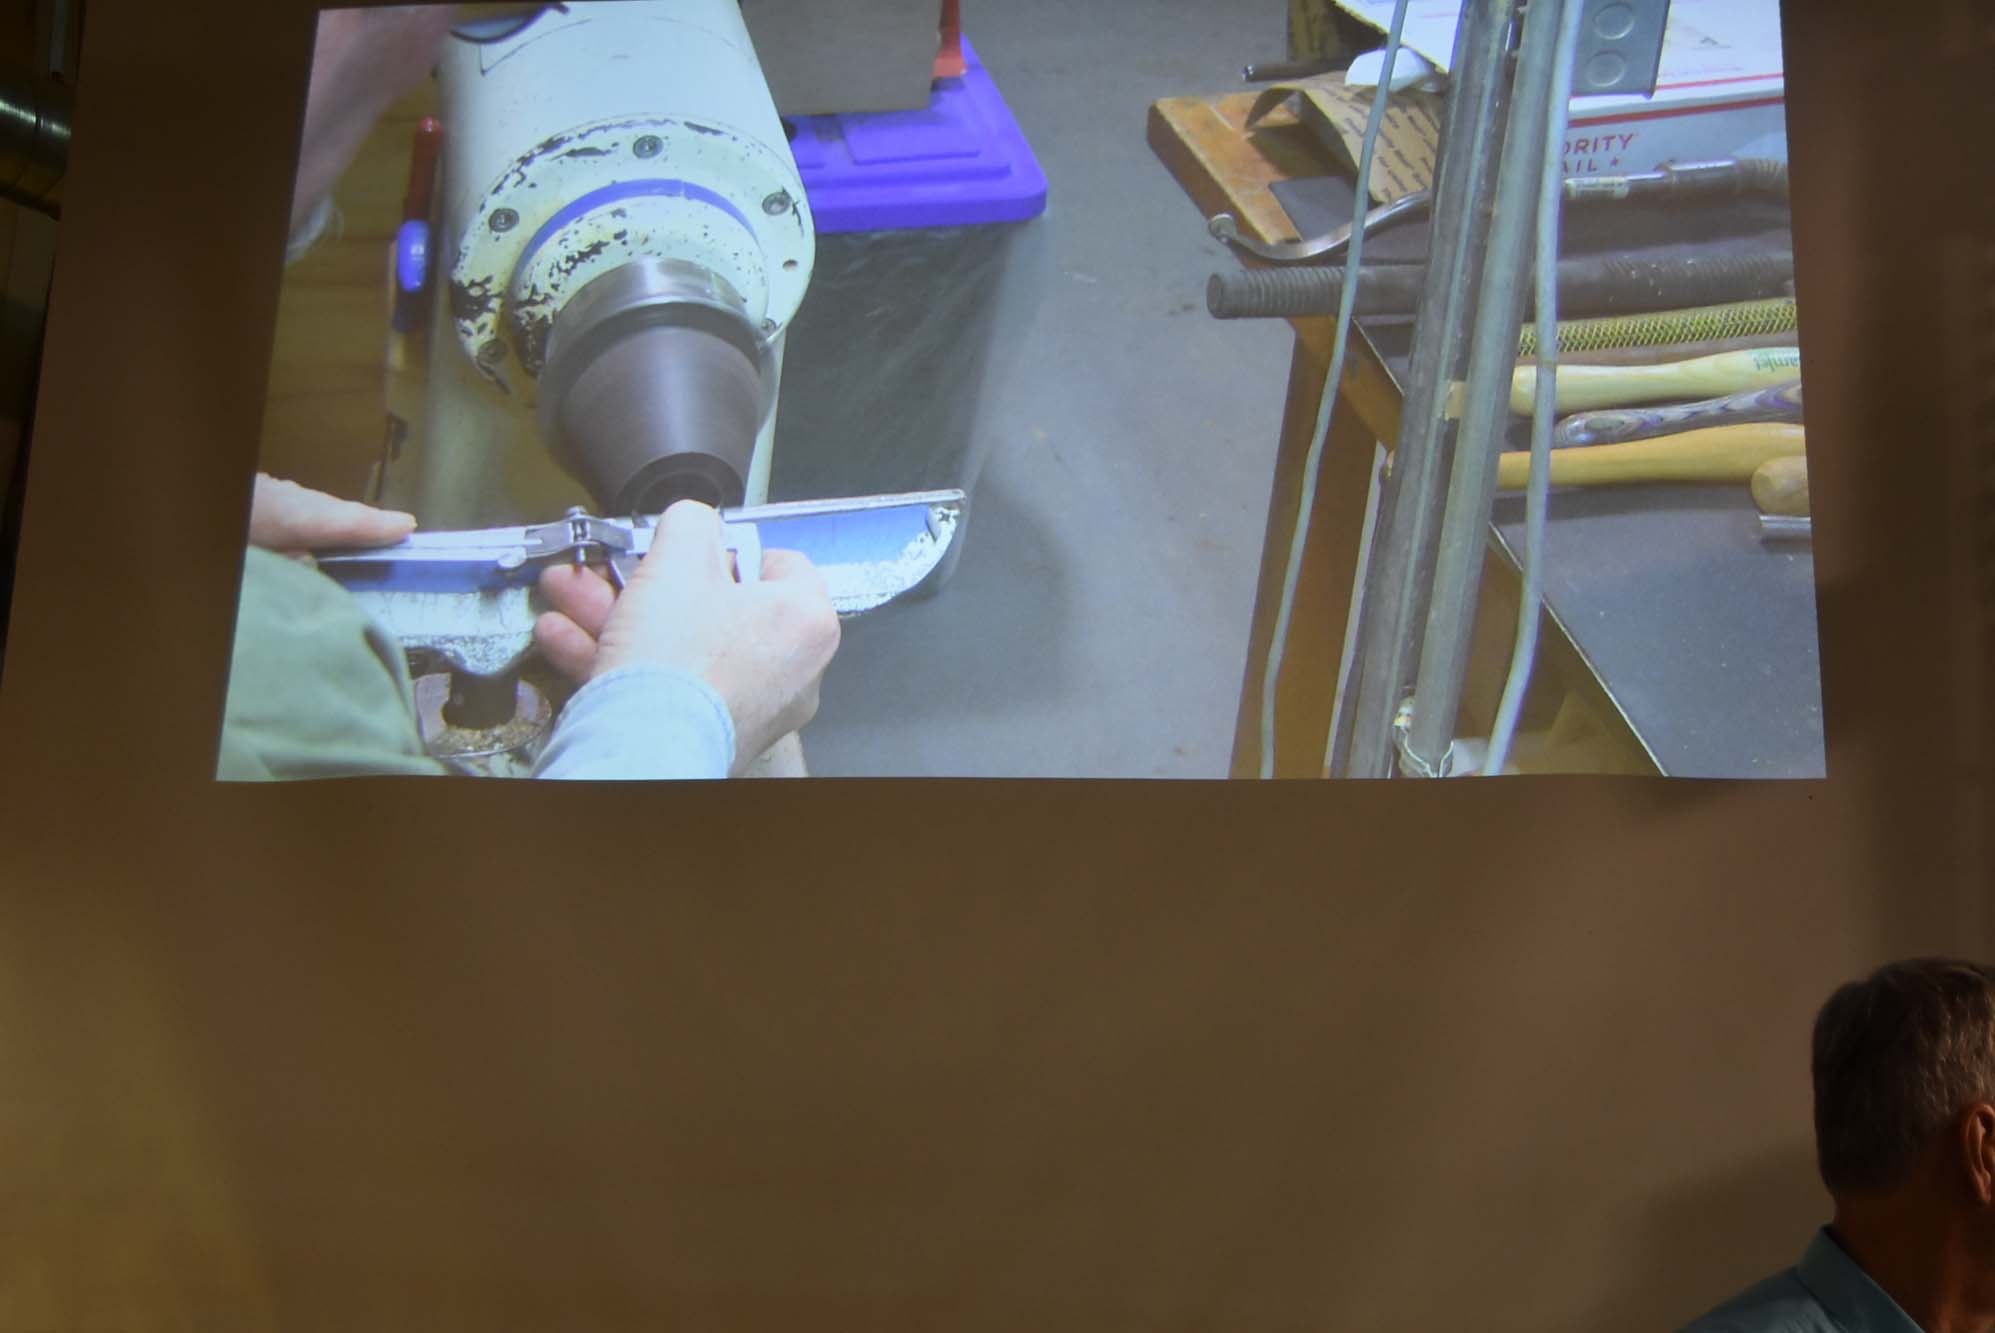
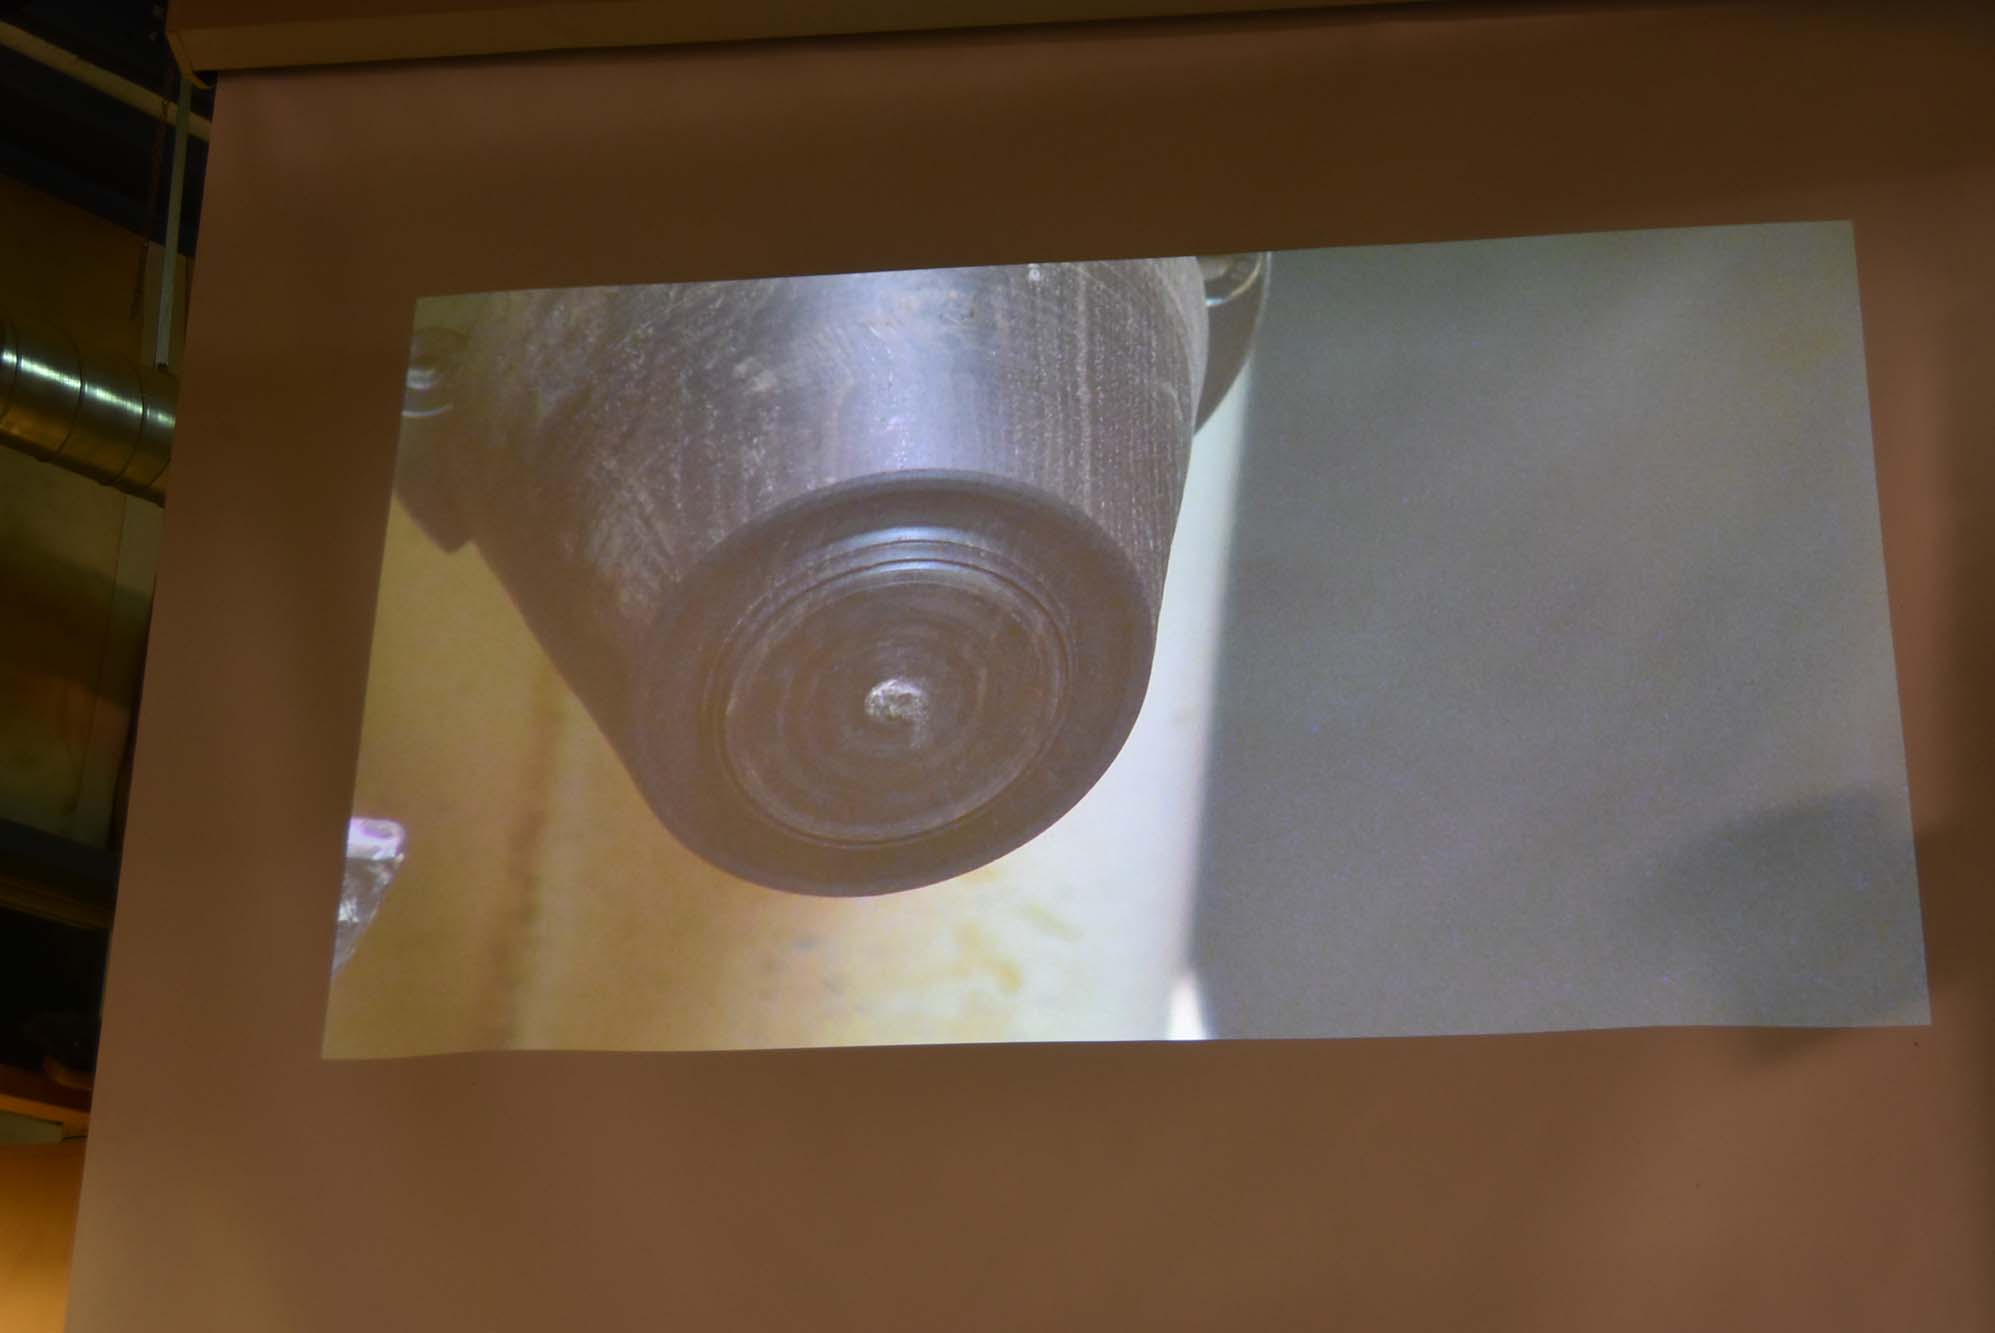
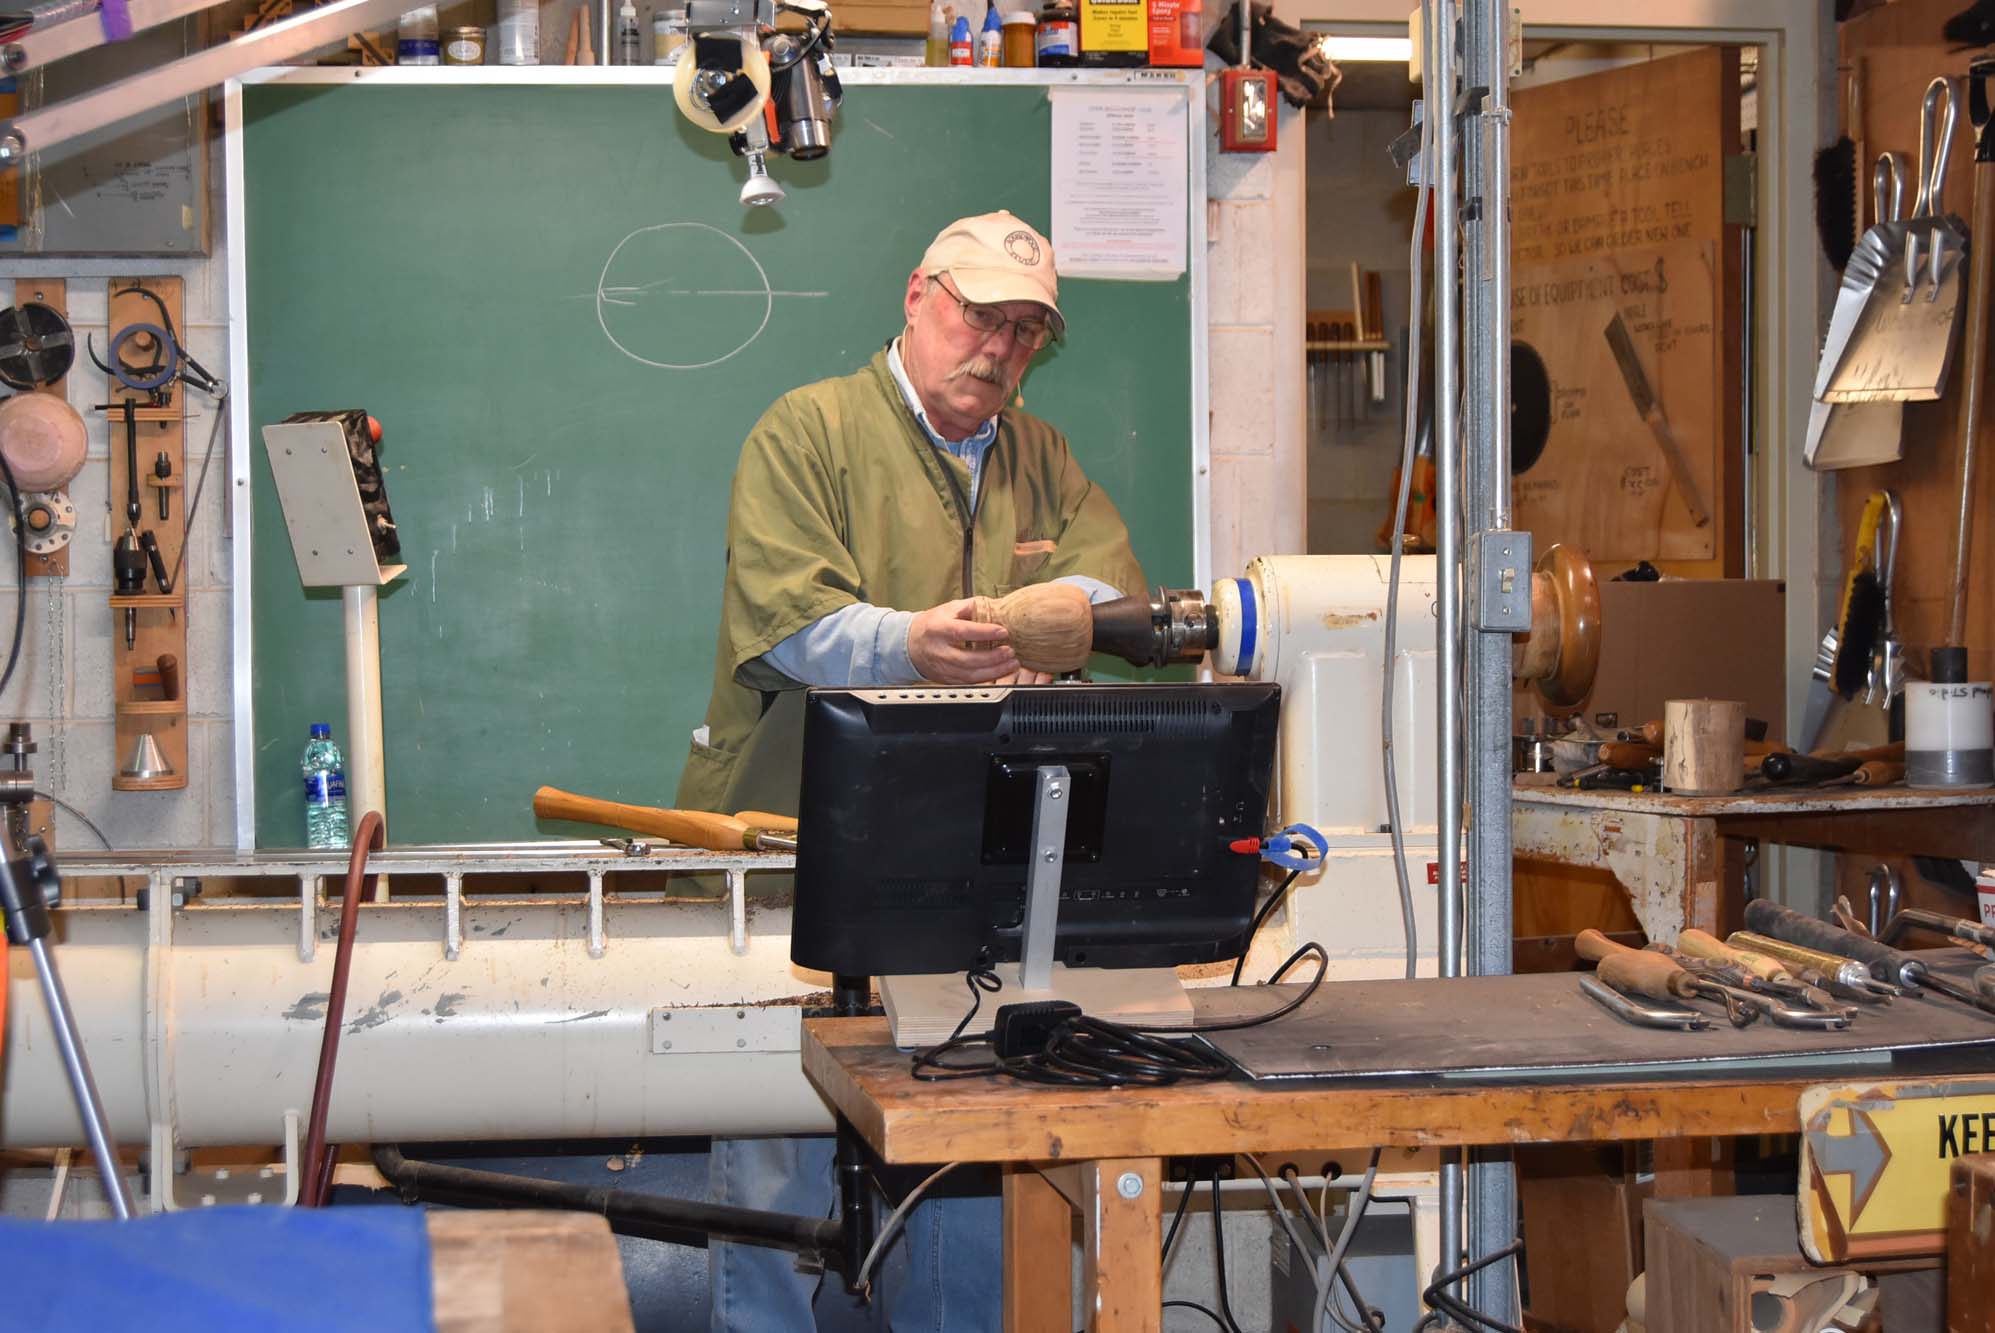
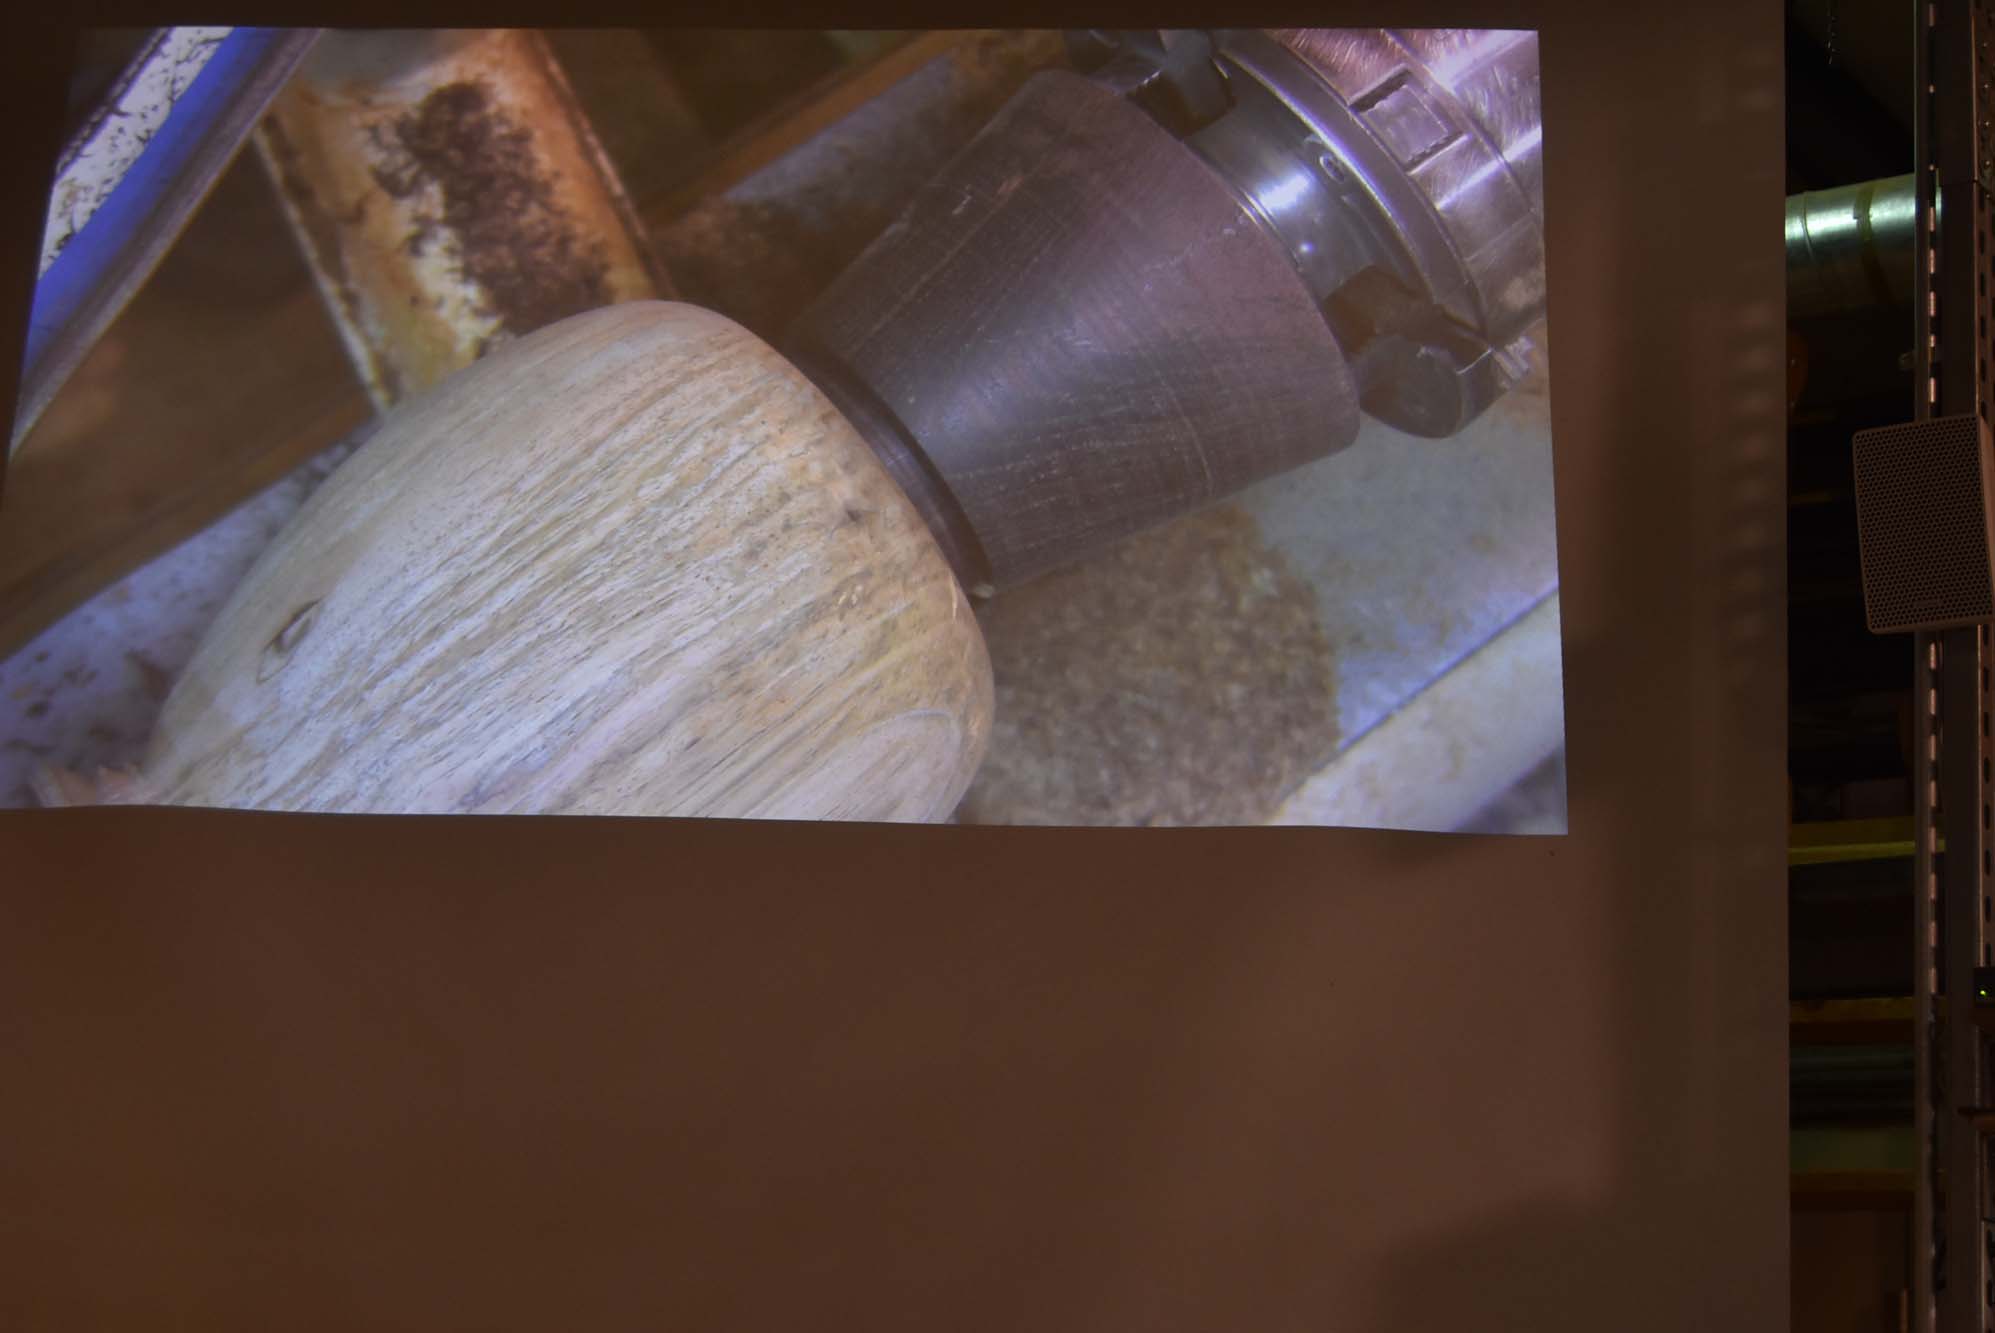
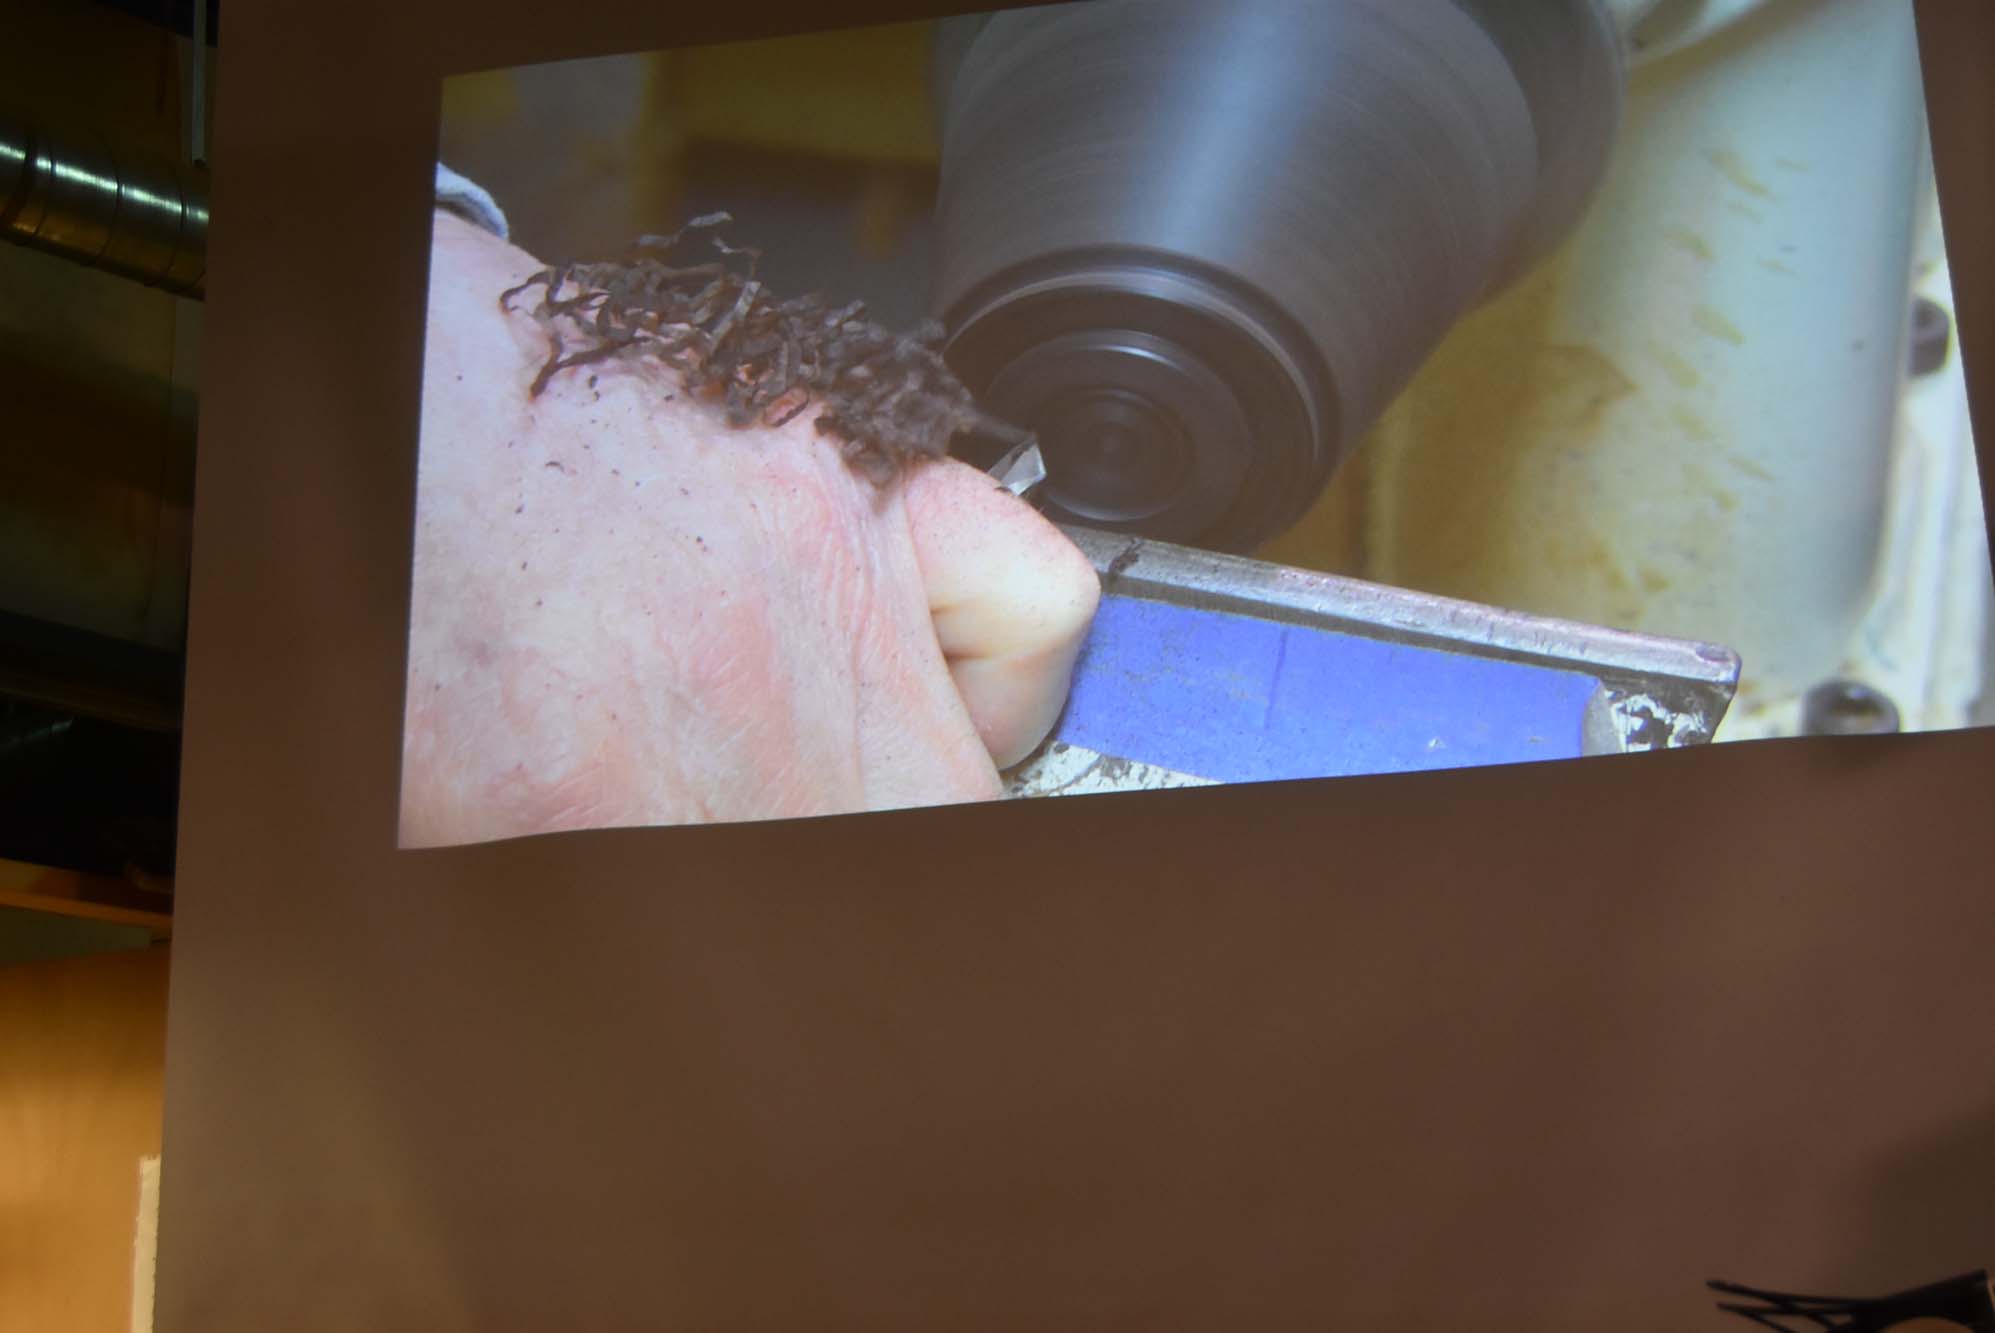
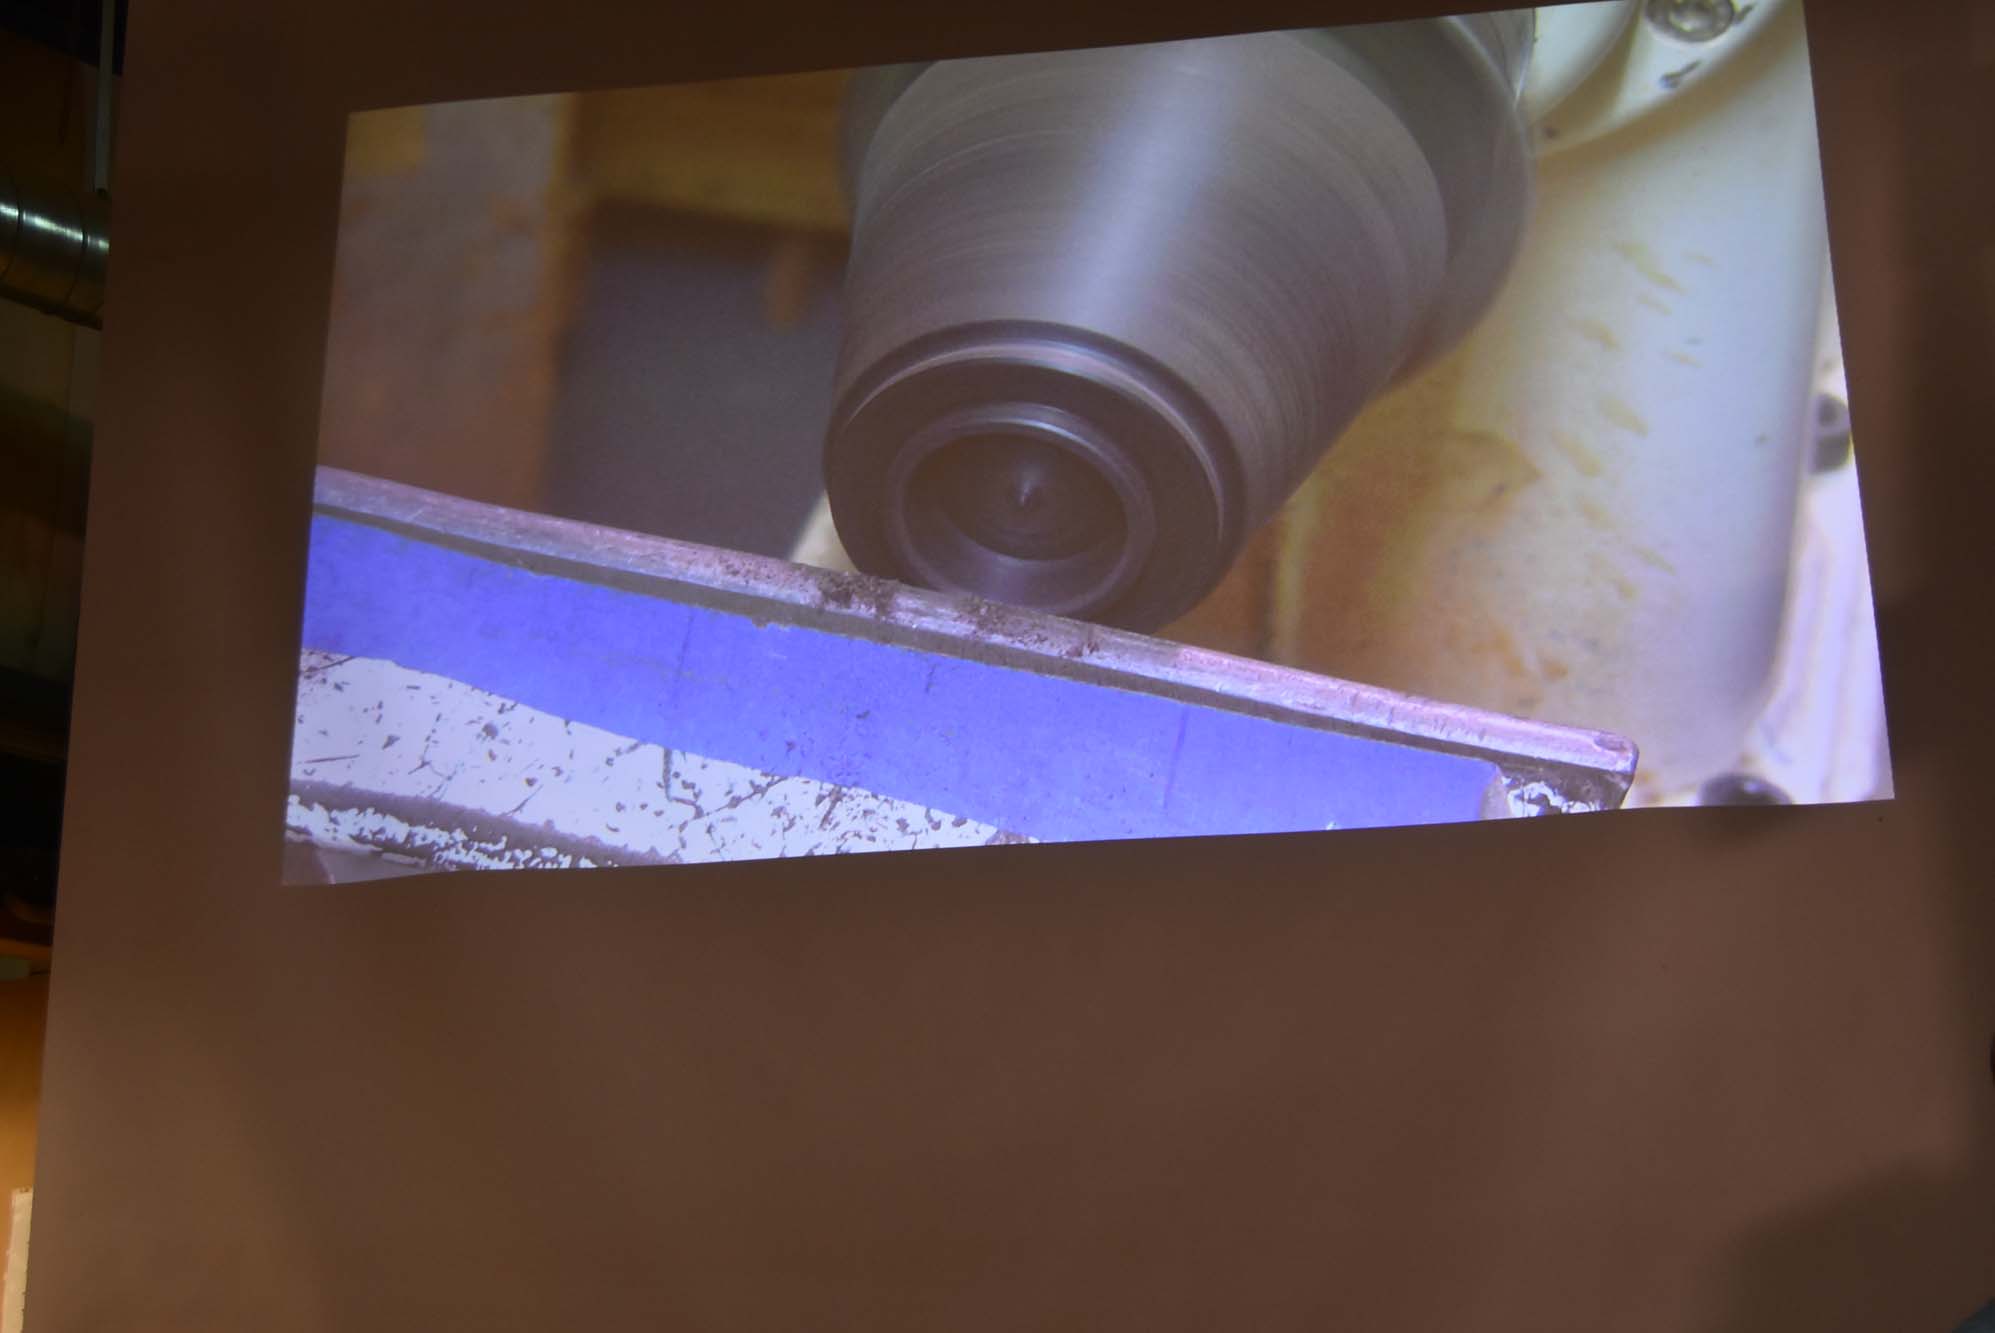
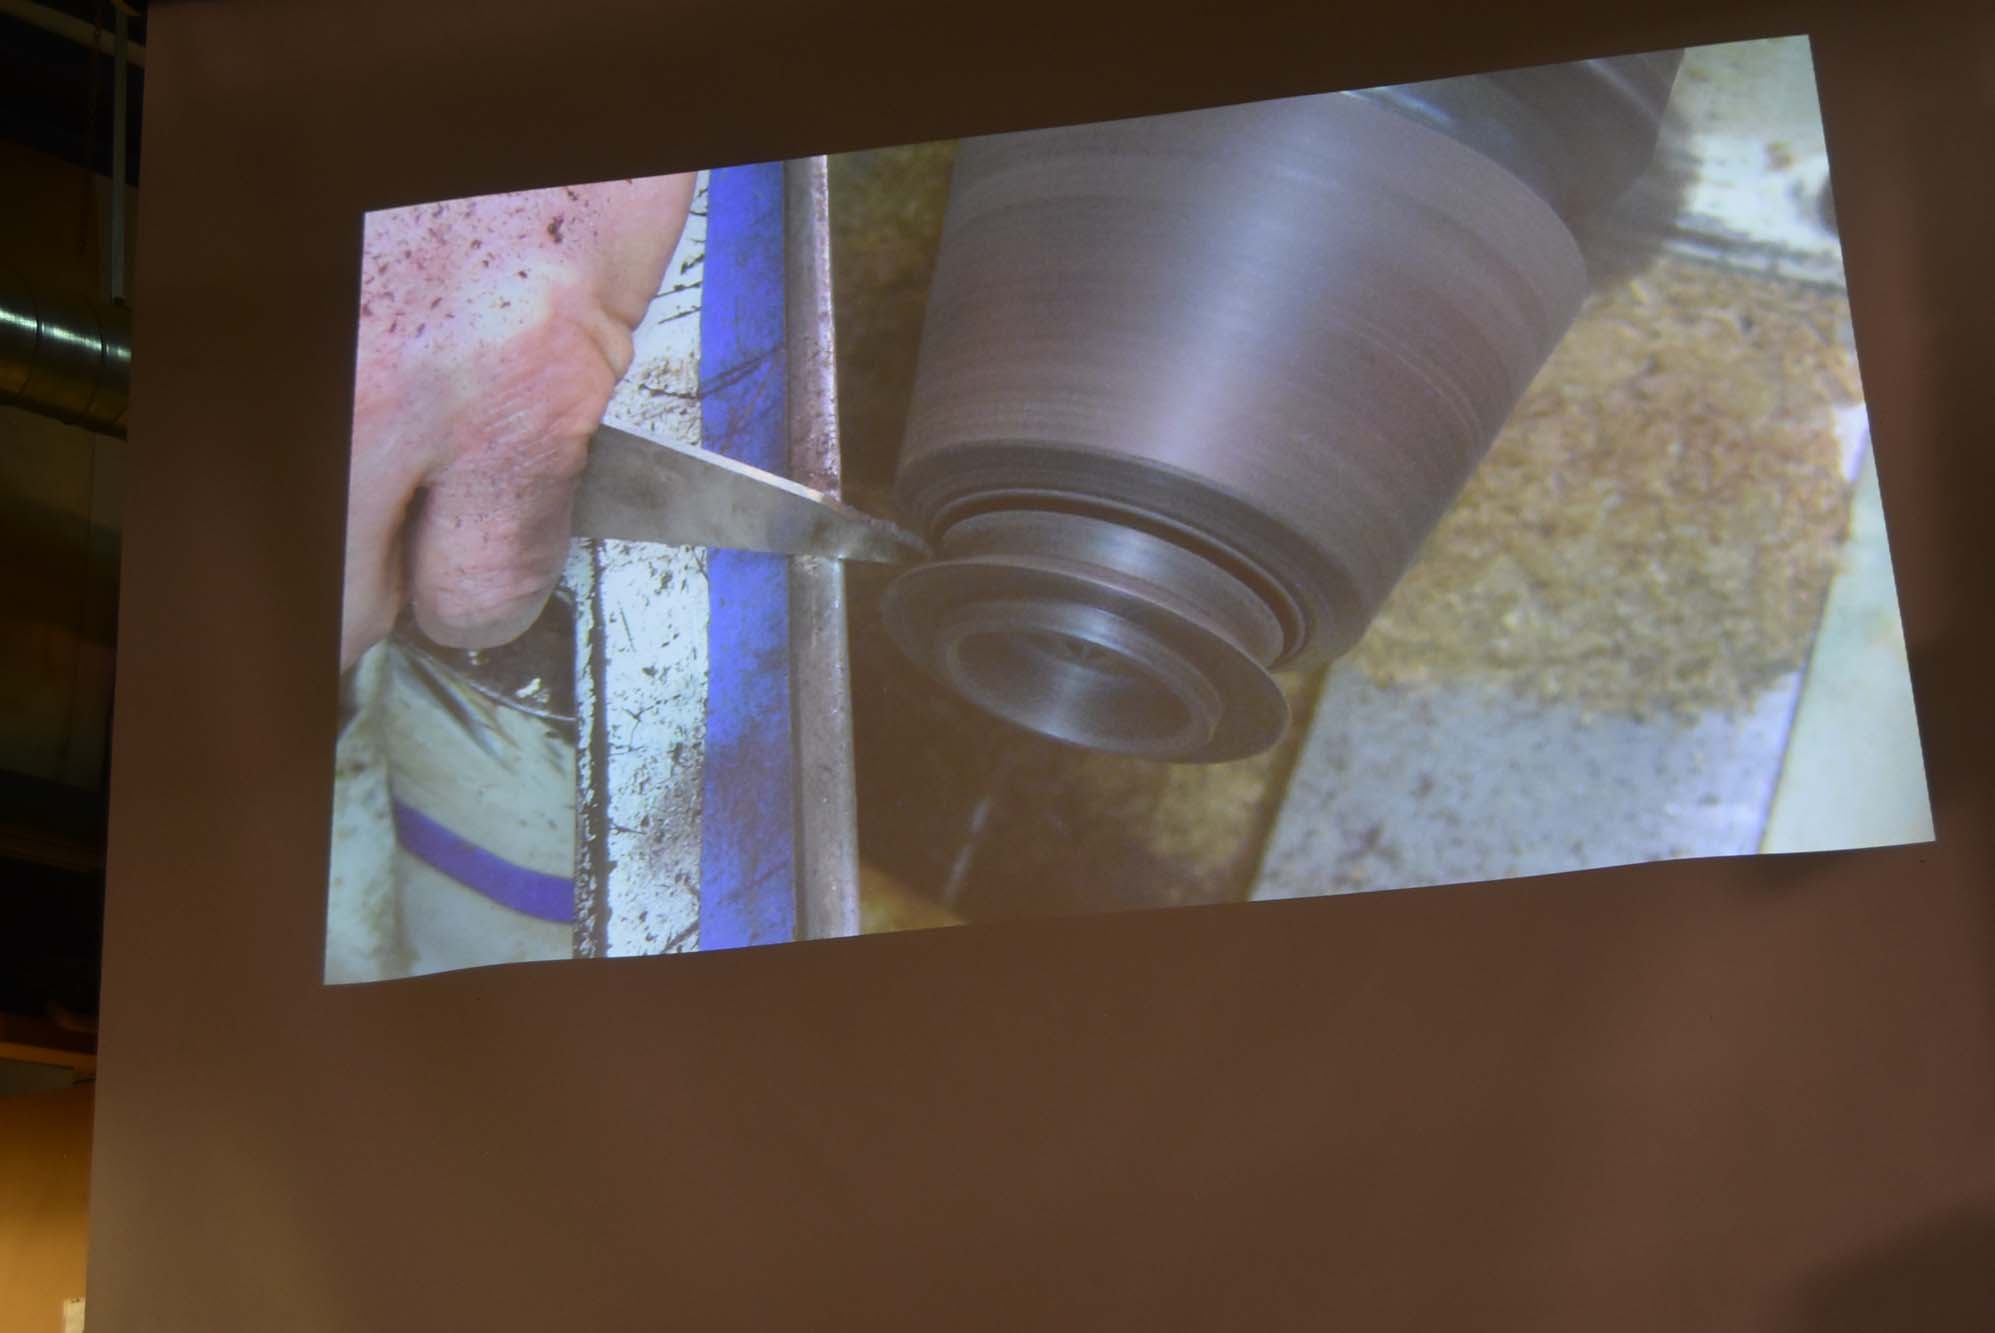
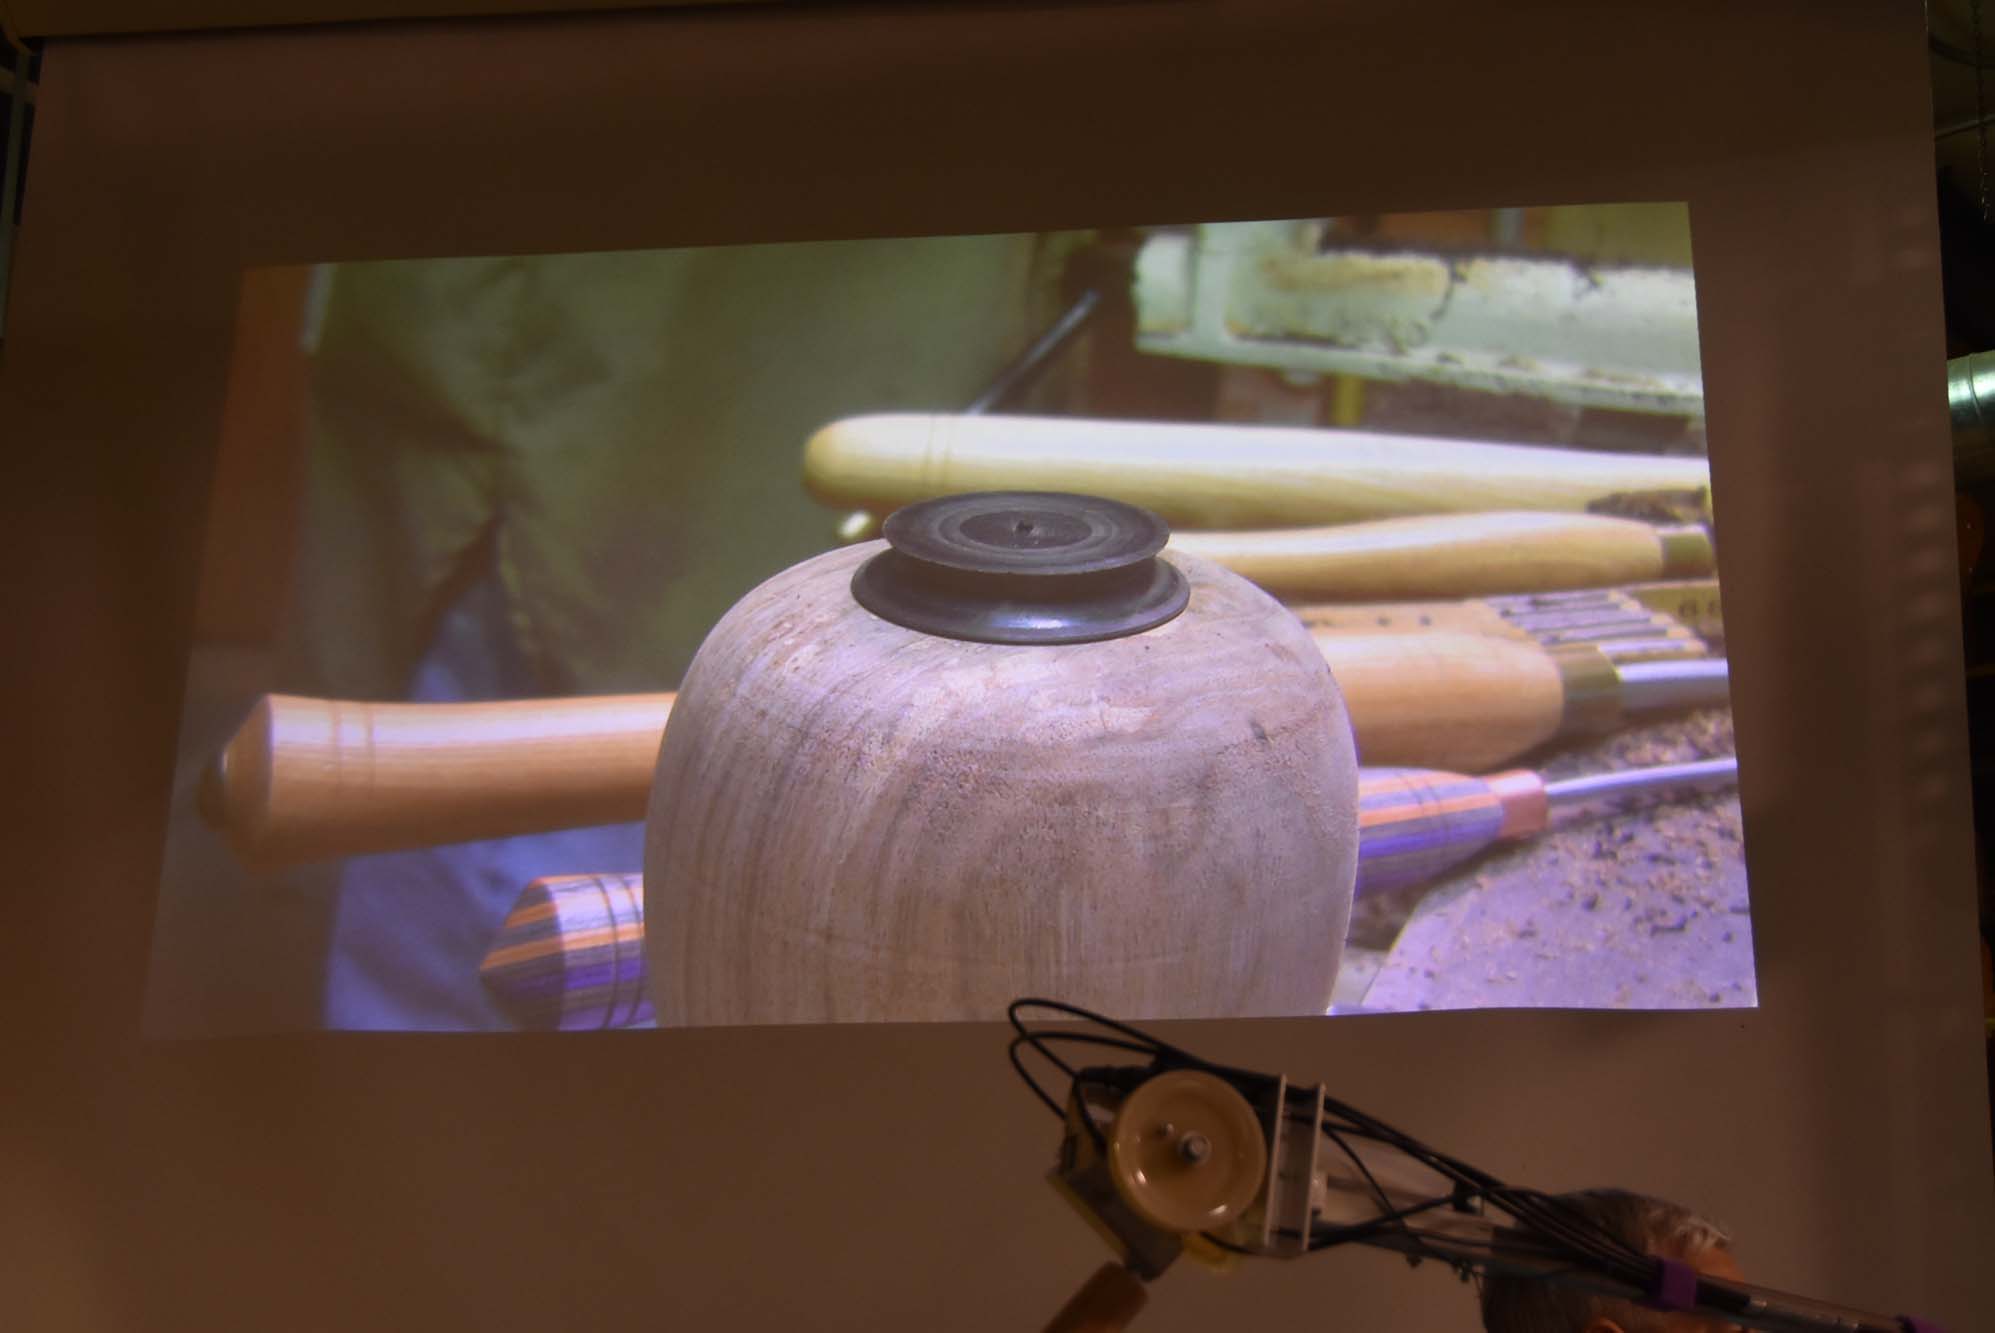
That tenon he just made allows him to grab the ring and shape the outside. Once he has that done, comes the delicate task of hollowing out the inside. It is a delicate ring that results. The last picture shows it fitted in the vessel.
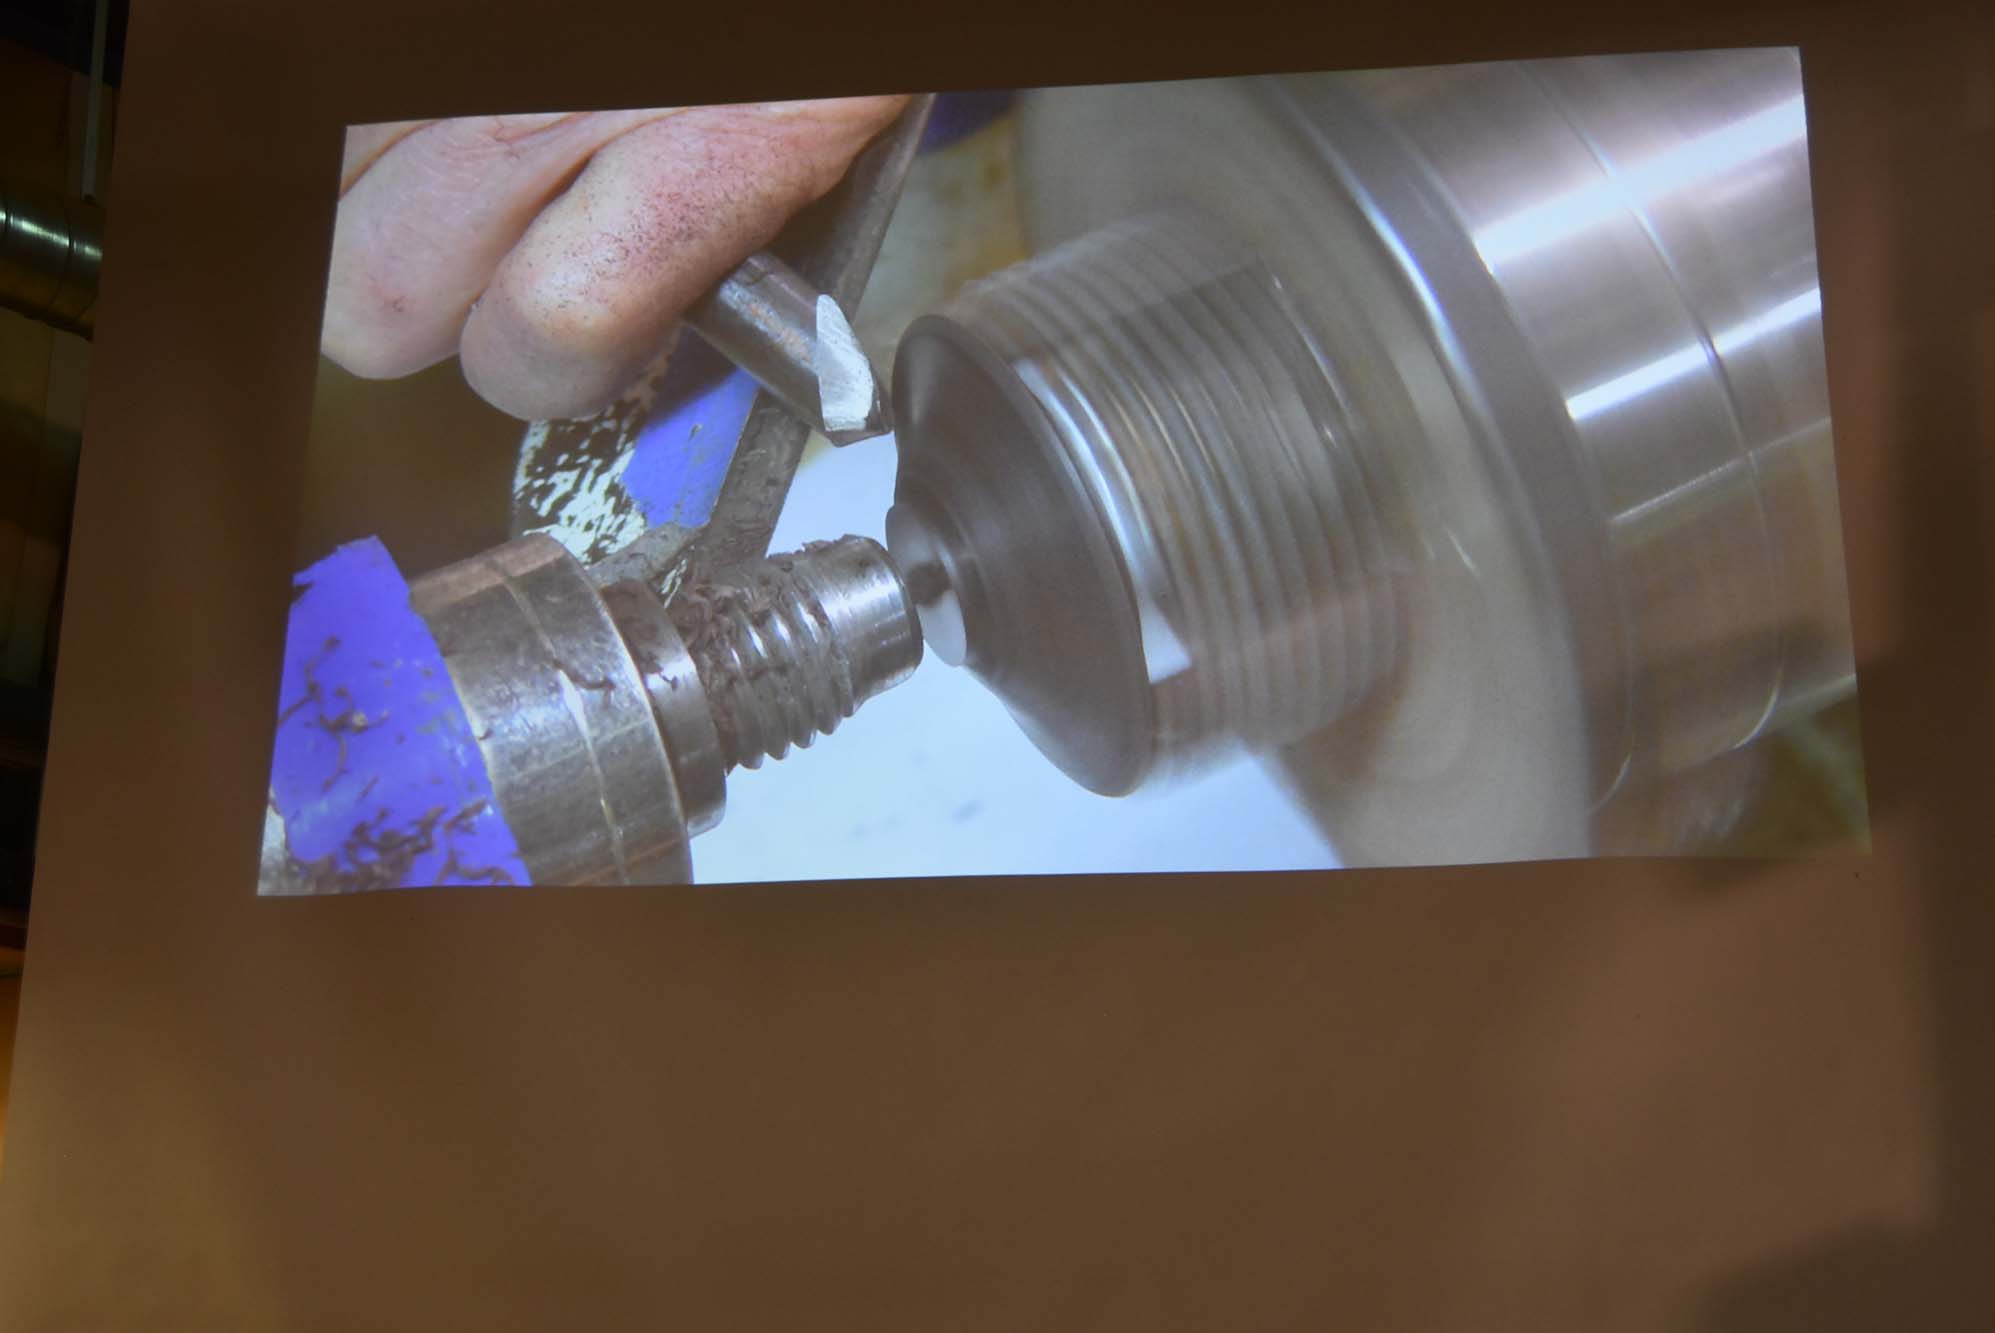
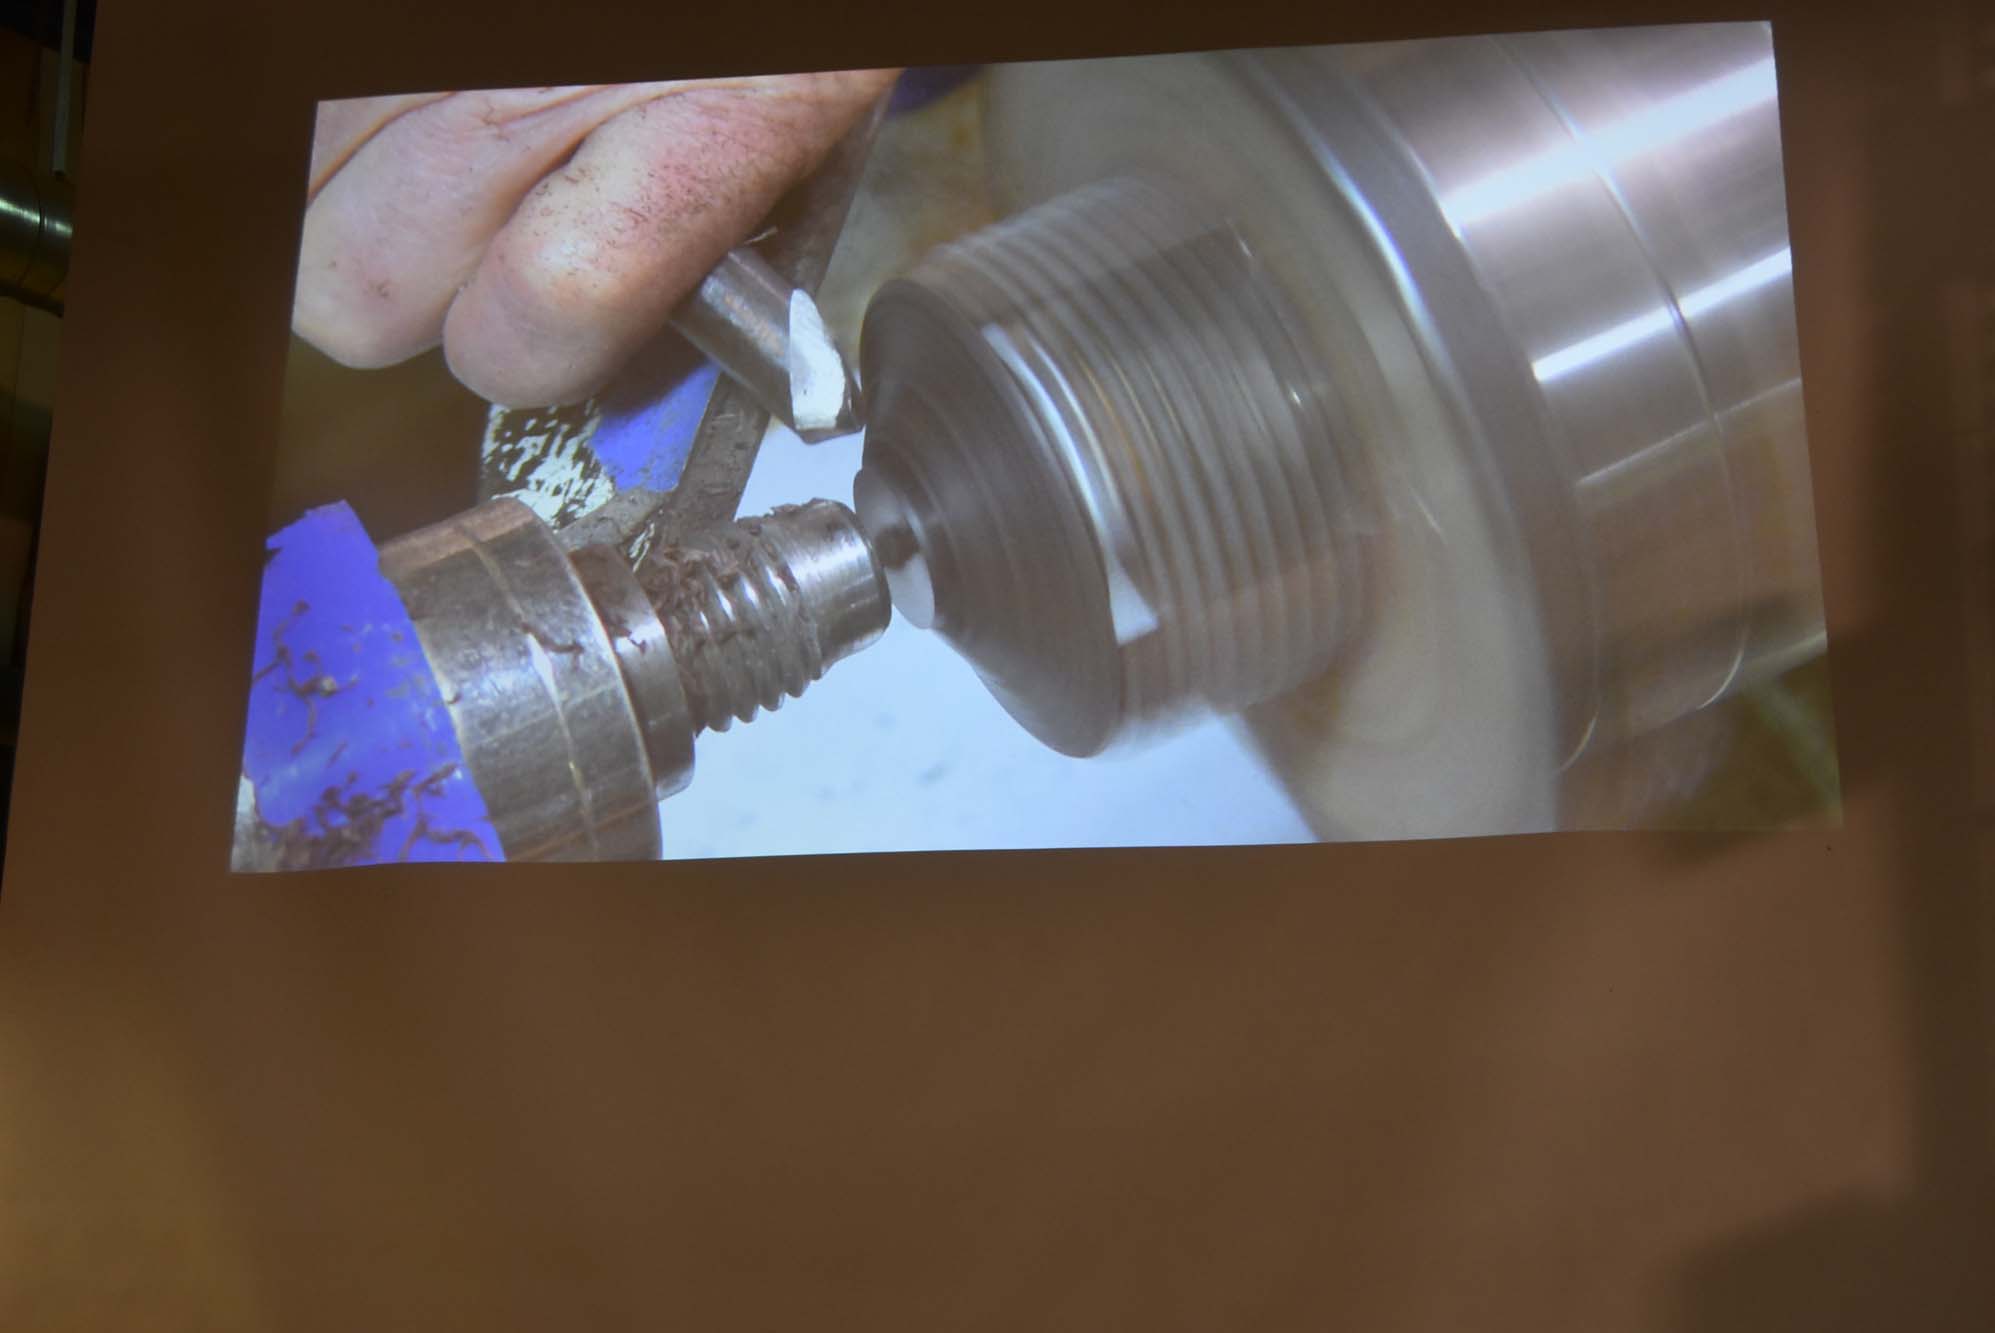
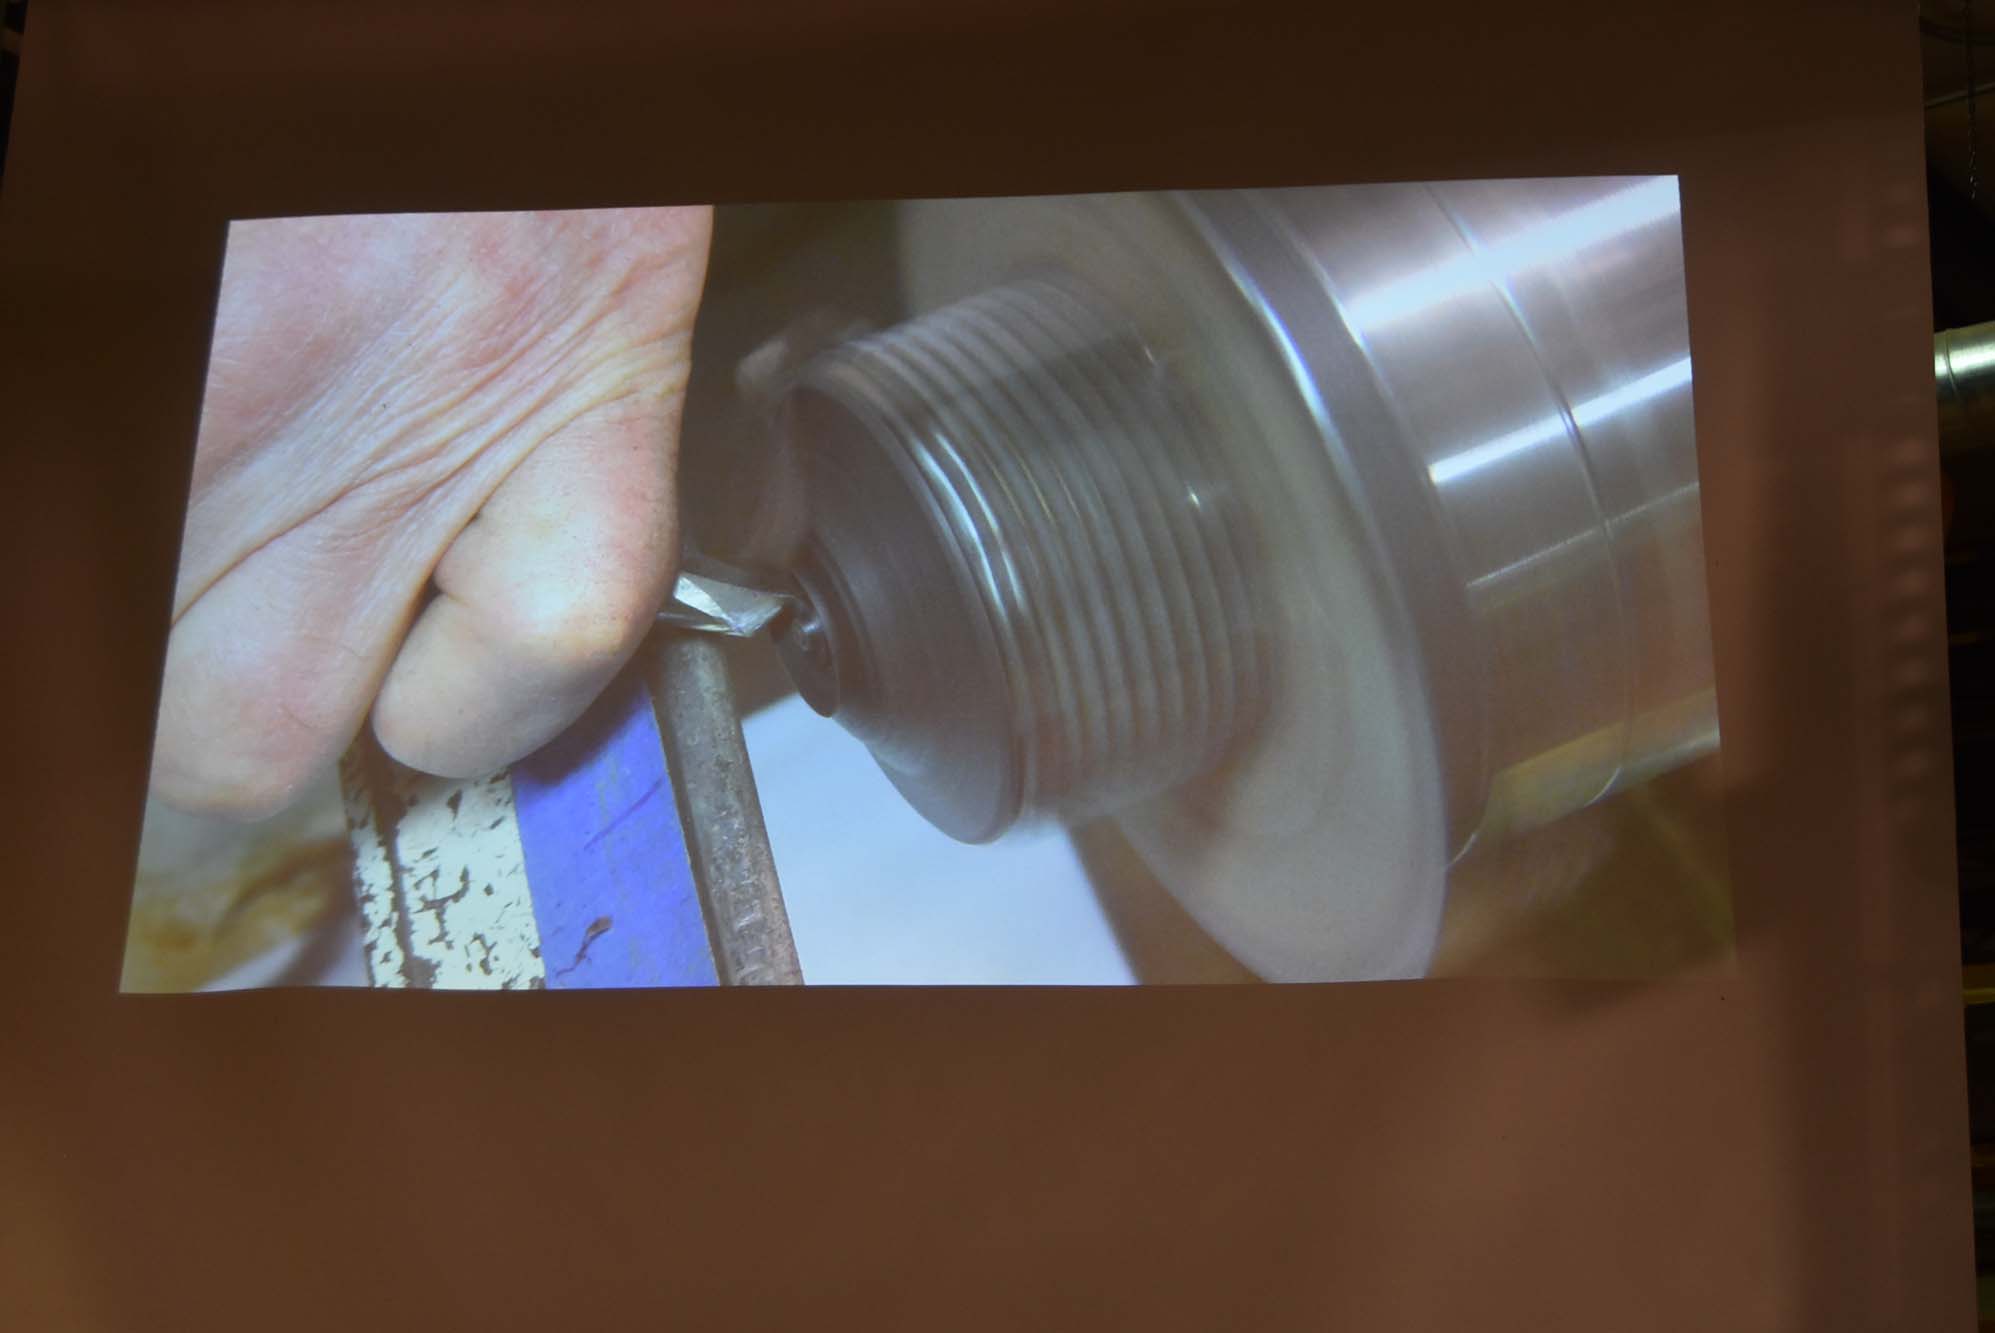
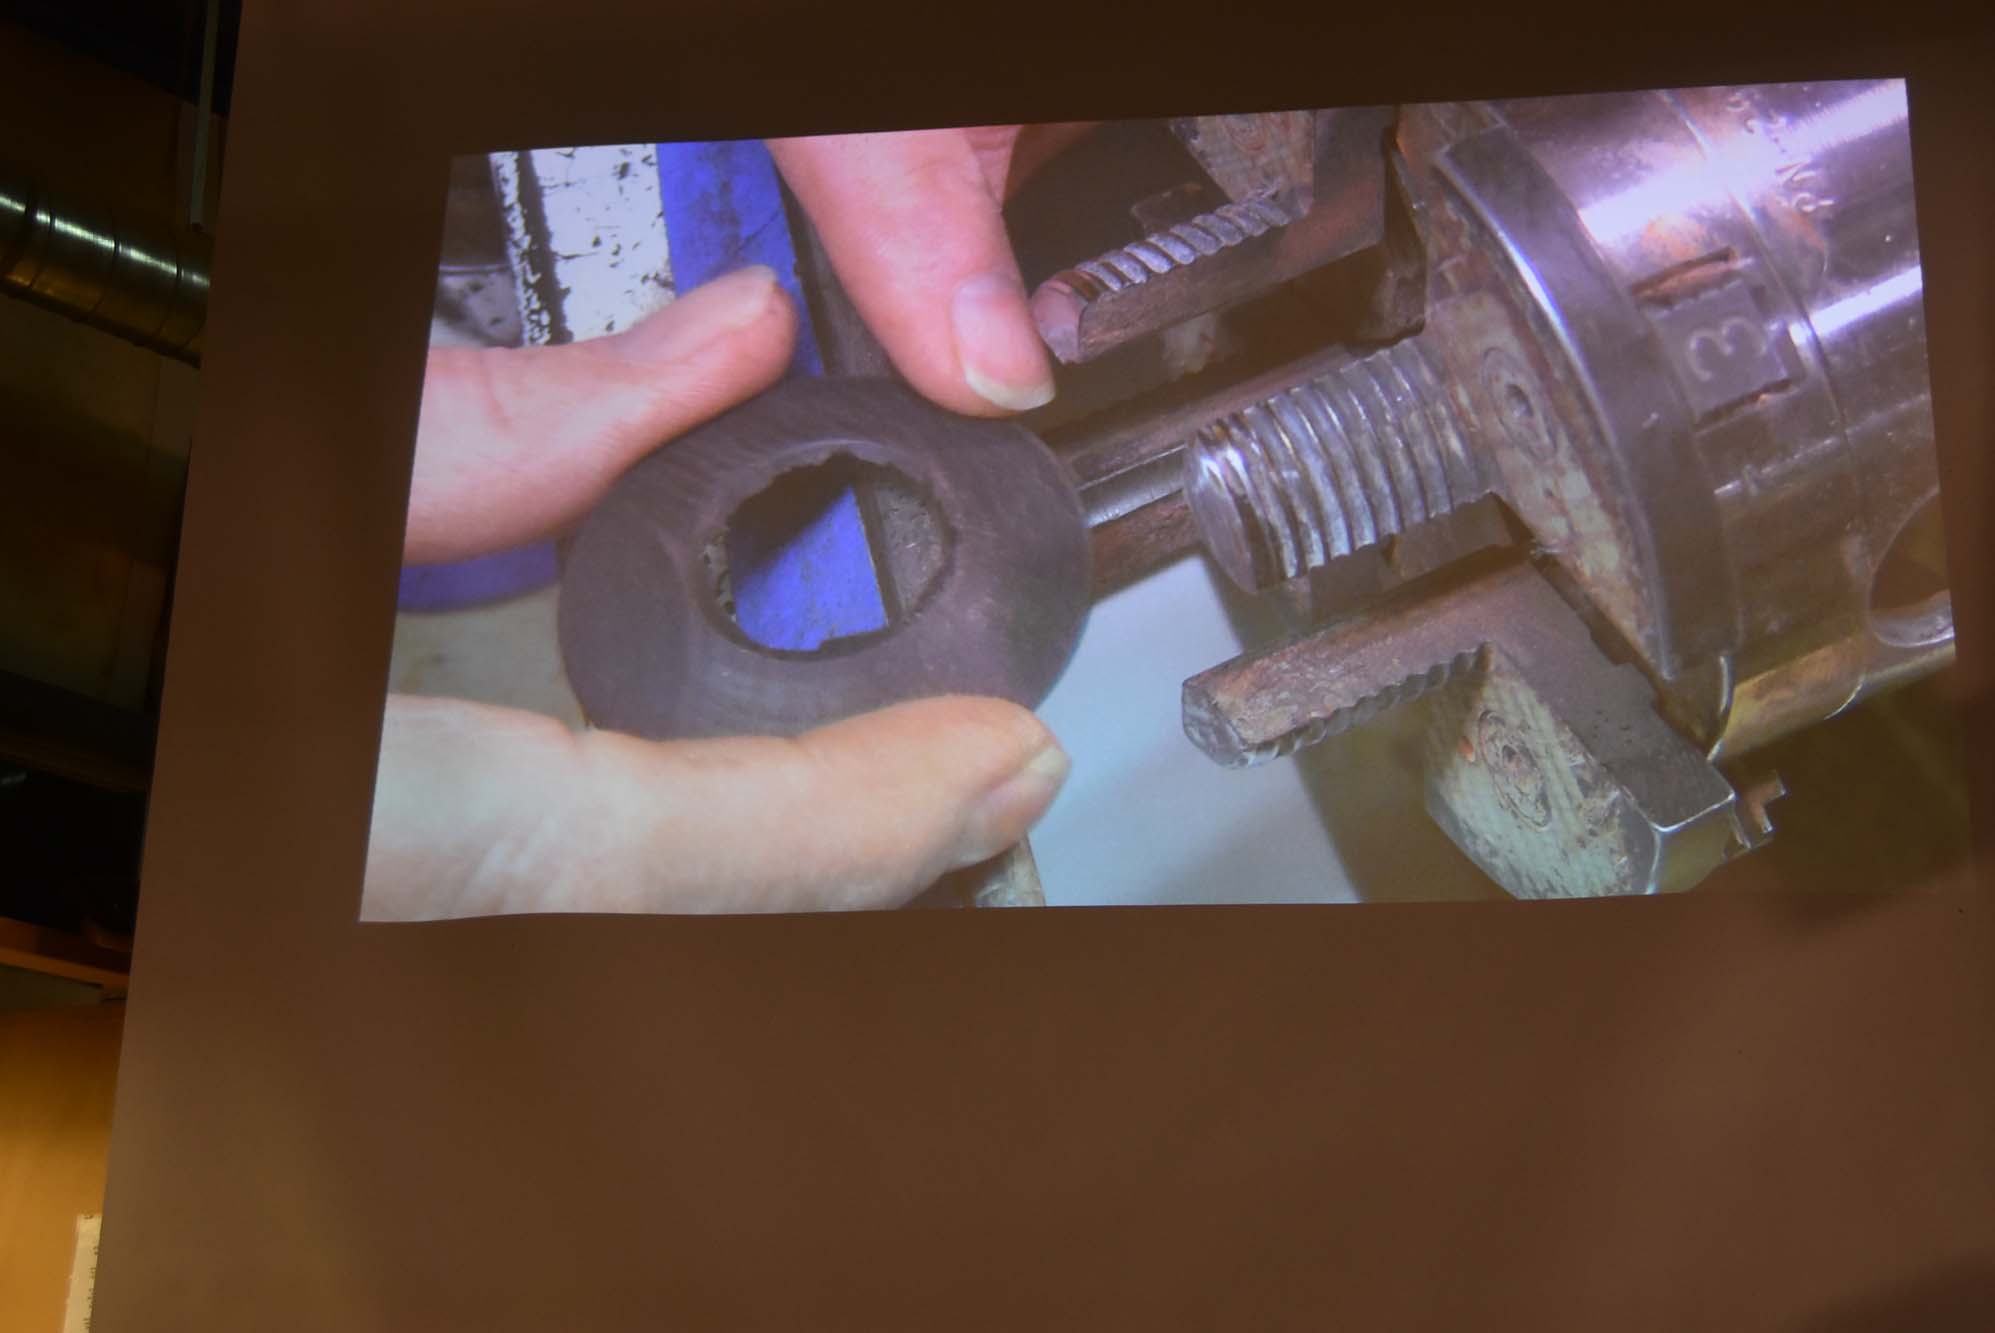
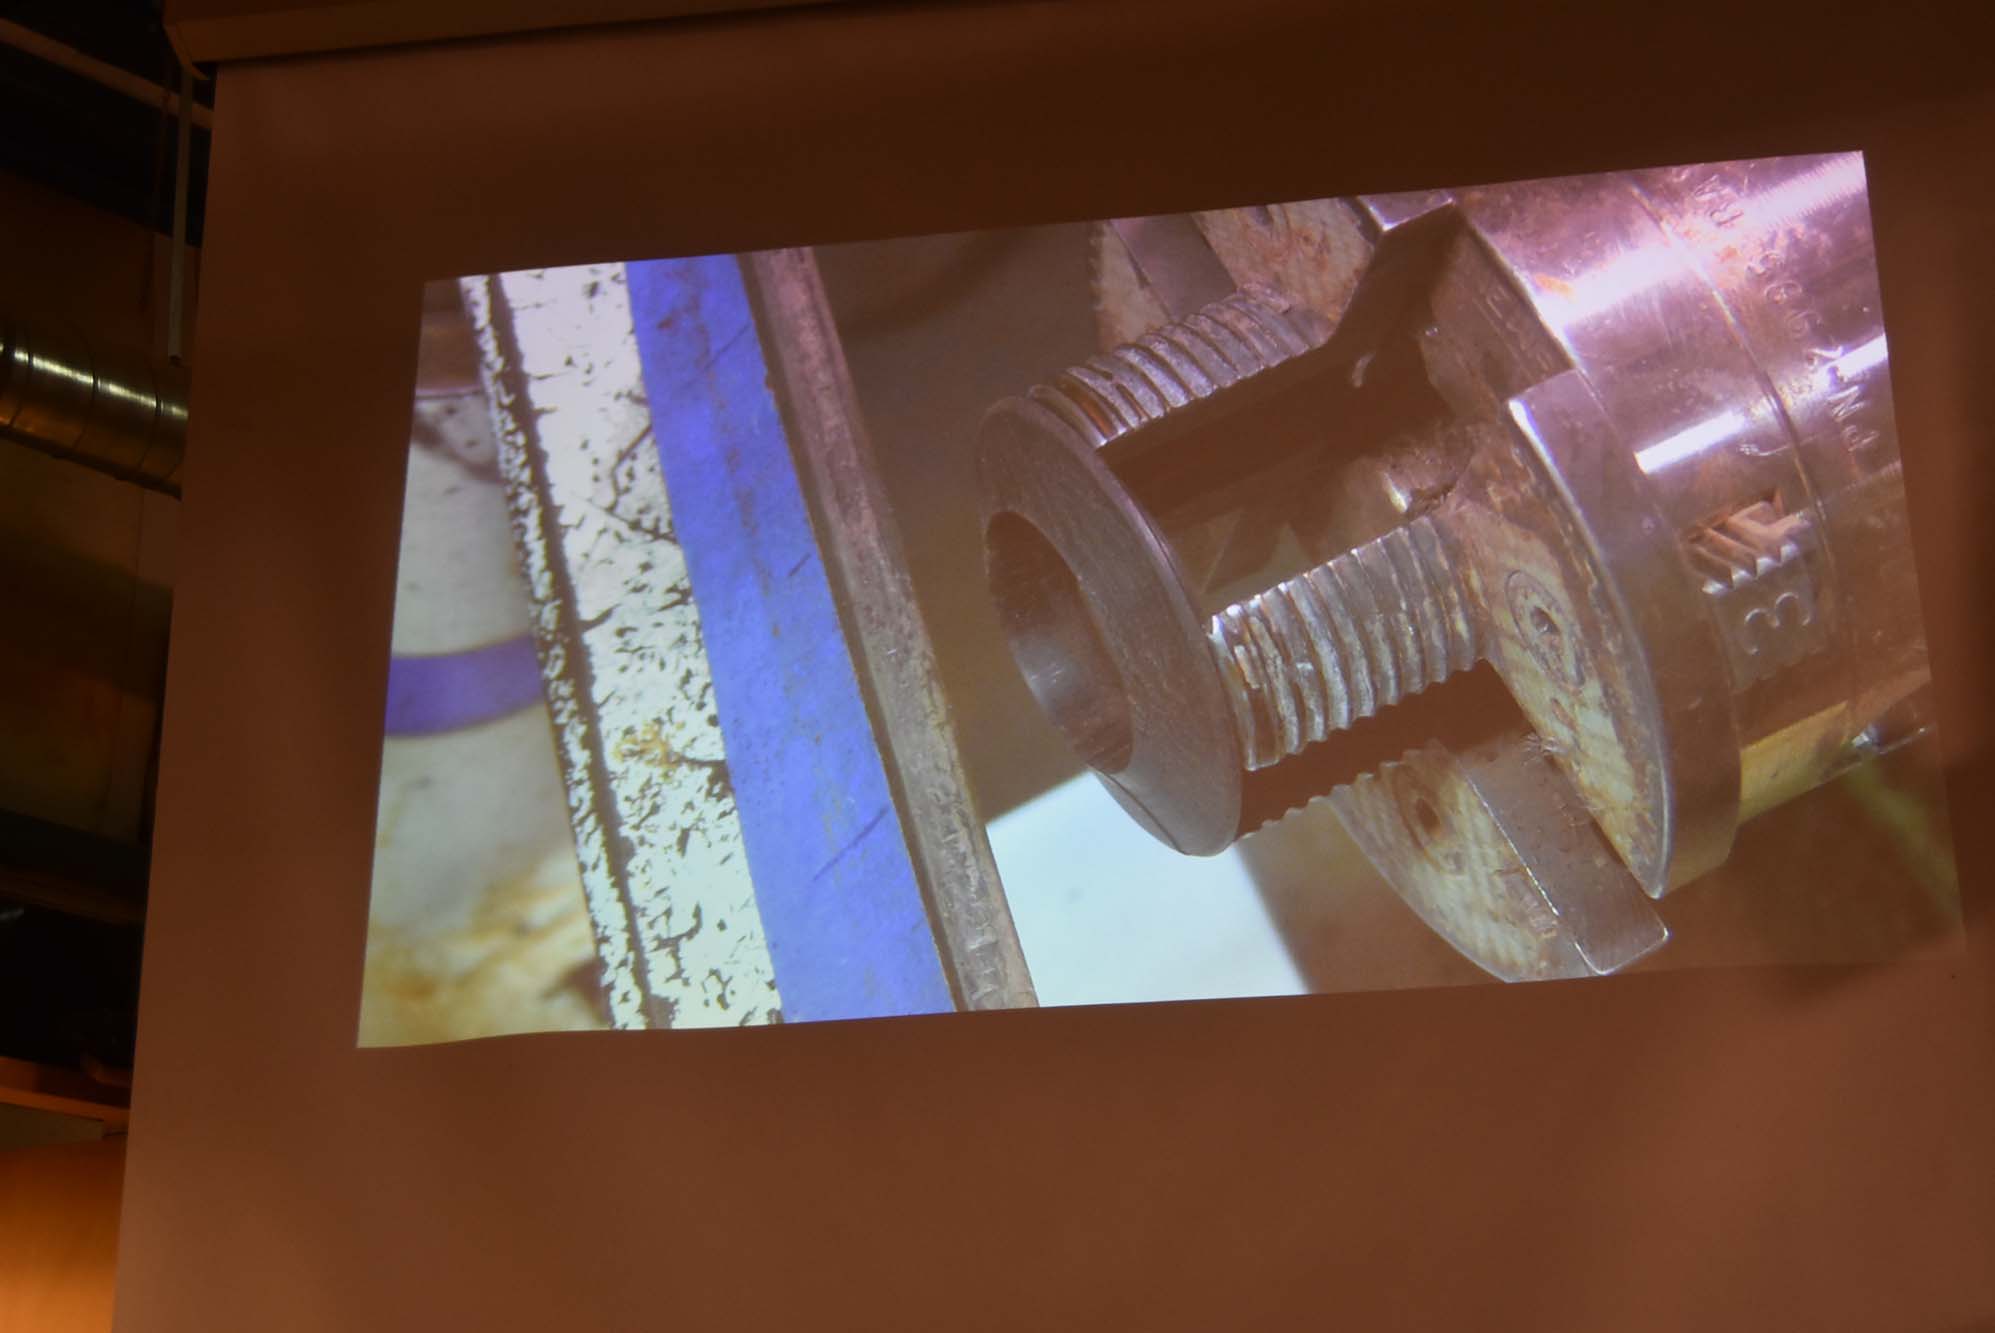
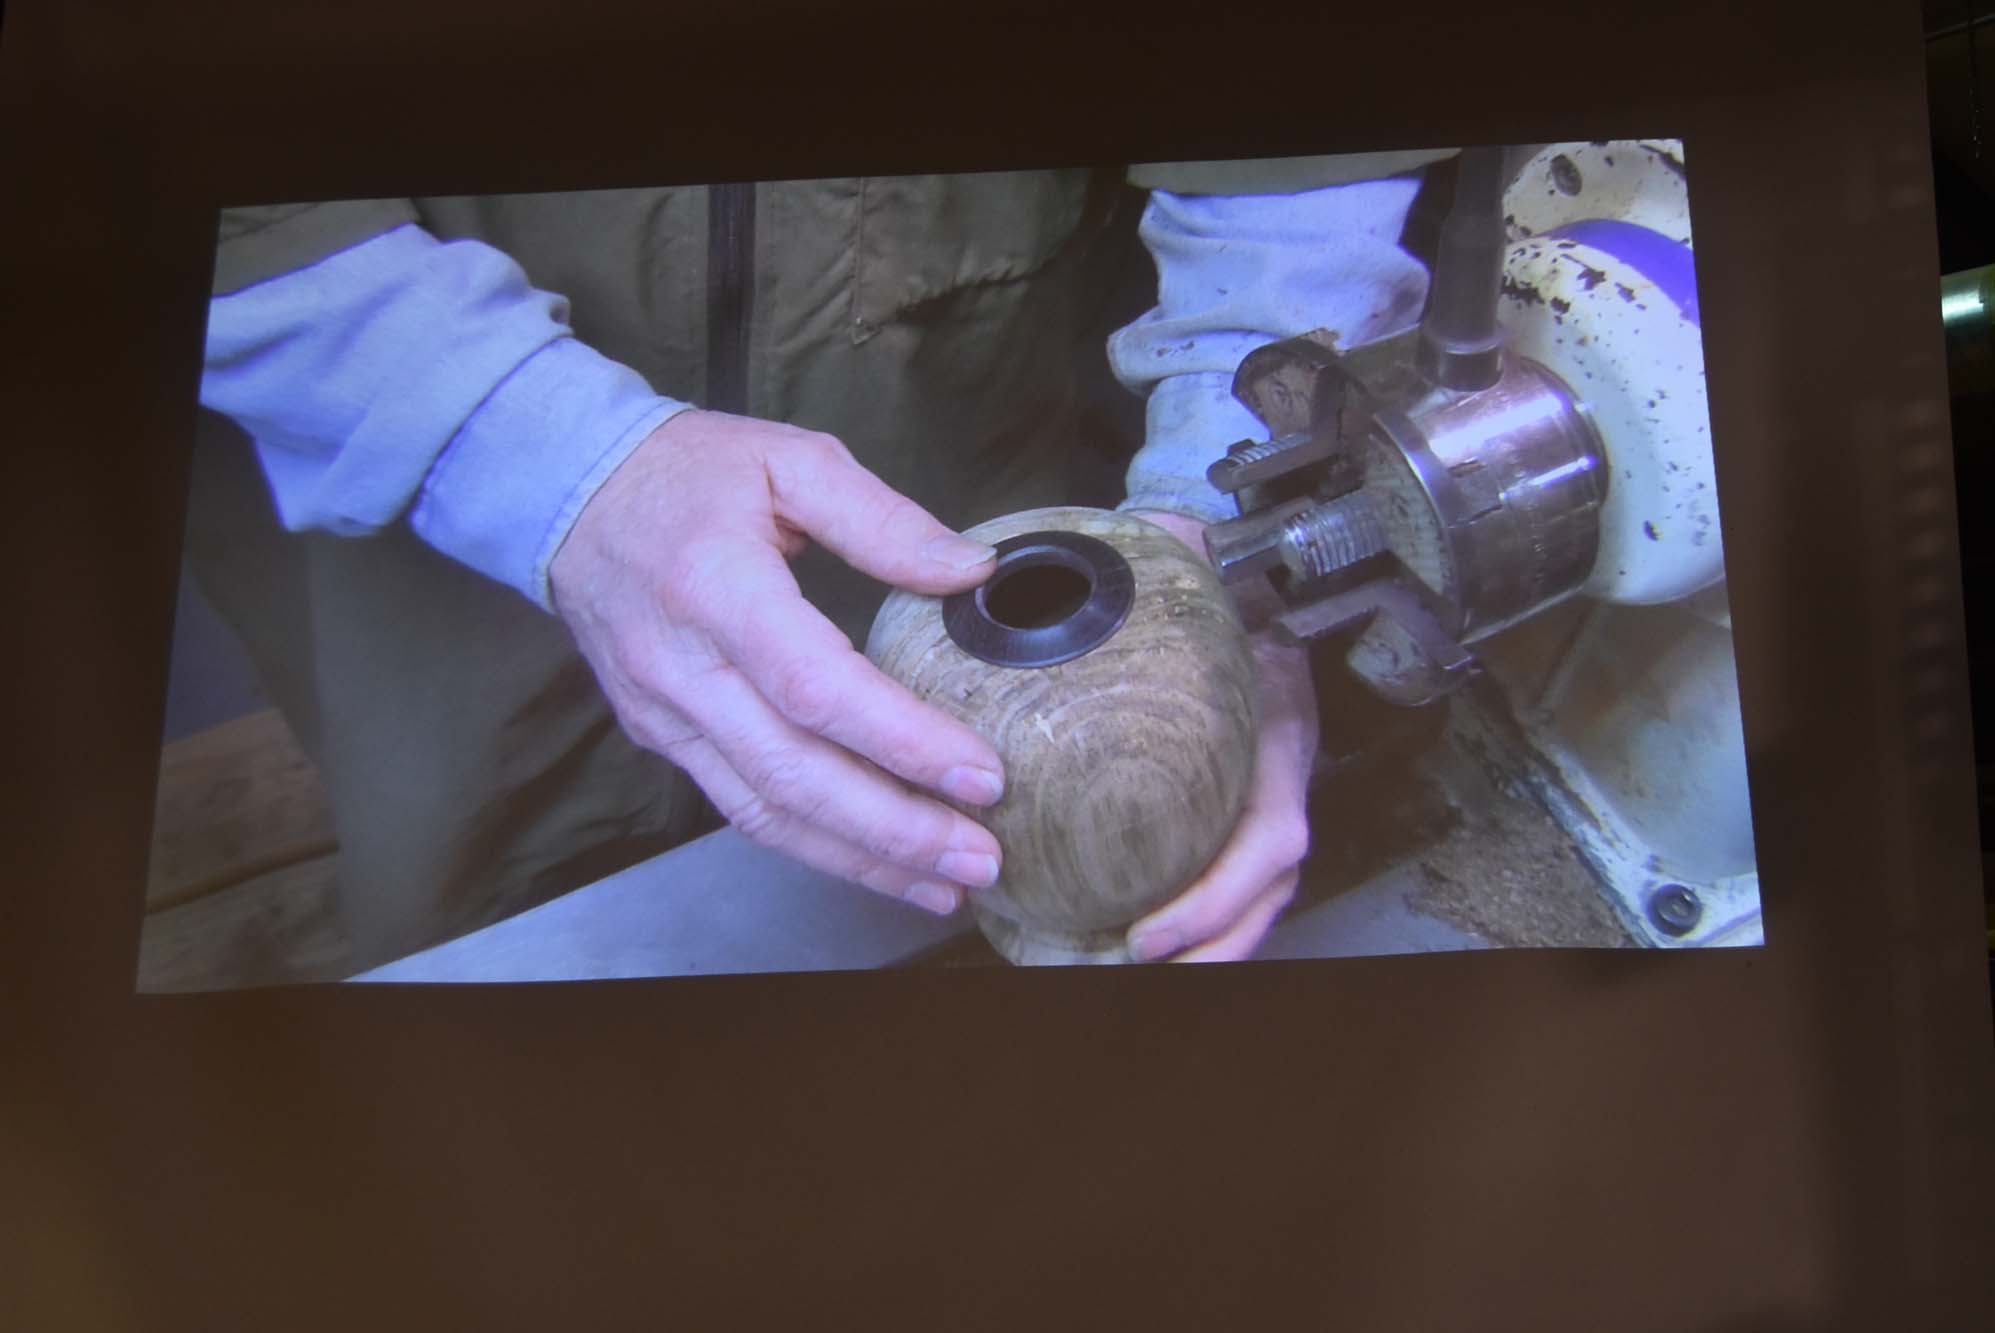

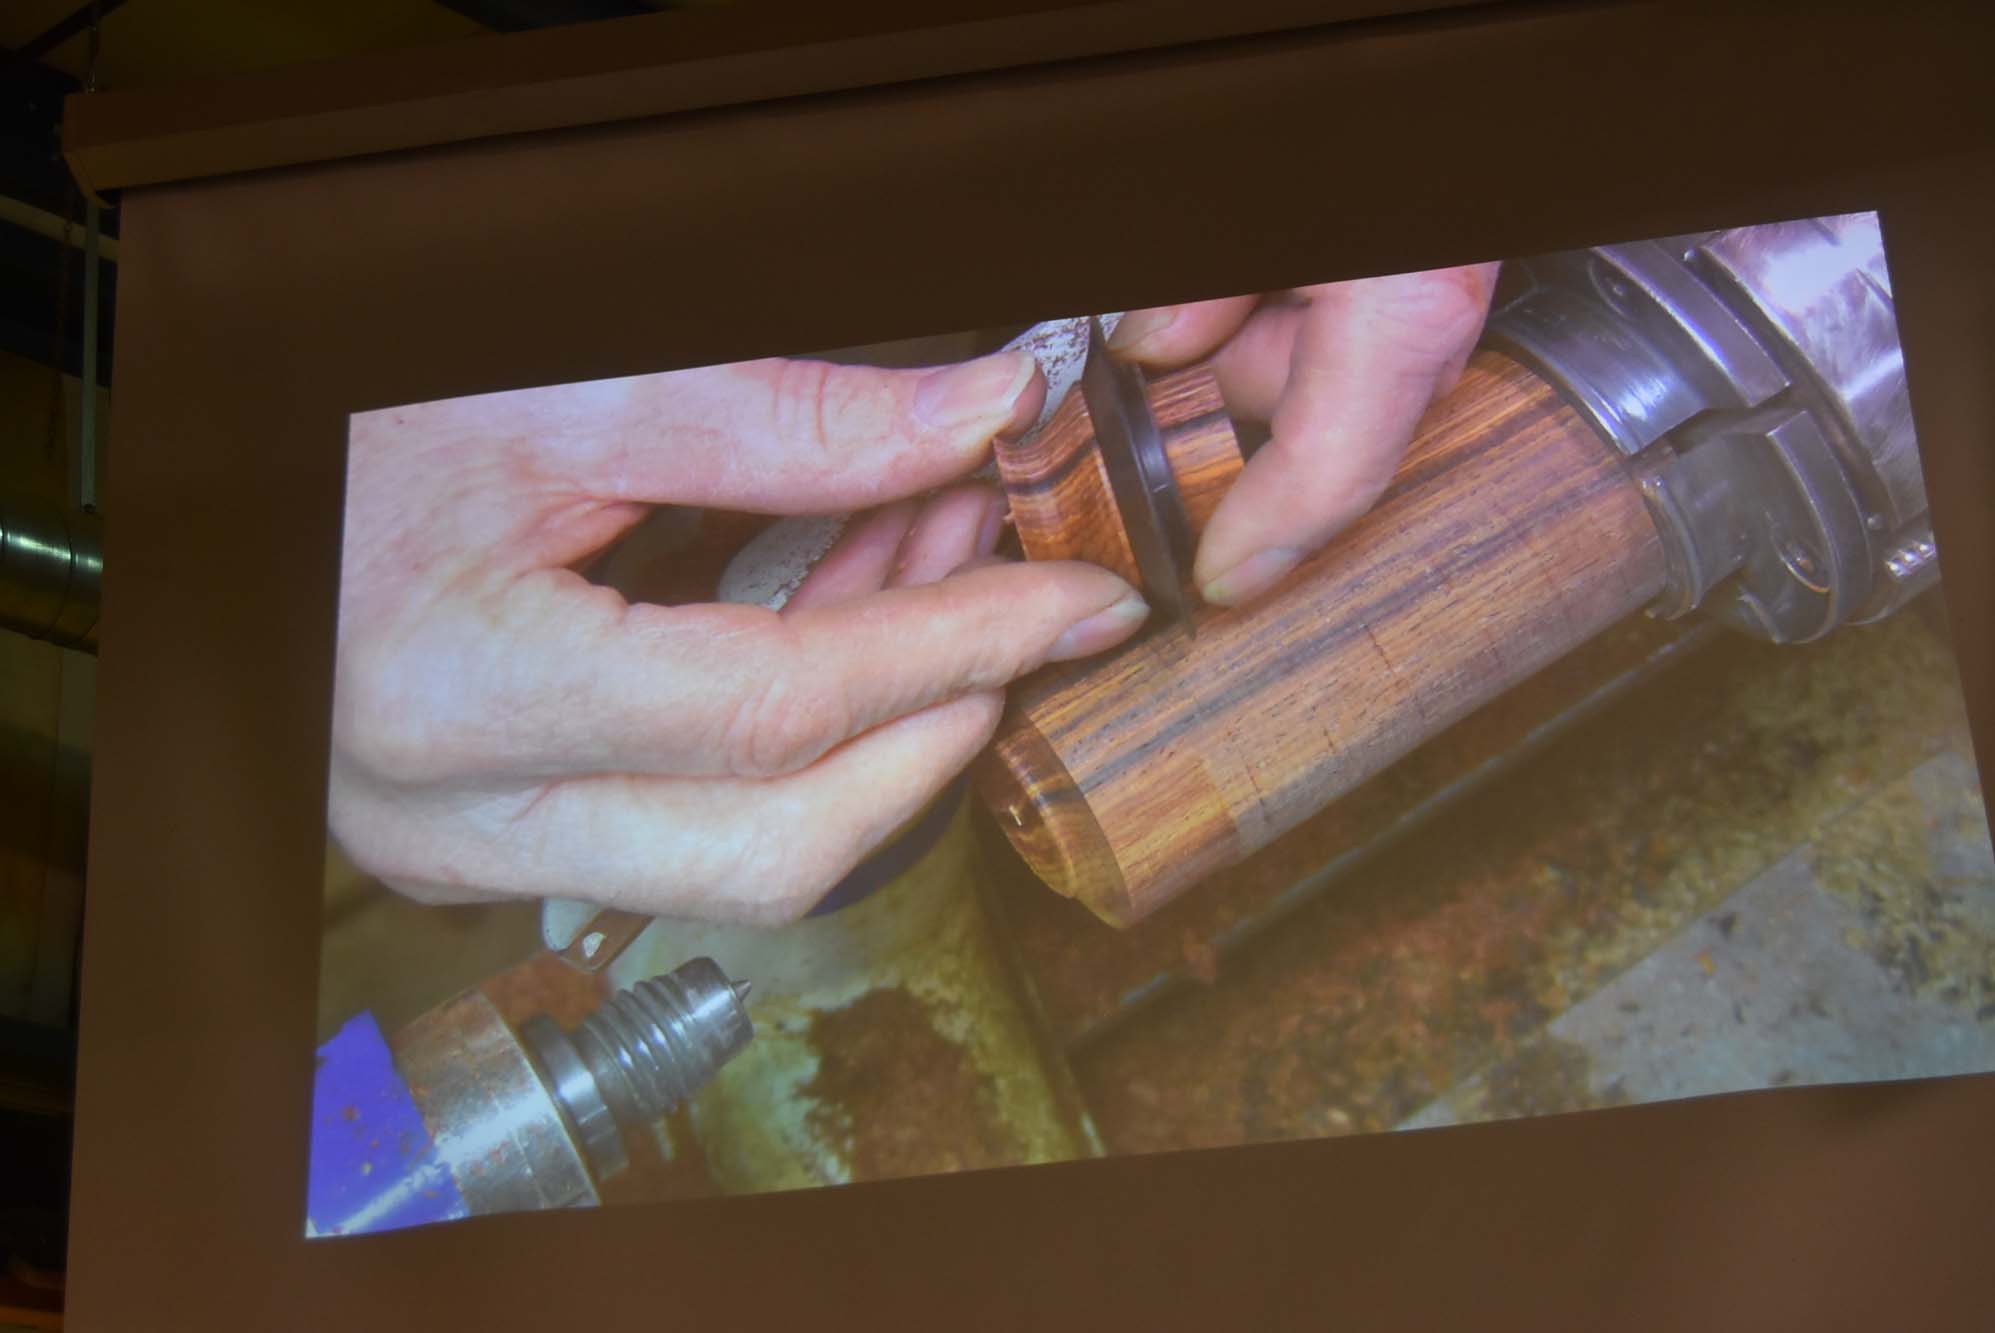
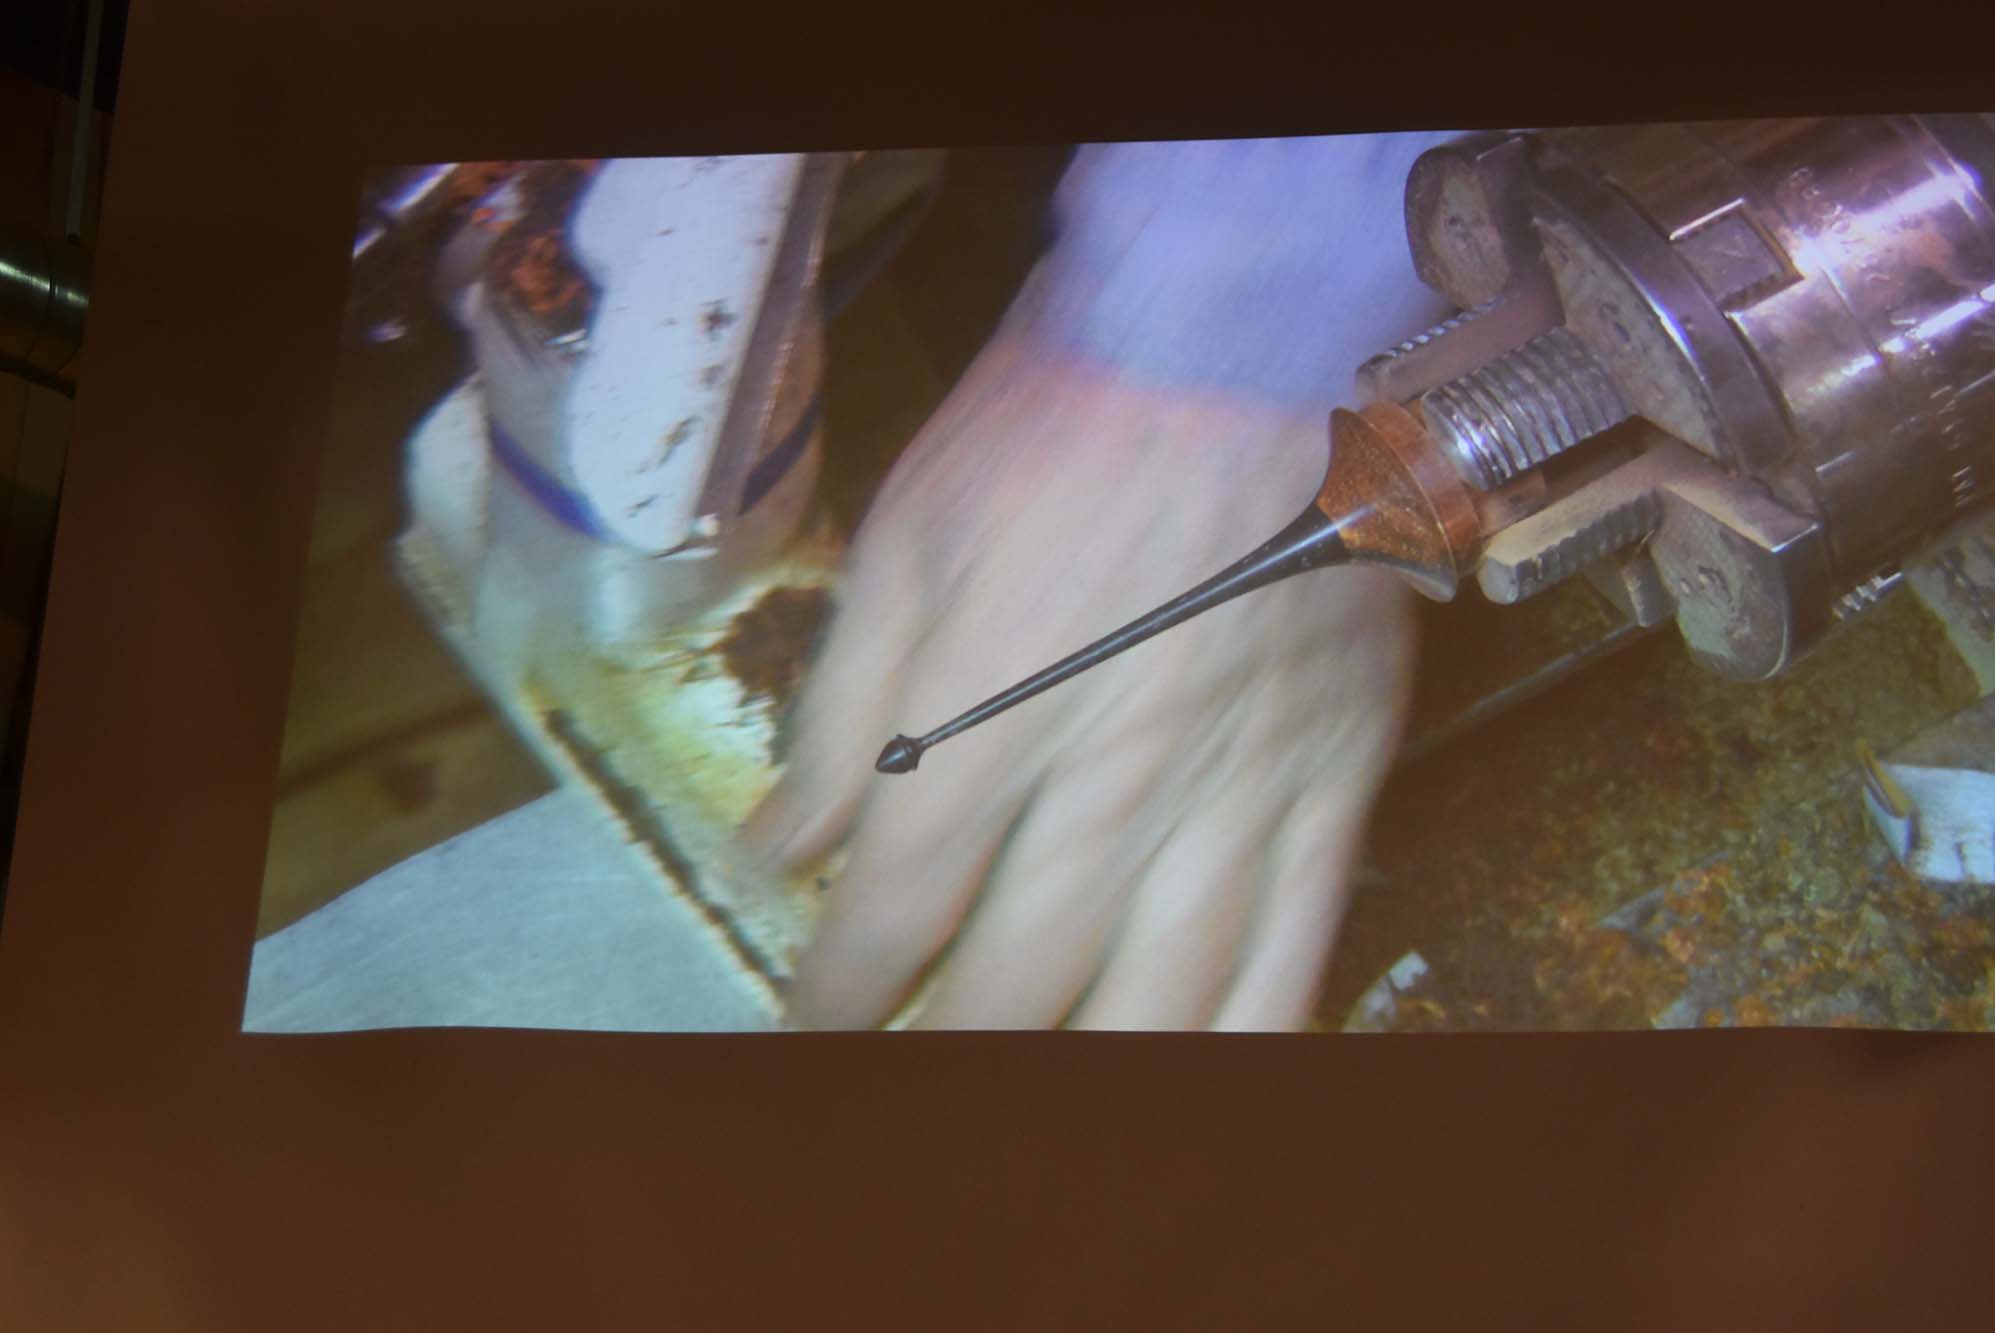
This next part can be tricky to follow: Bud make a tenon on the African Blackwood that will become the finial that will be attached to a Cocobolo ring that is in turn attached to the African Blackwood ring that he just made. So after making the tenon on the finial he makes a tenon on the Cocobolo to hold the base ring, shapes the Cocobolo and creates a mortise for the finial stock and glues the finial and Cocobolo together.
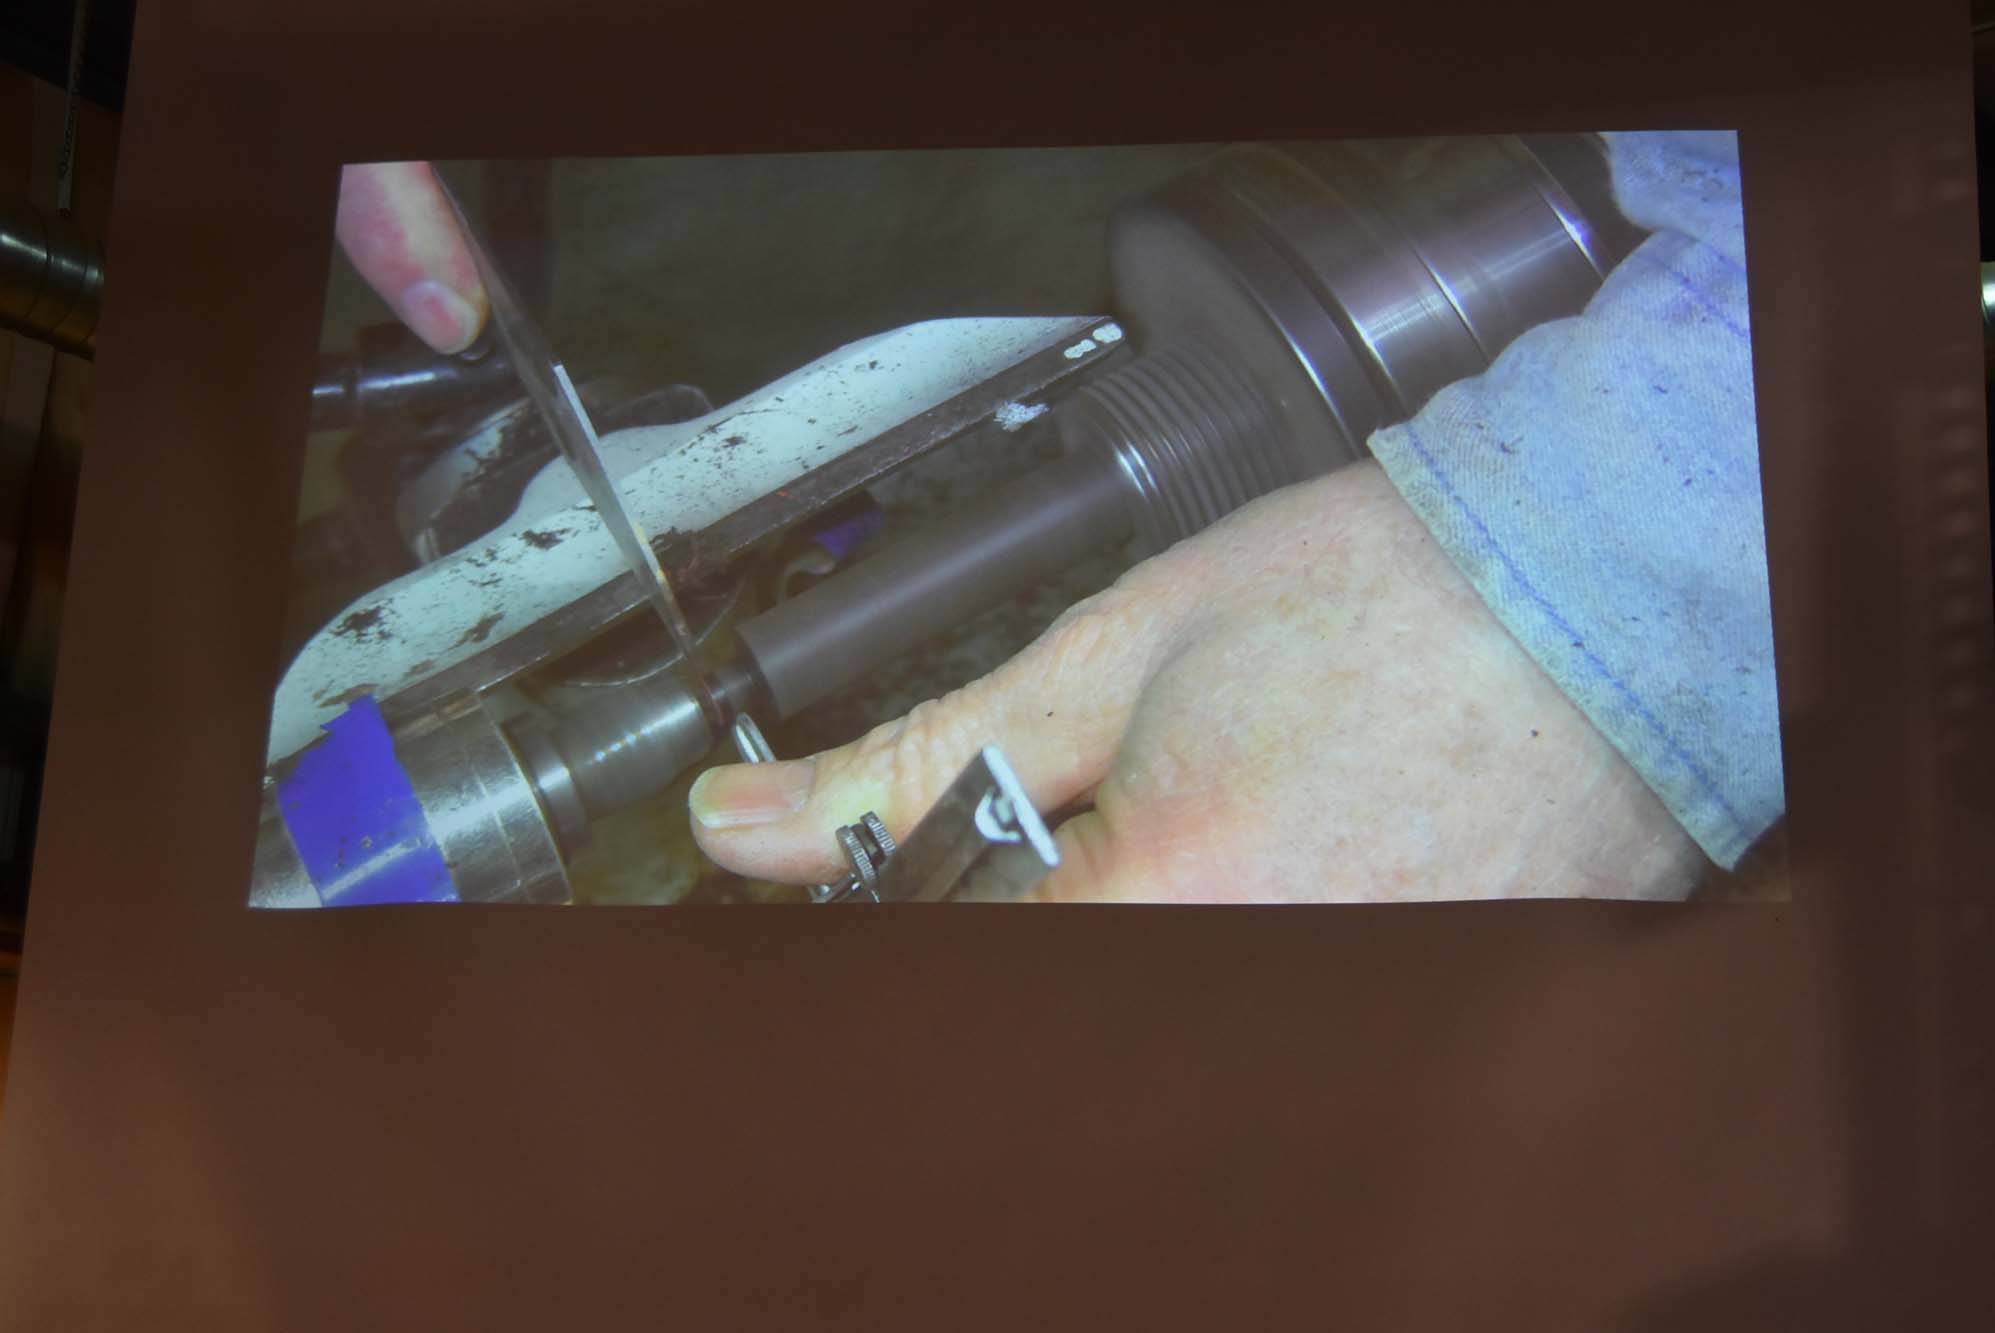
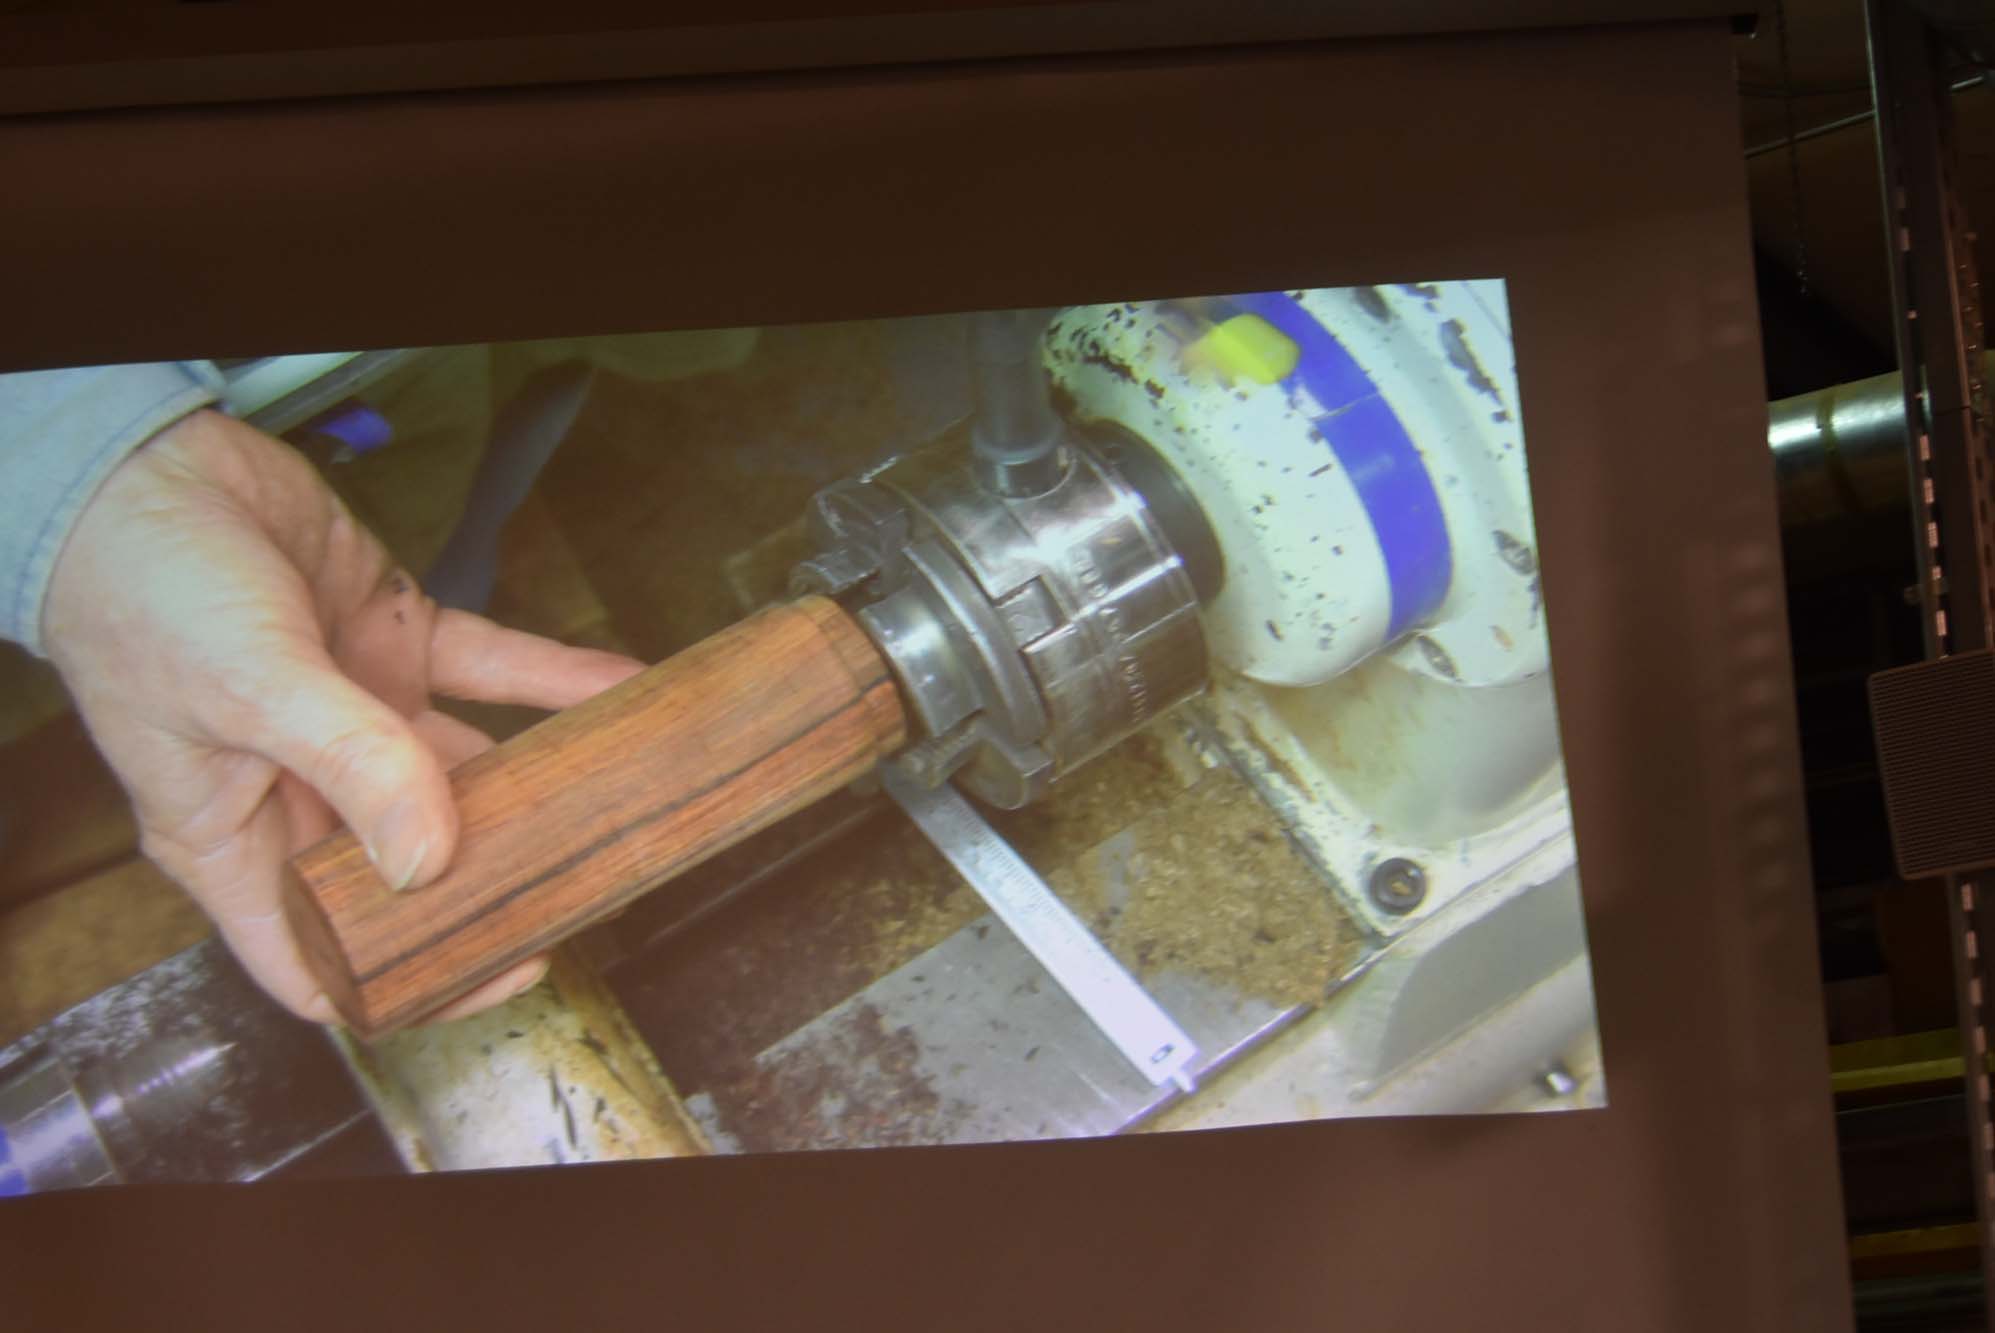
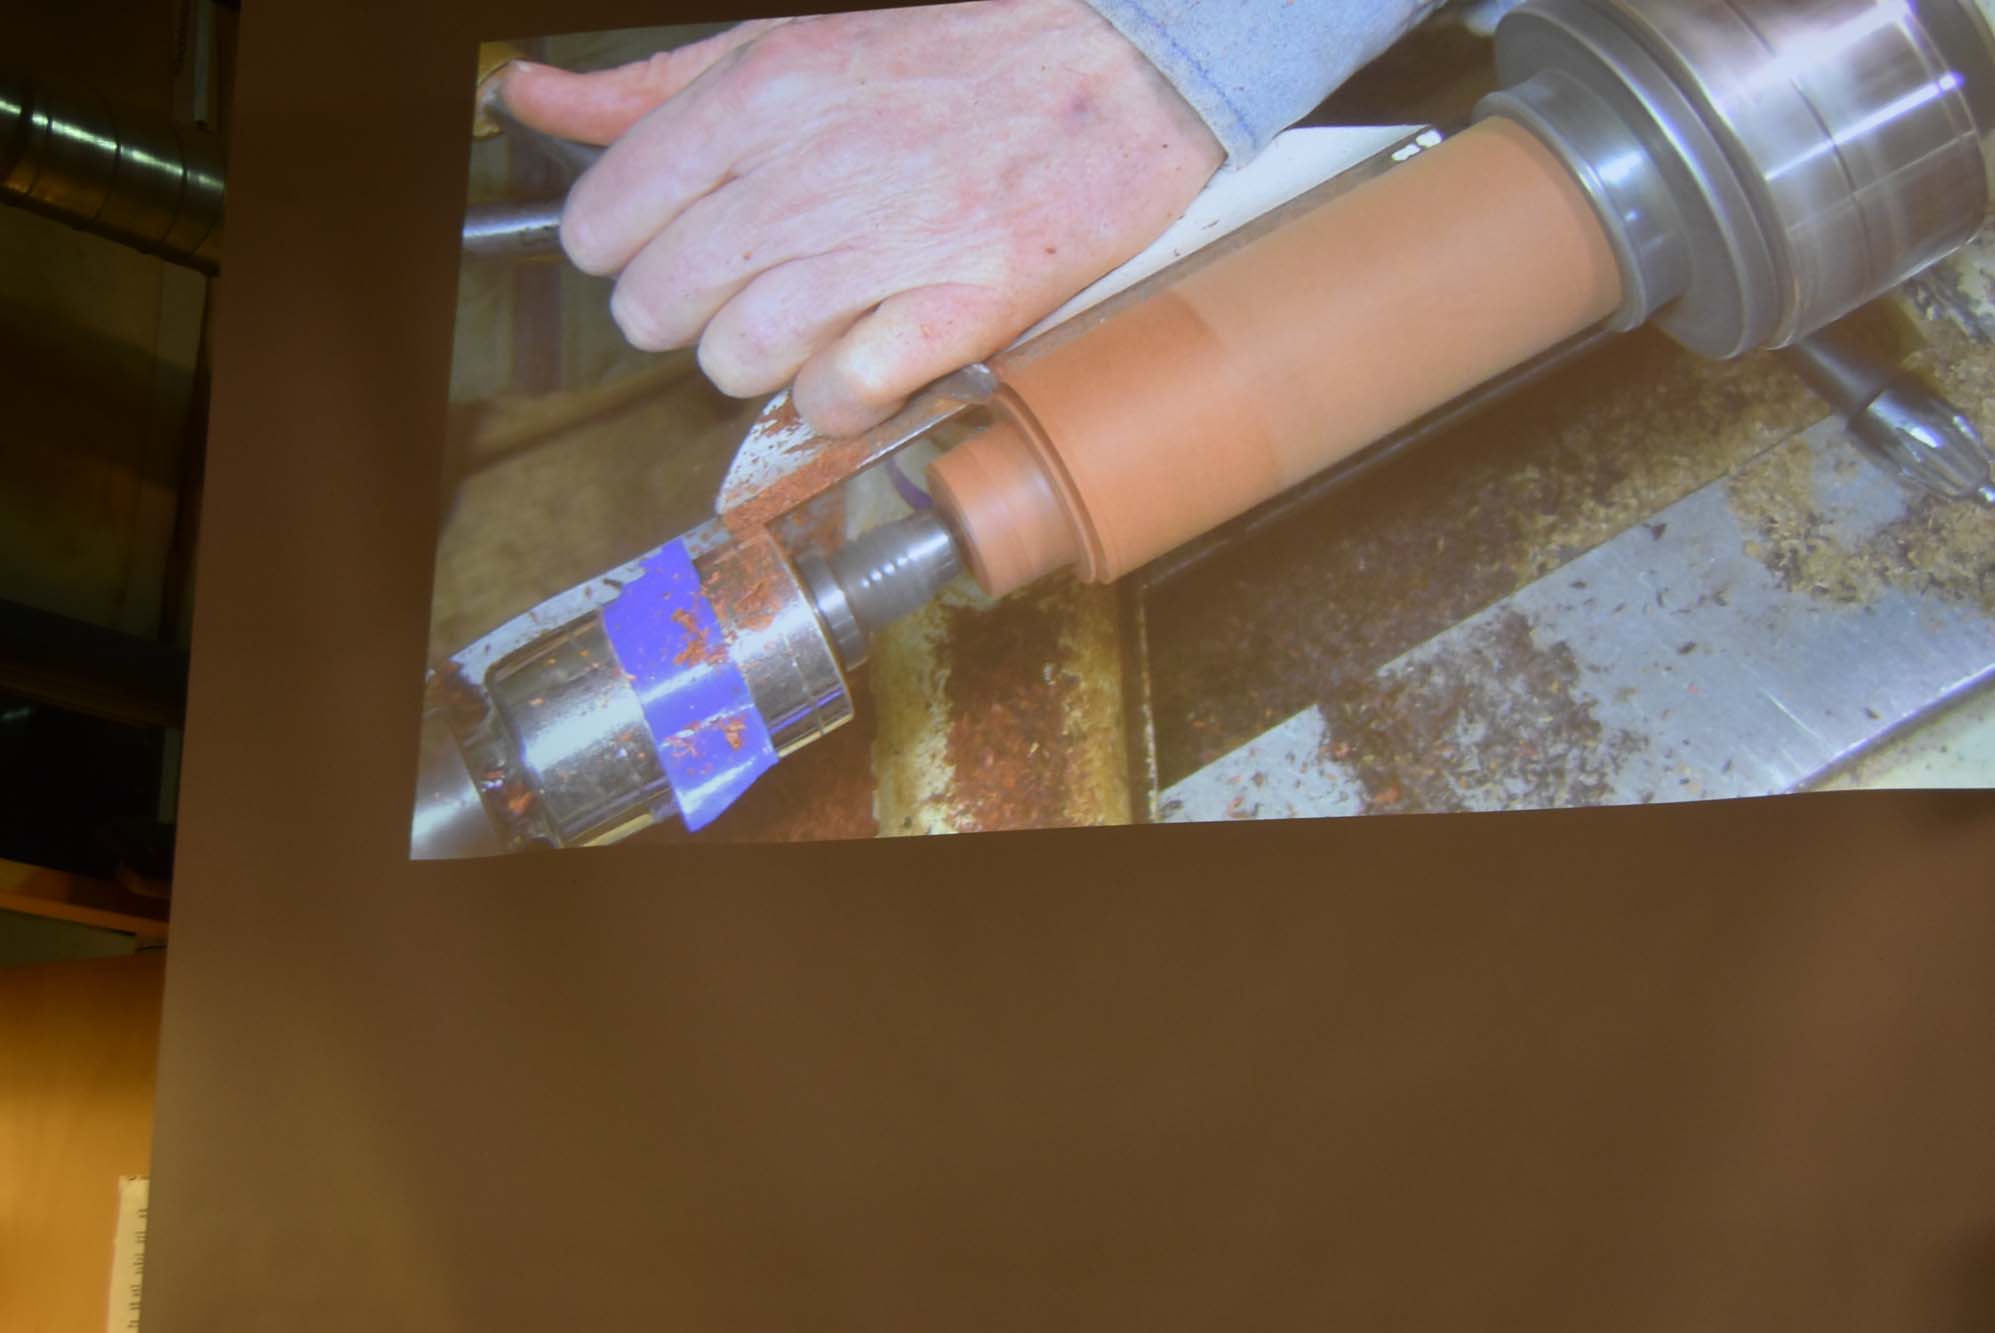
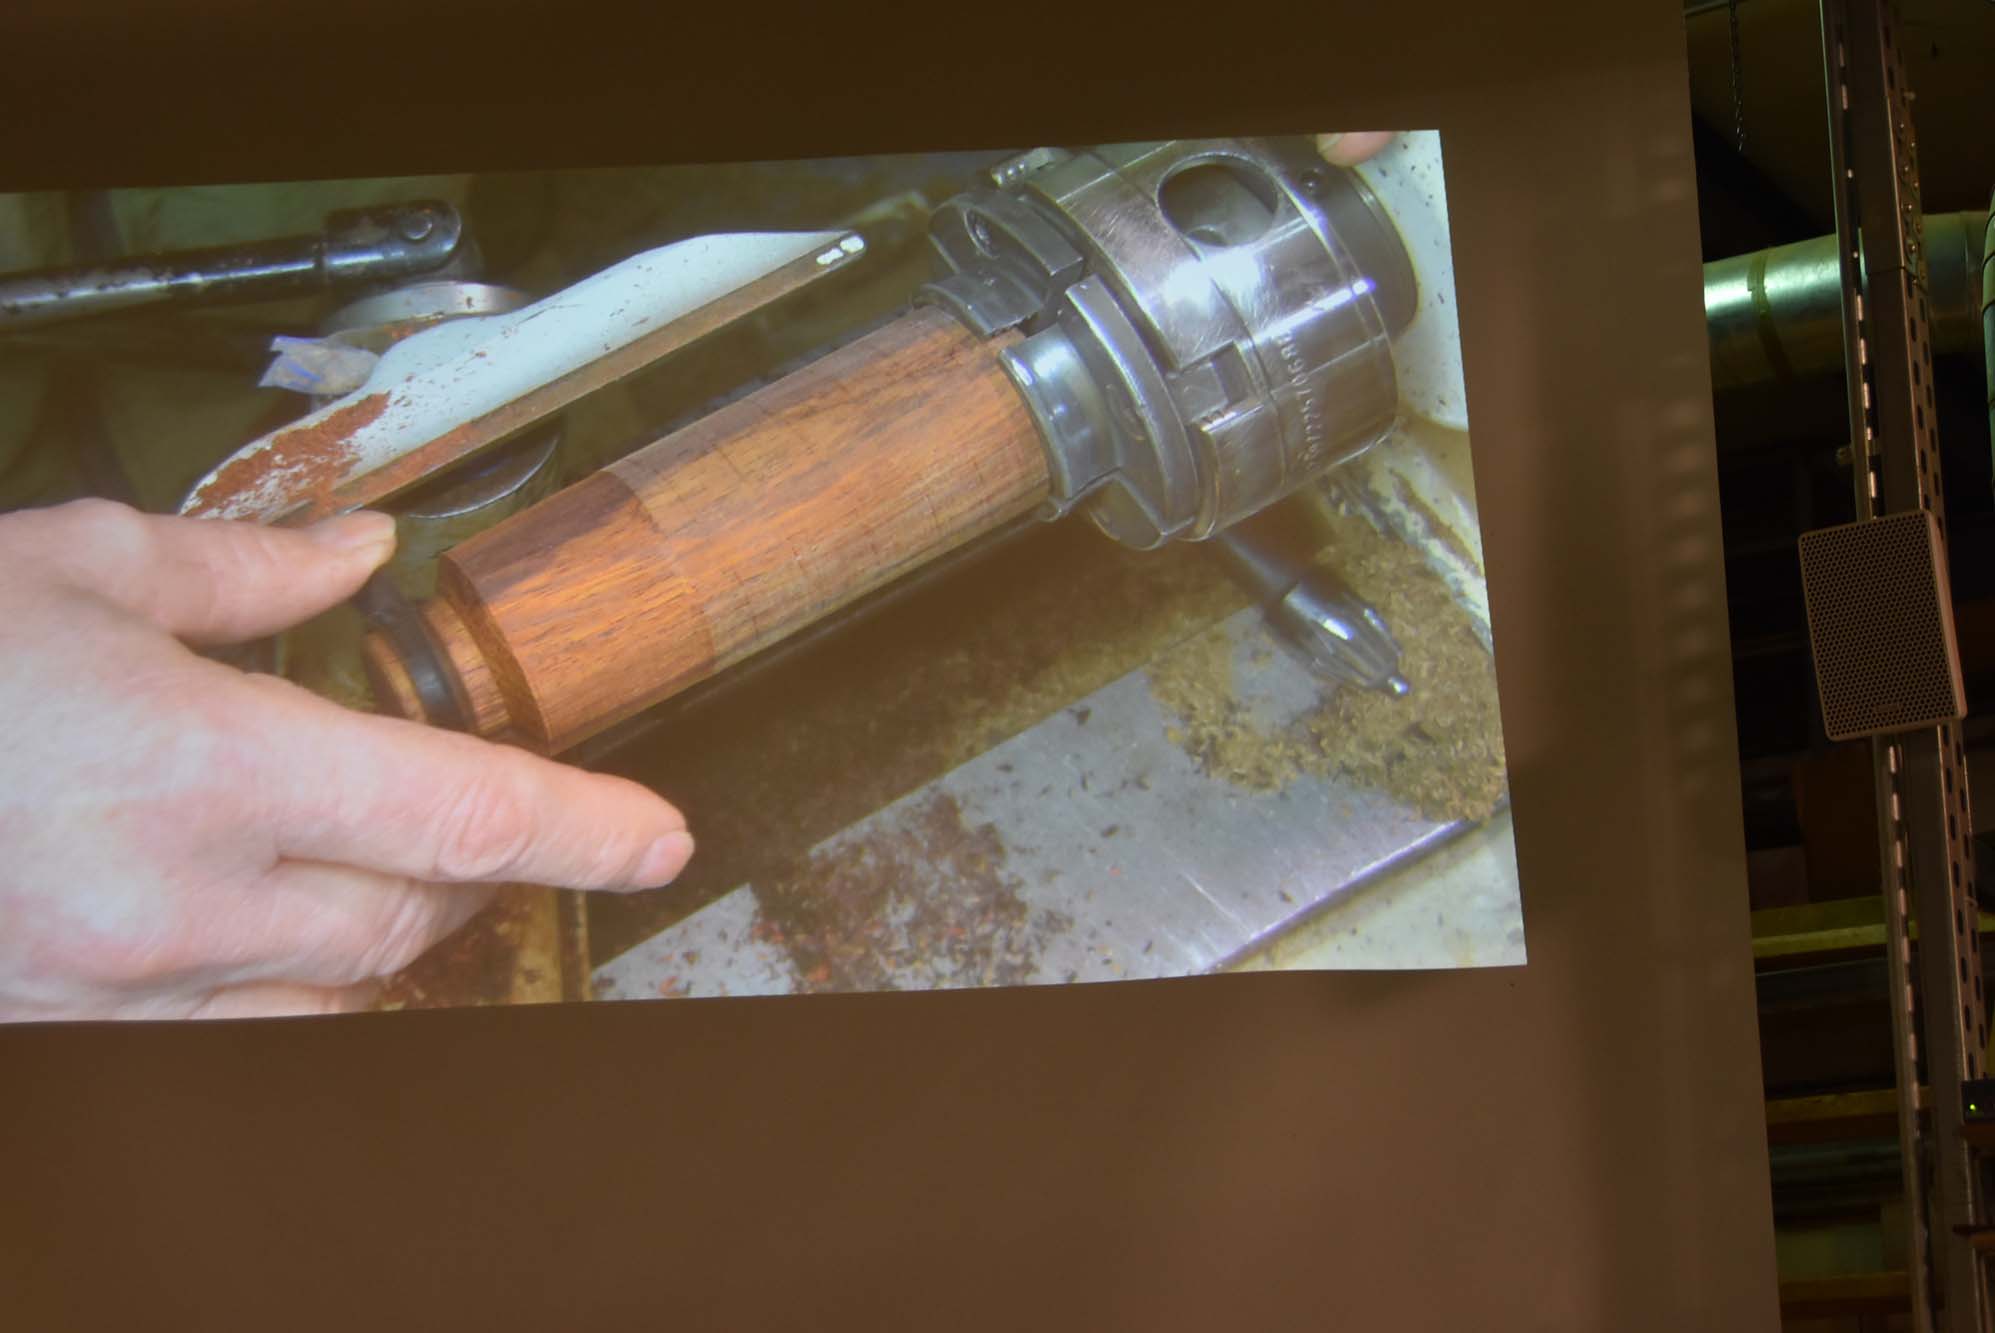
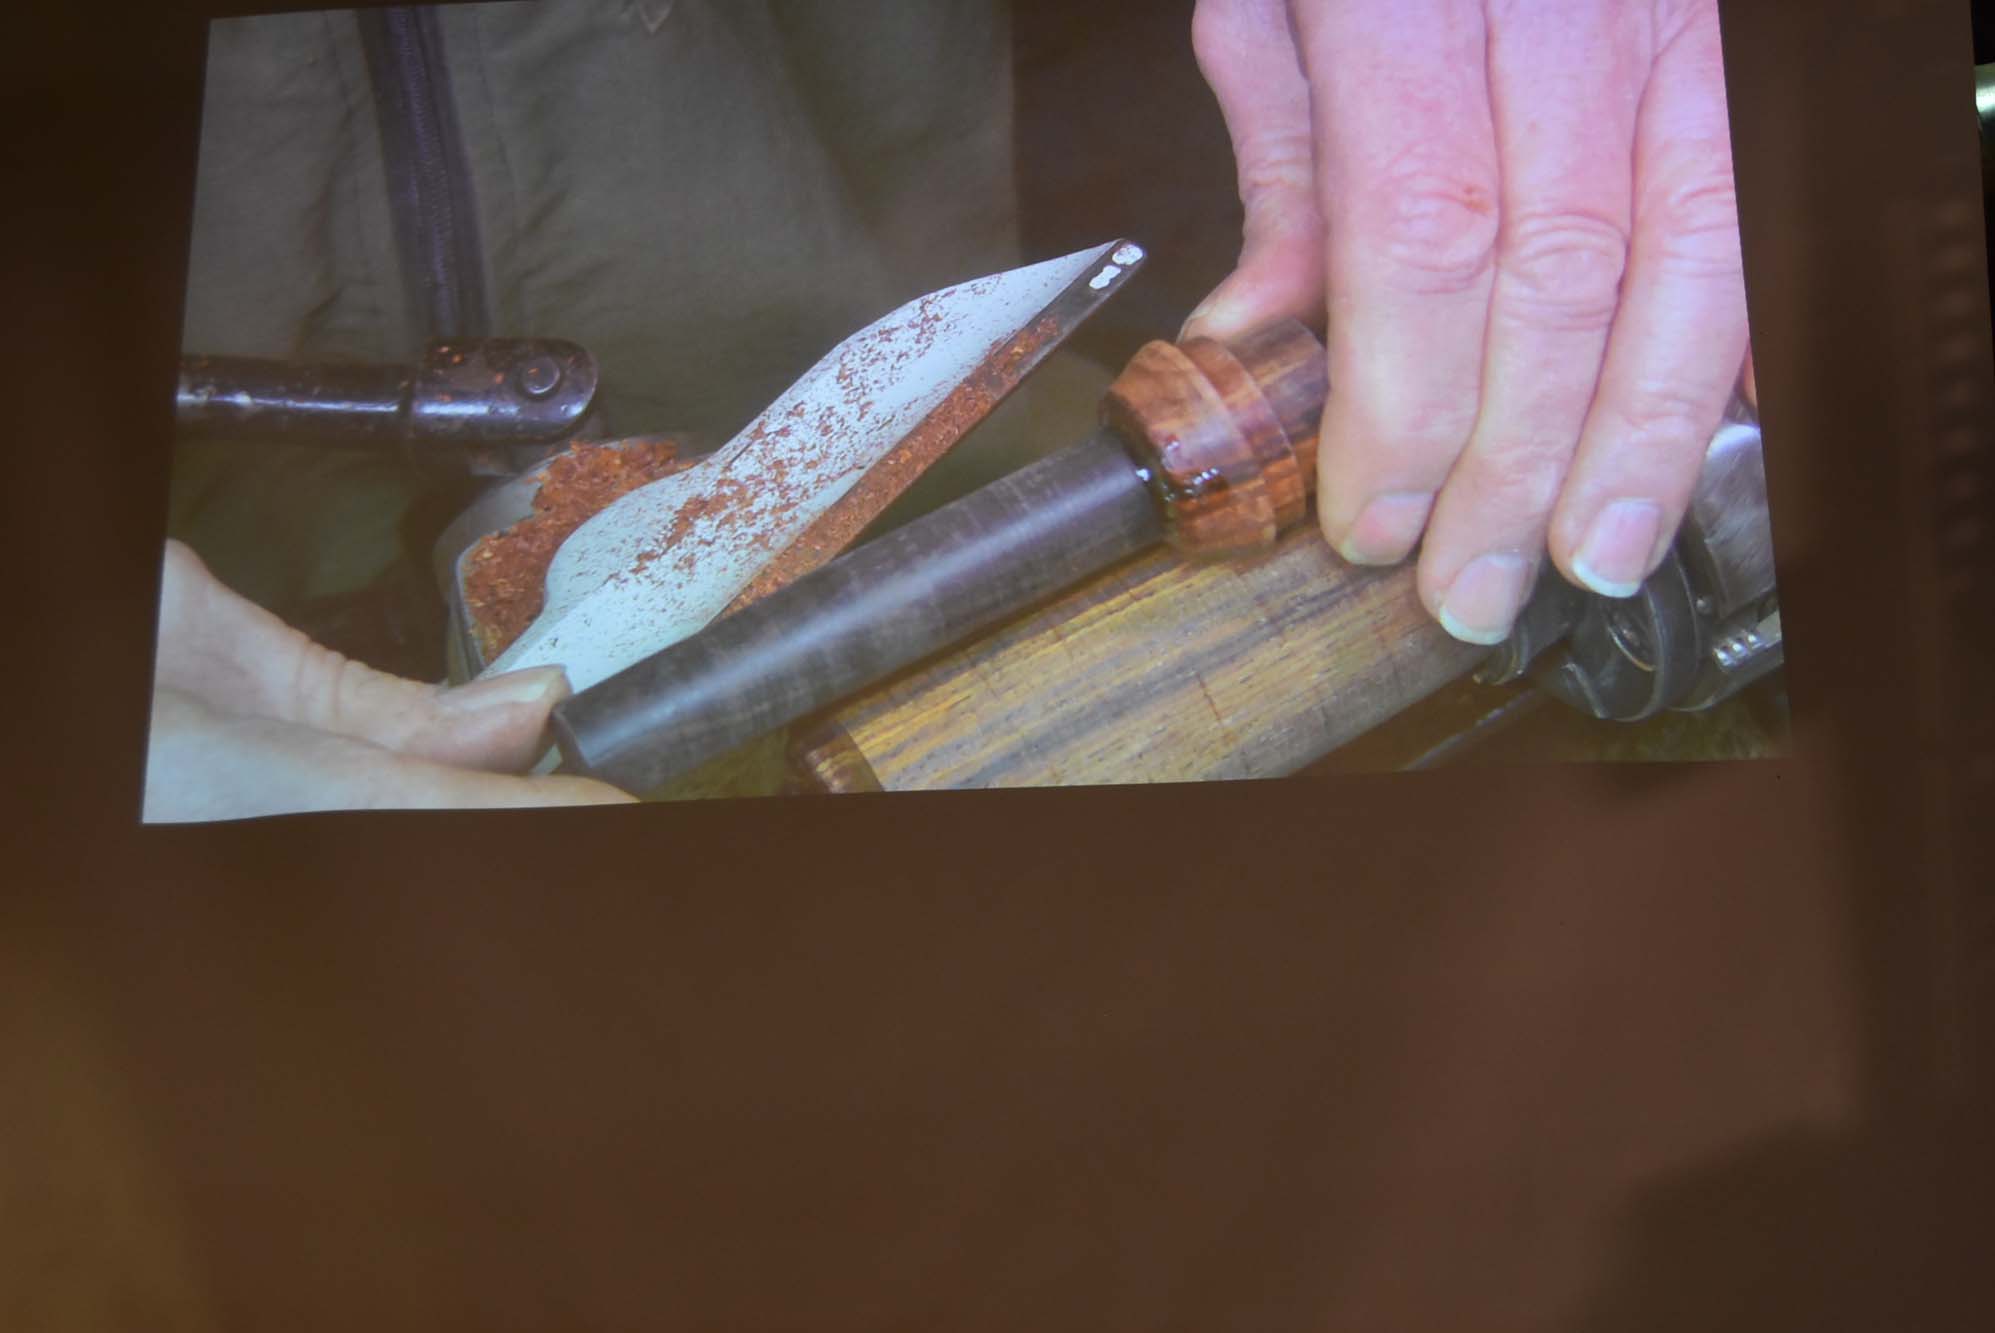
Phew, with all that done, now Bud can shape the finial and Cocobolo base. As you can see from the pictures, he shapes and sands as he goes- that is a very delicate finial.
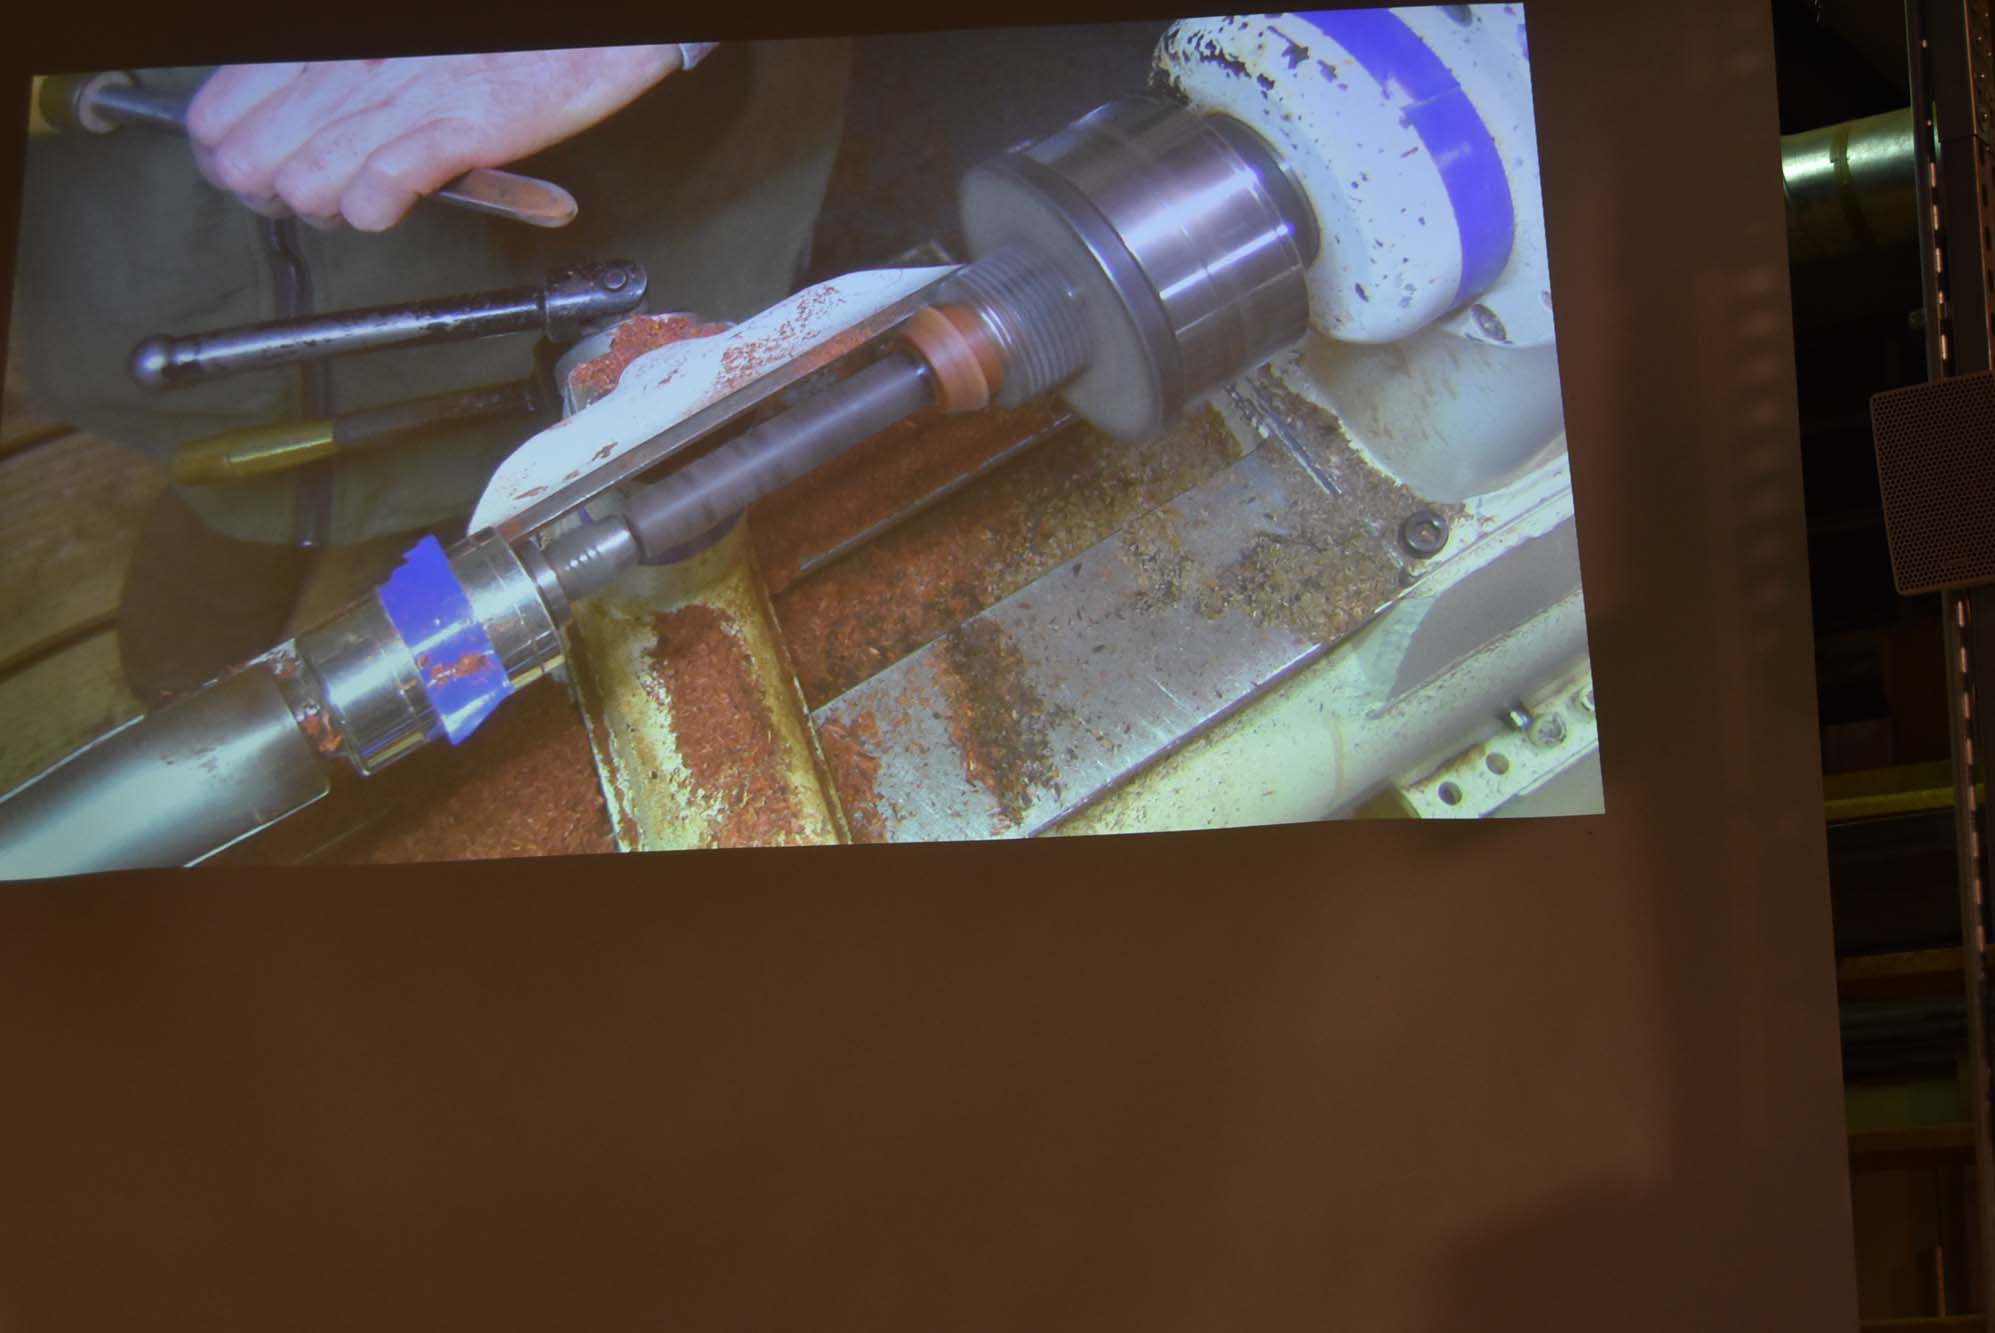
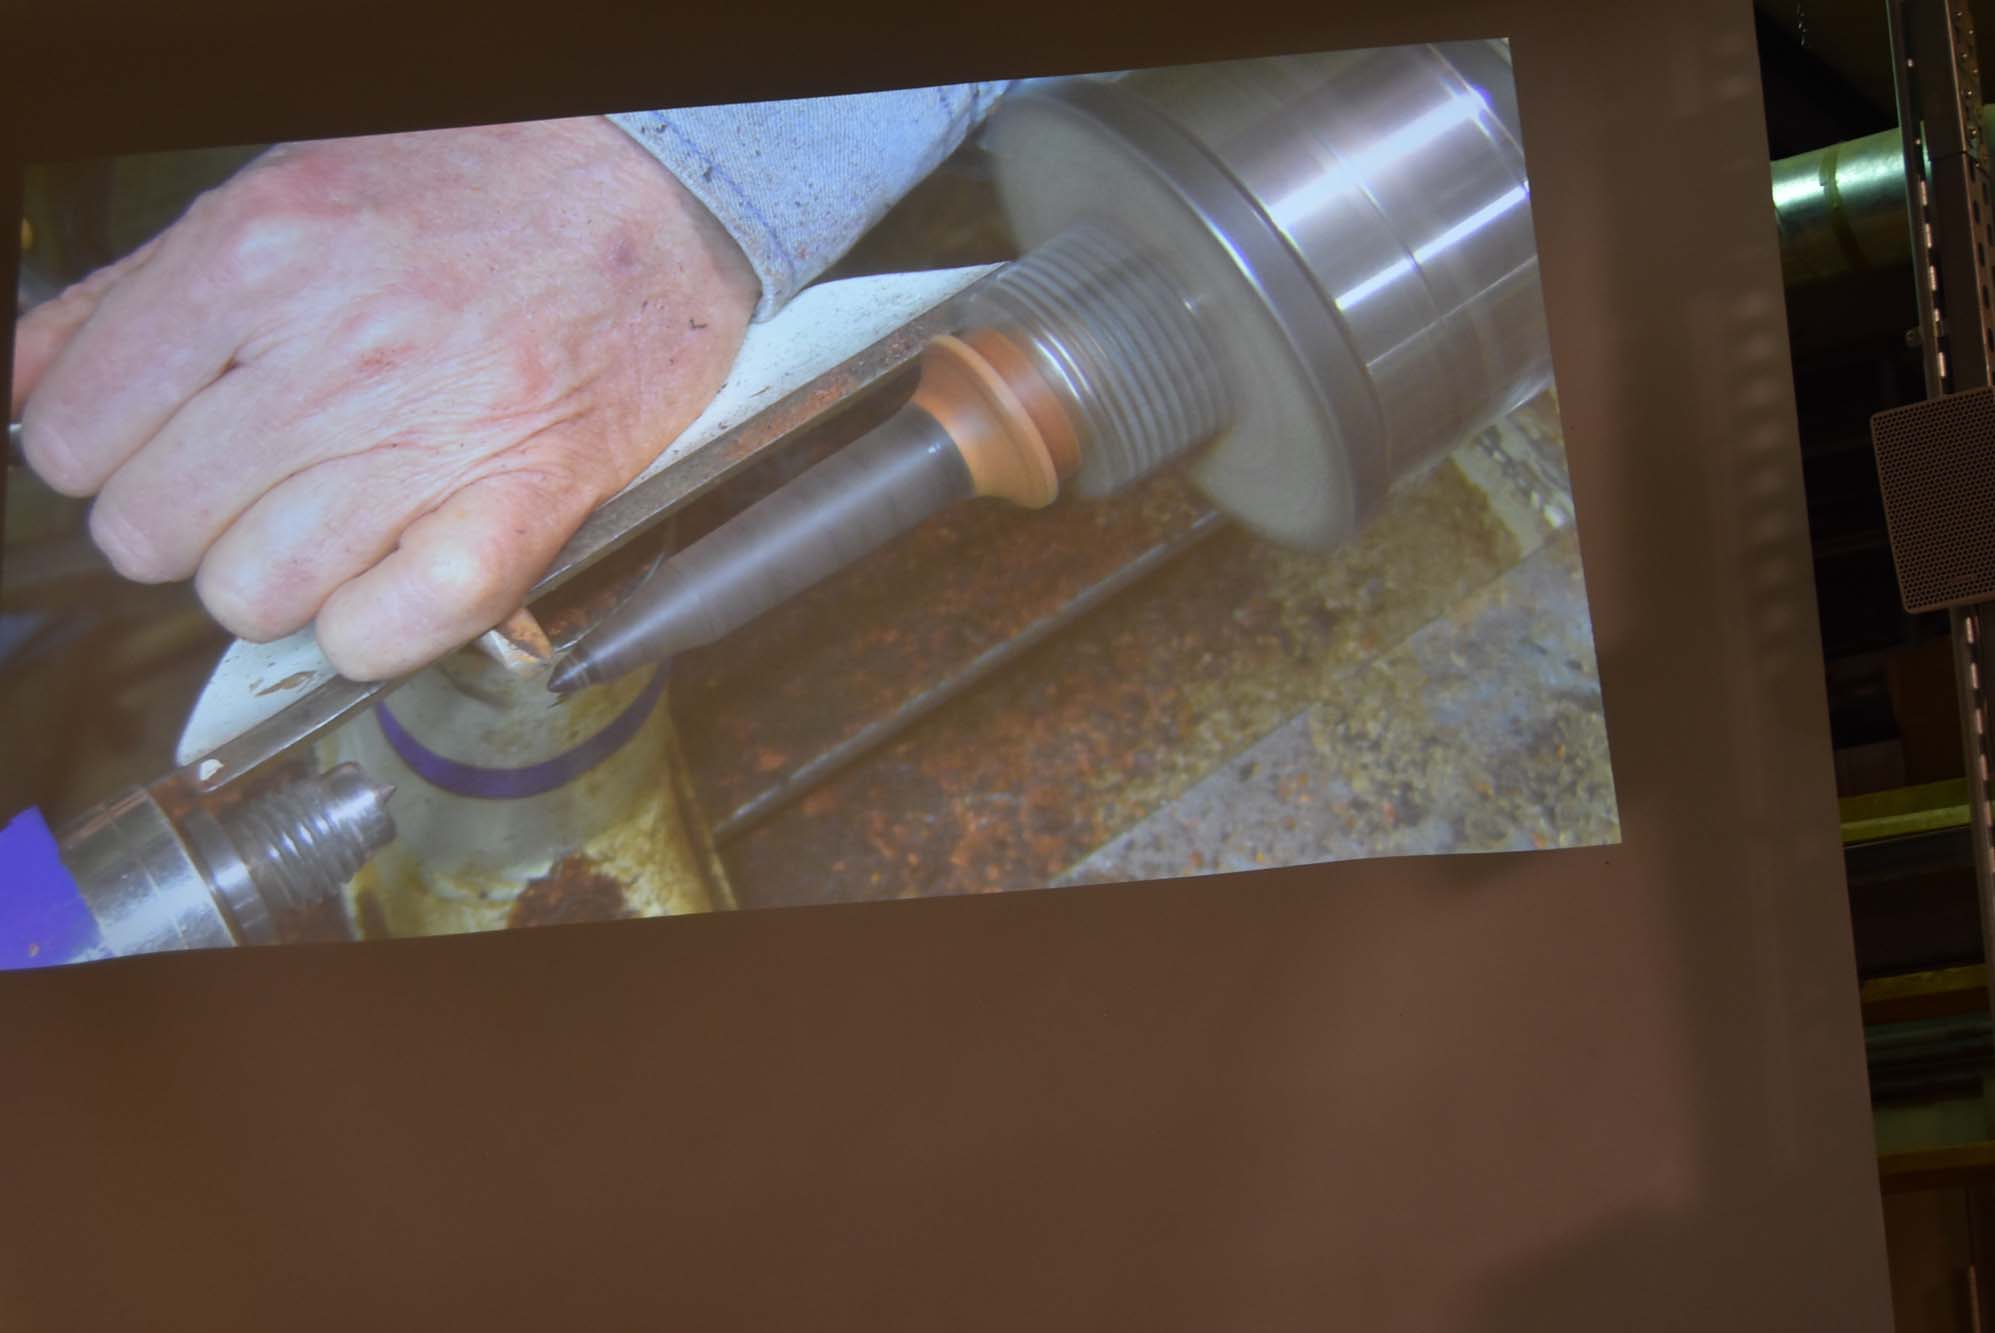
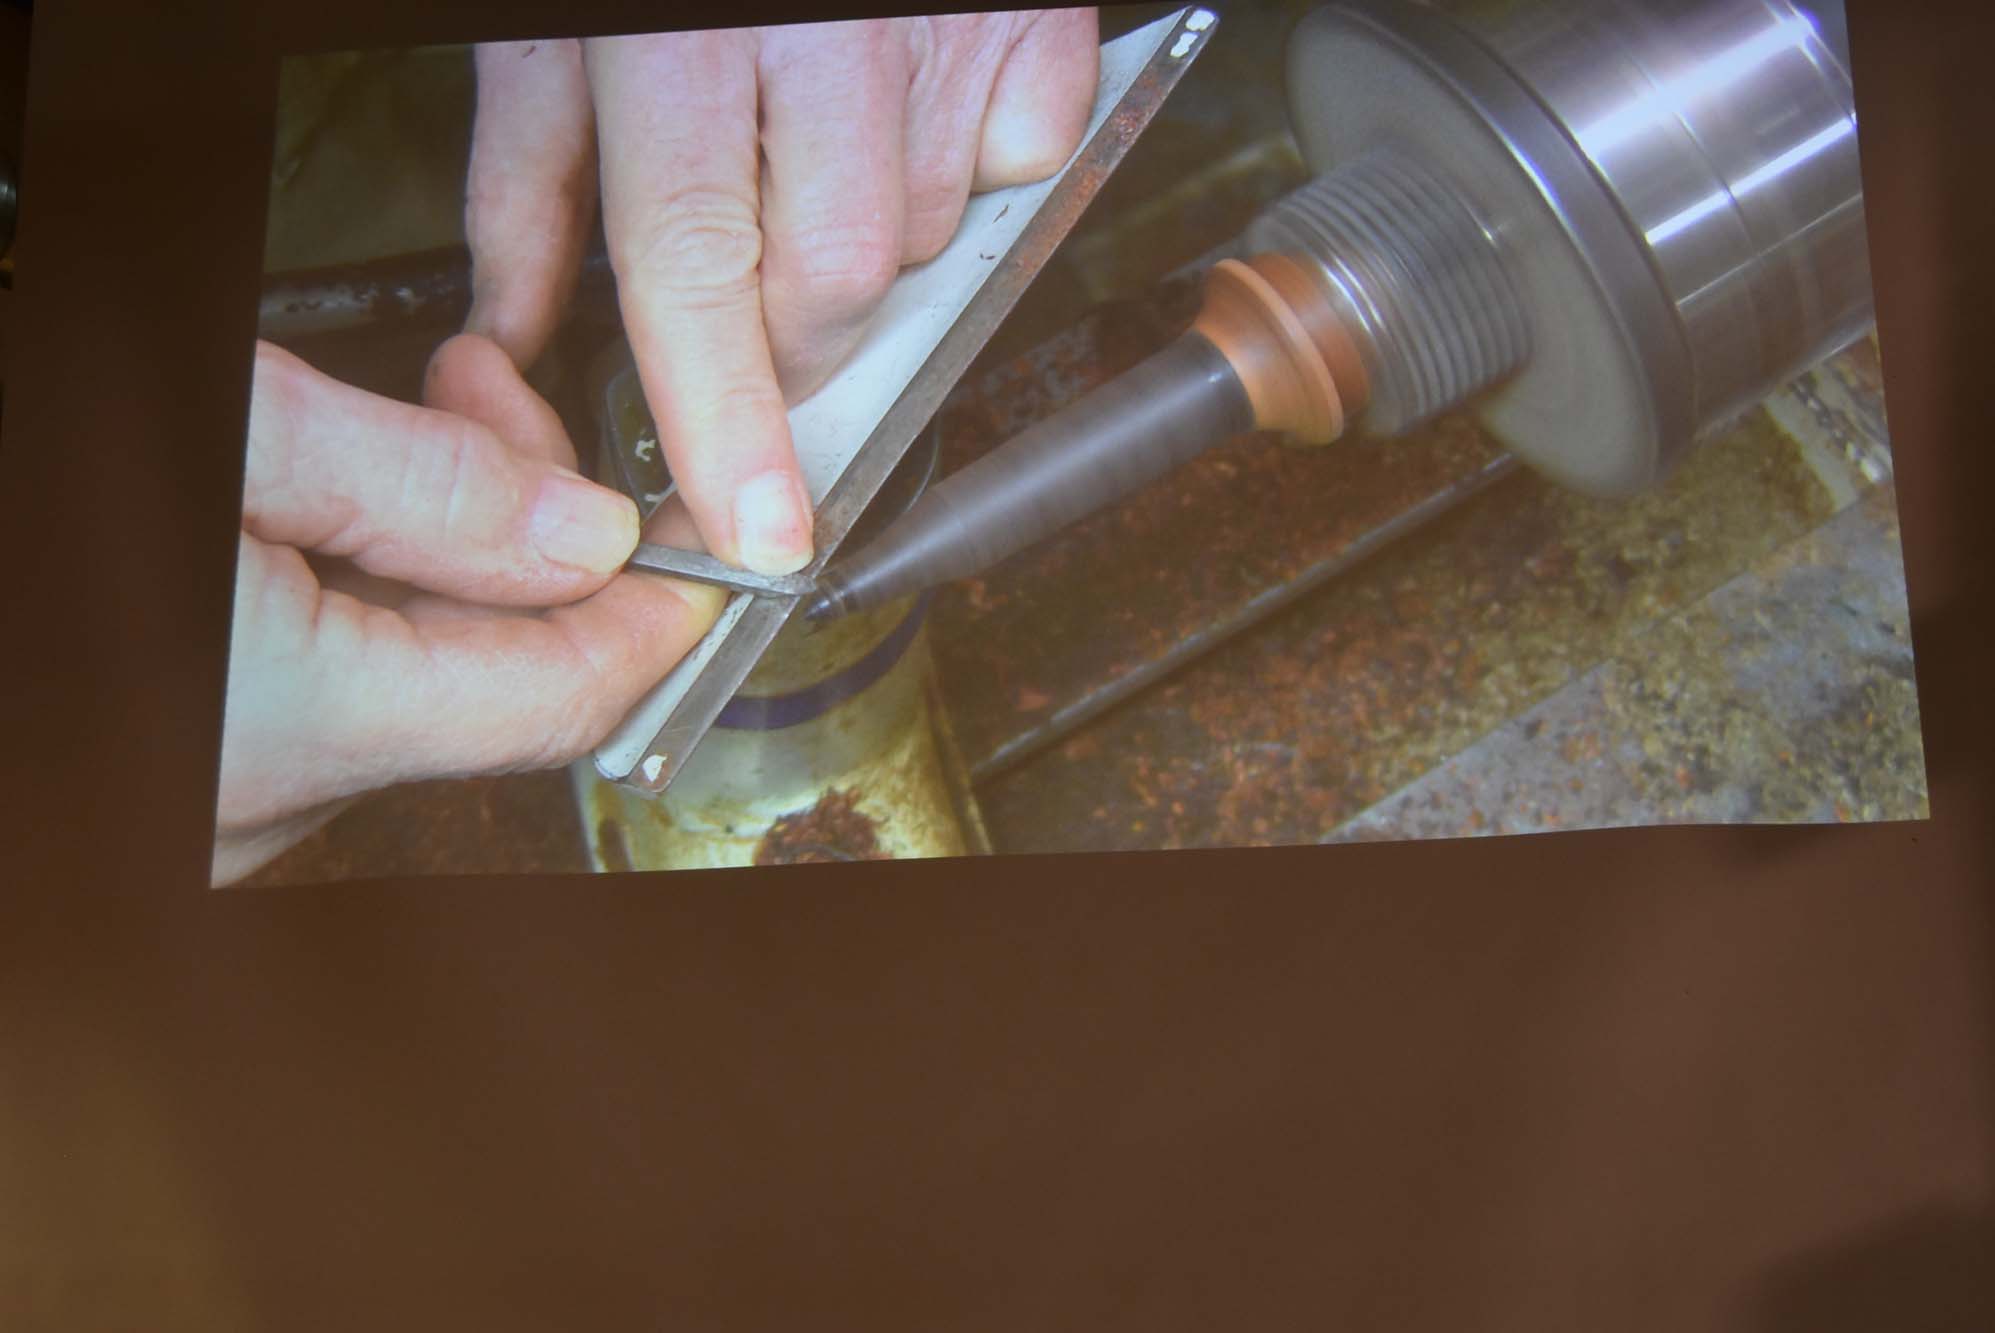
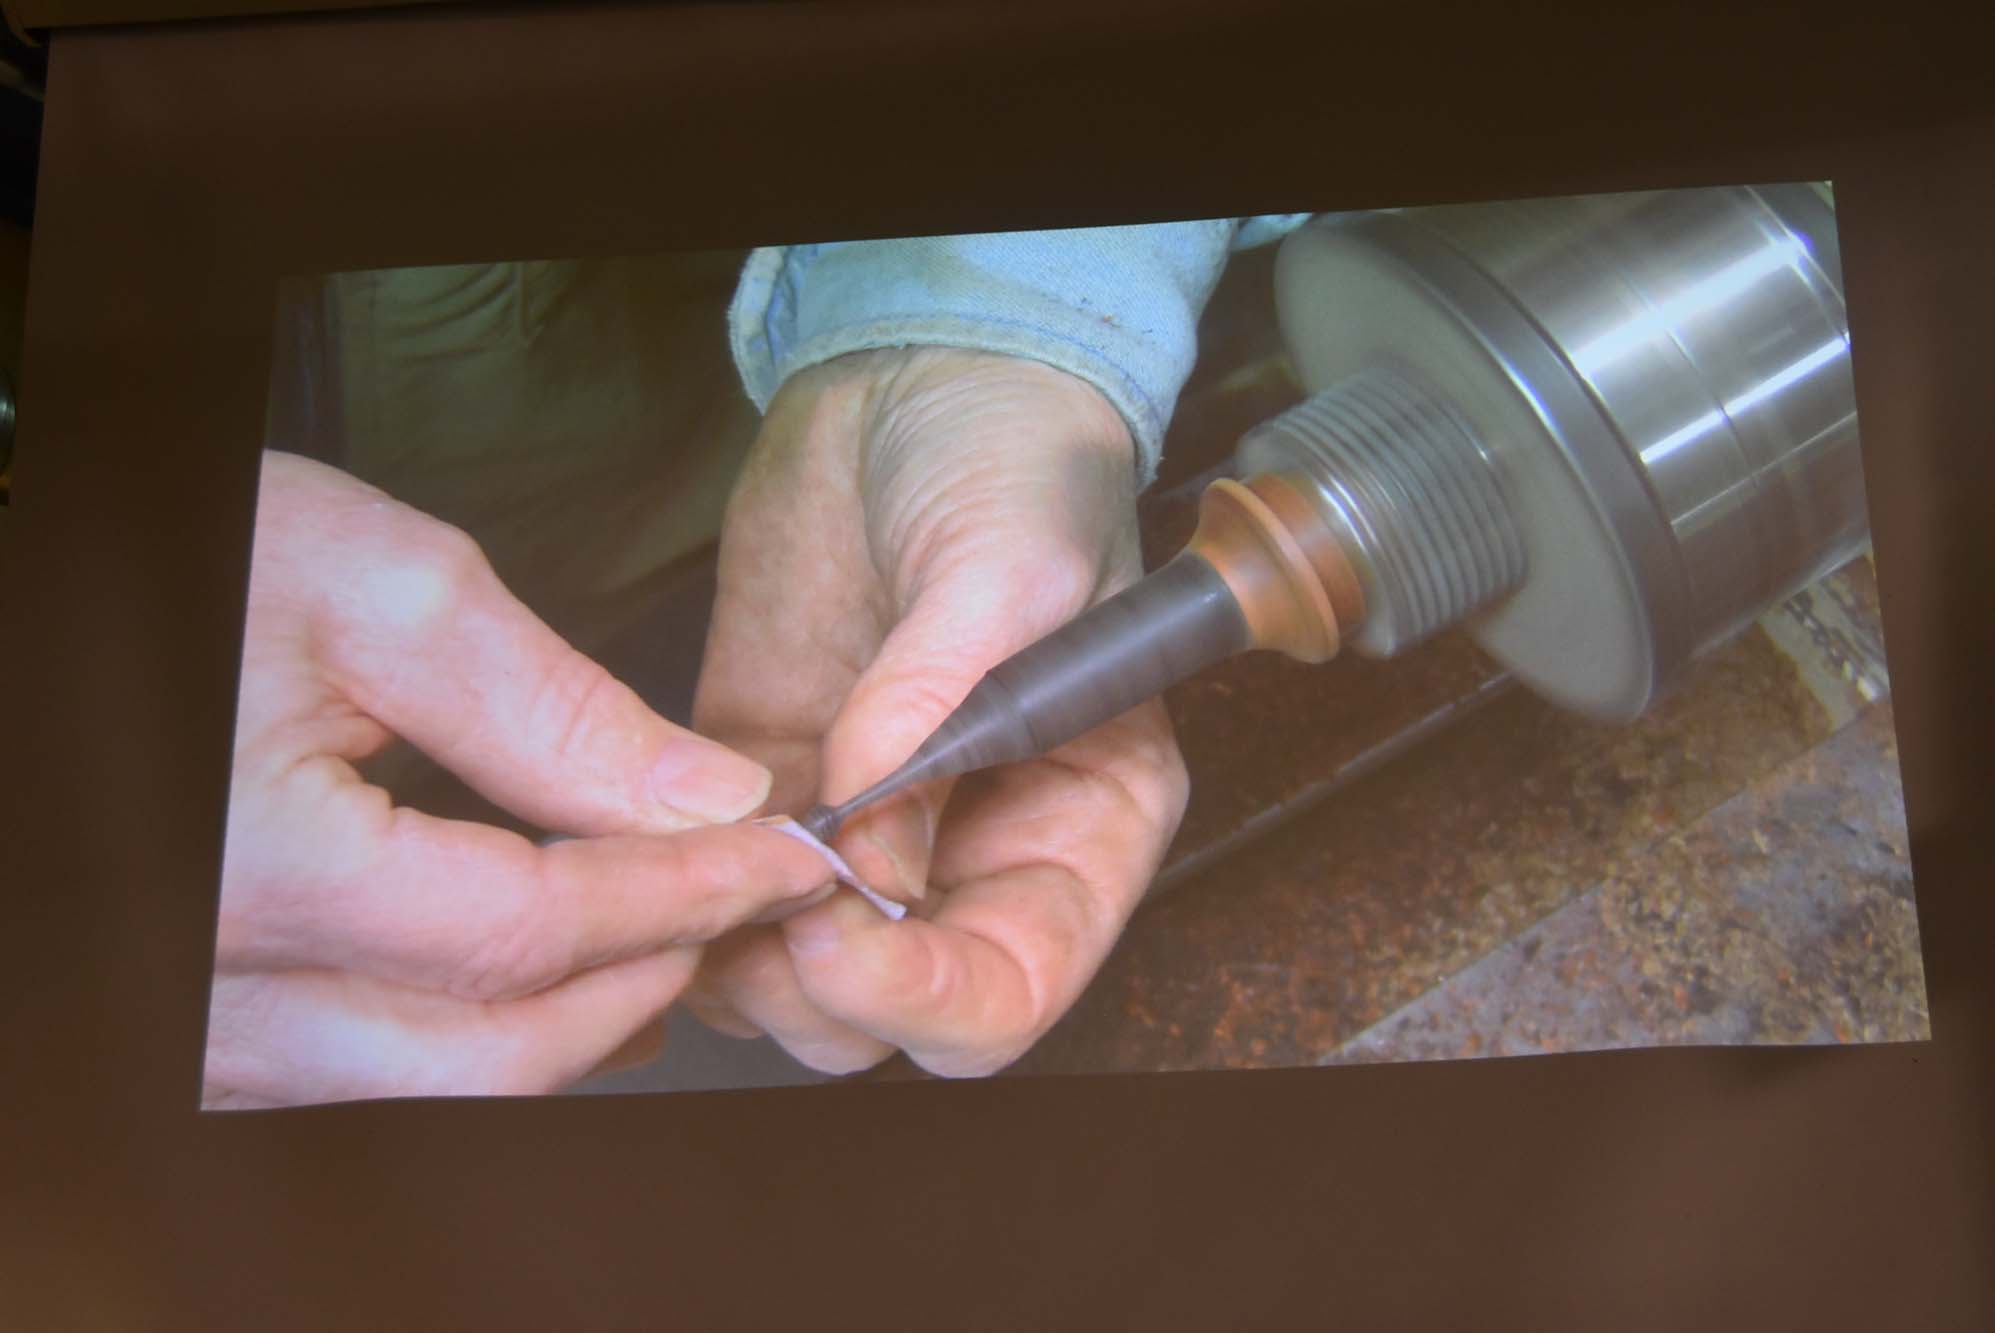
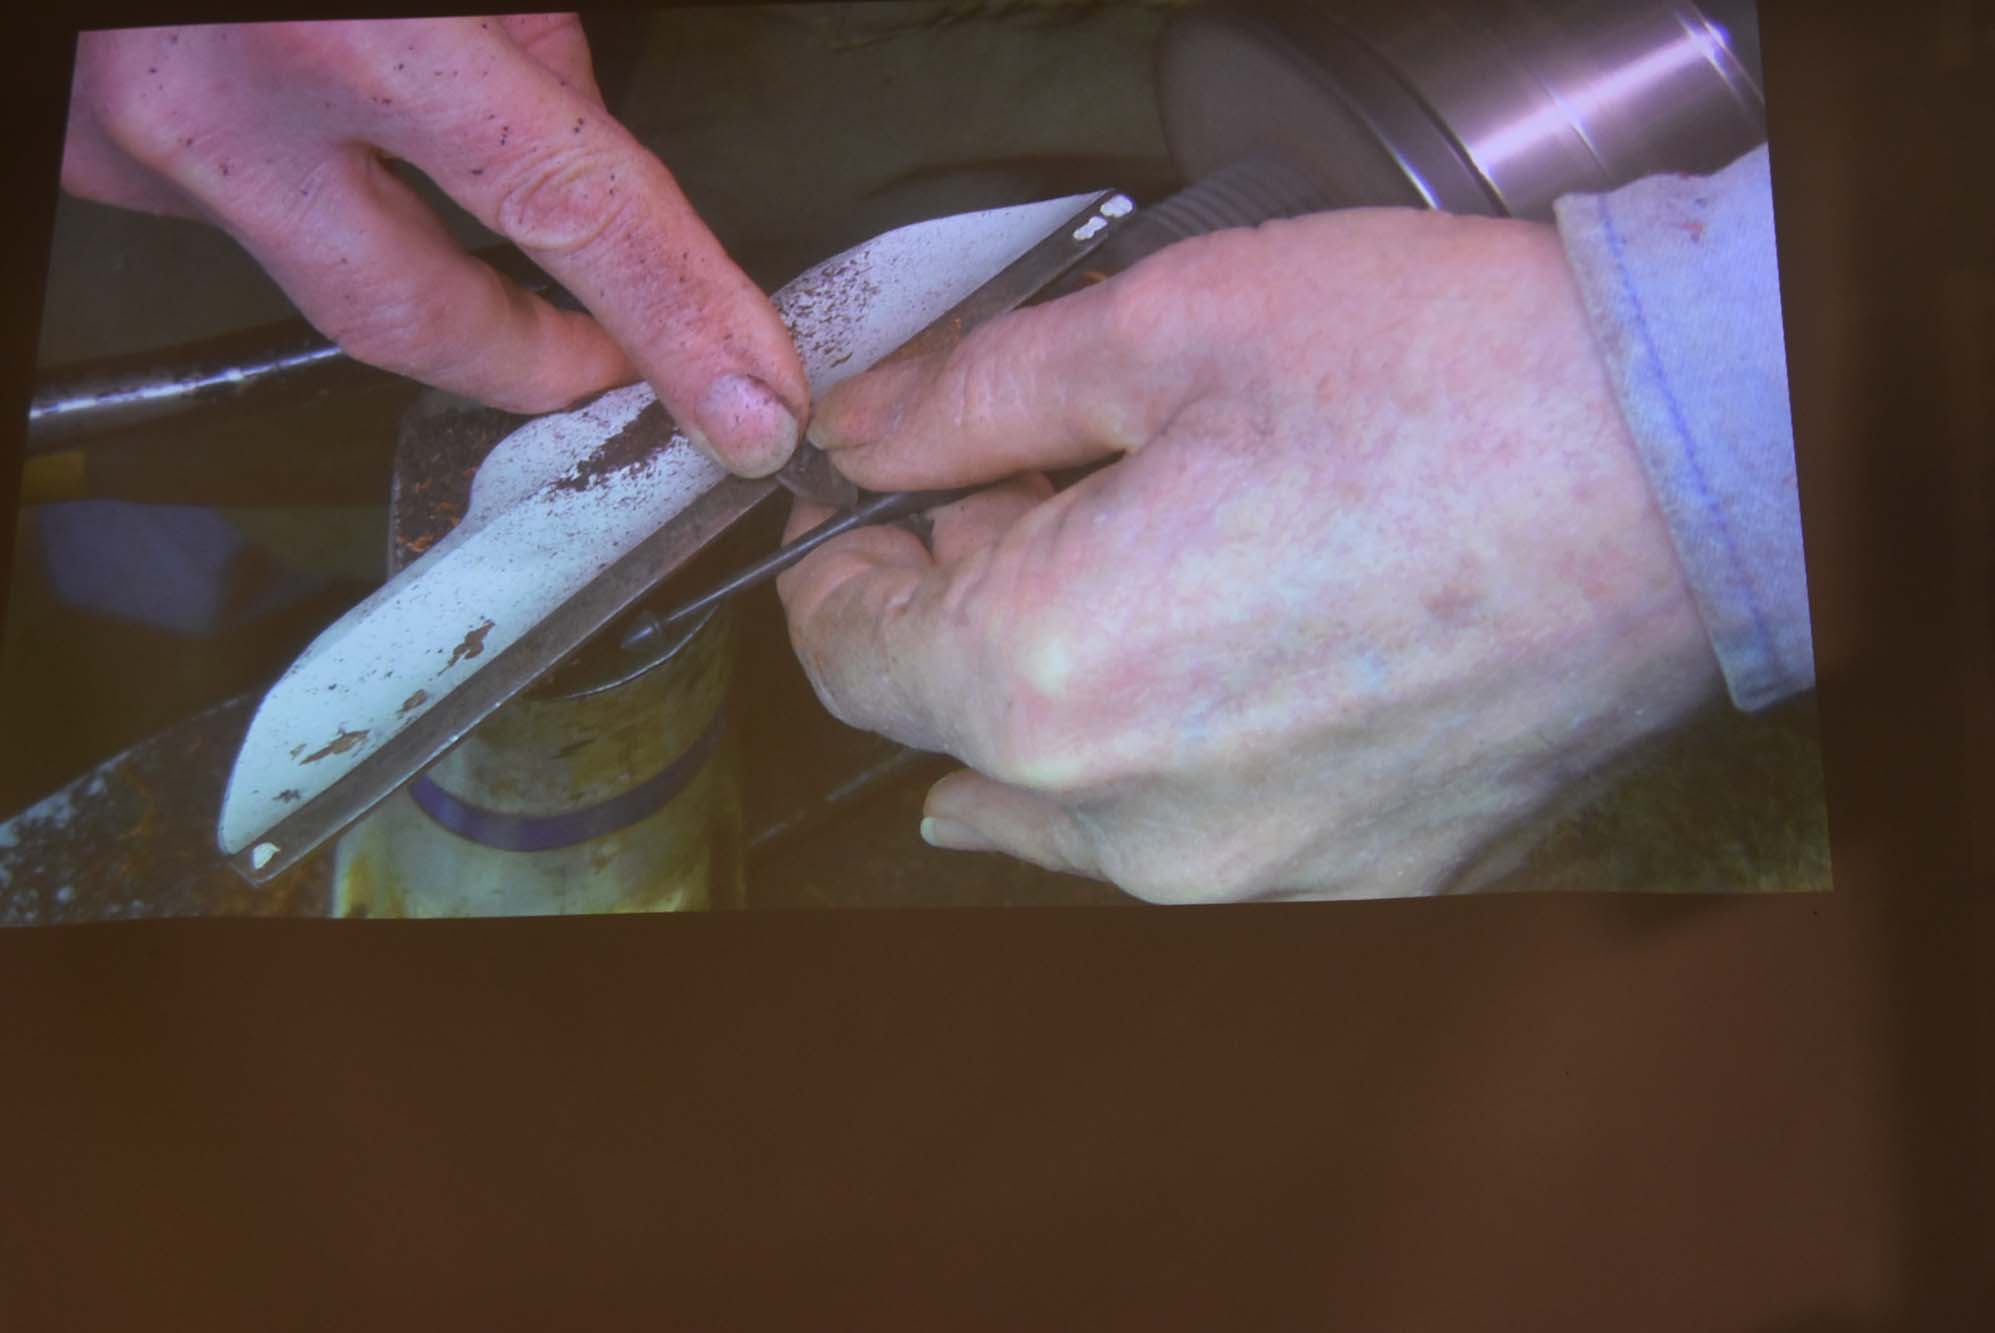
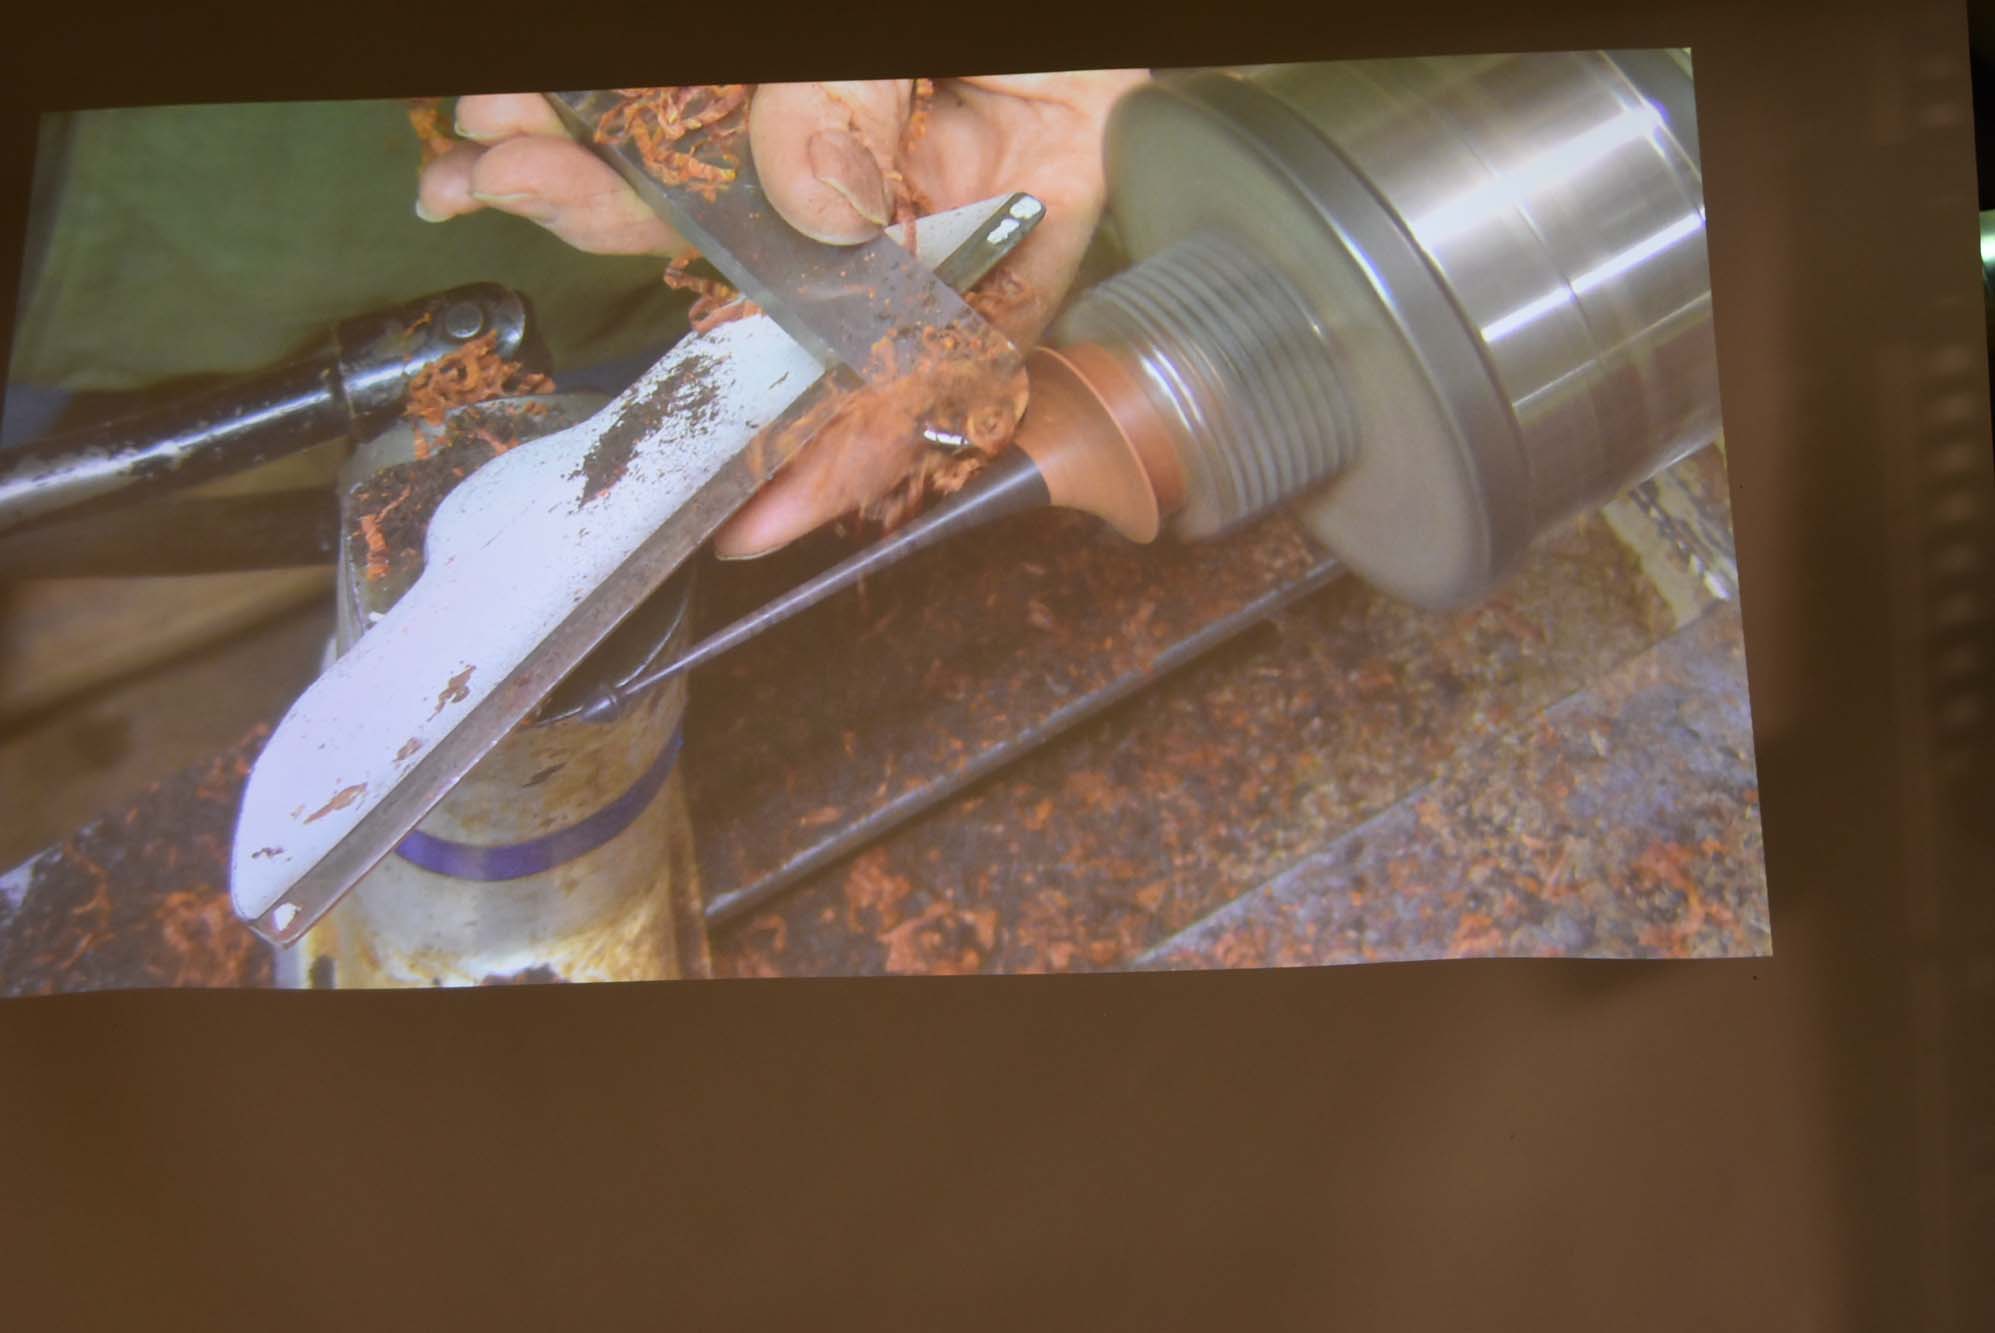
Bud will take all of the pieces home, sand, finish and assemble them and bring the final piece in next month to be given to the raffle winner. Check back to see that picture!
